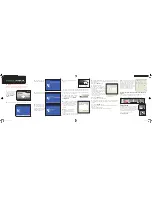
Windows XP
Start Here
(See the Reverse Side for Windows Vista Installation)
6.
Plug in your HWUN1 adapter at
this time.
Important:
This Quick Installation Guide is intended for quick setup
with available wireless networks. If you need to connect to a specific
network that is not listed and need to manually set up the IP Address,
please refer to the manual on the CD.
7.
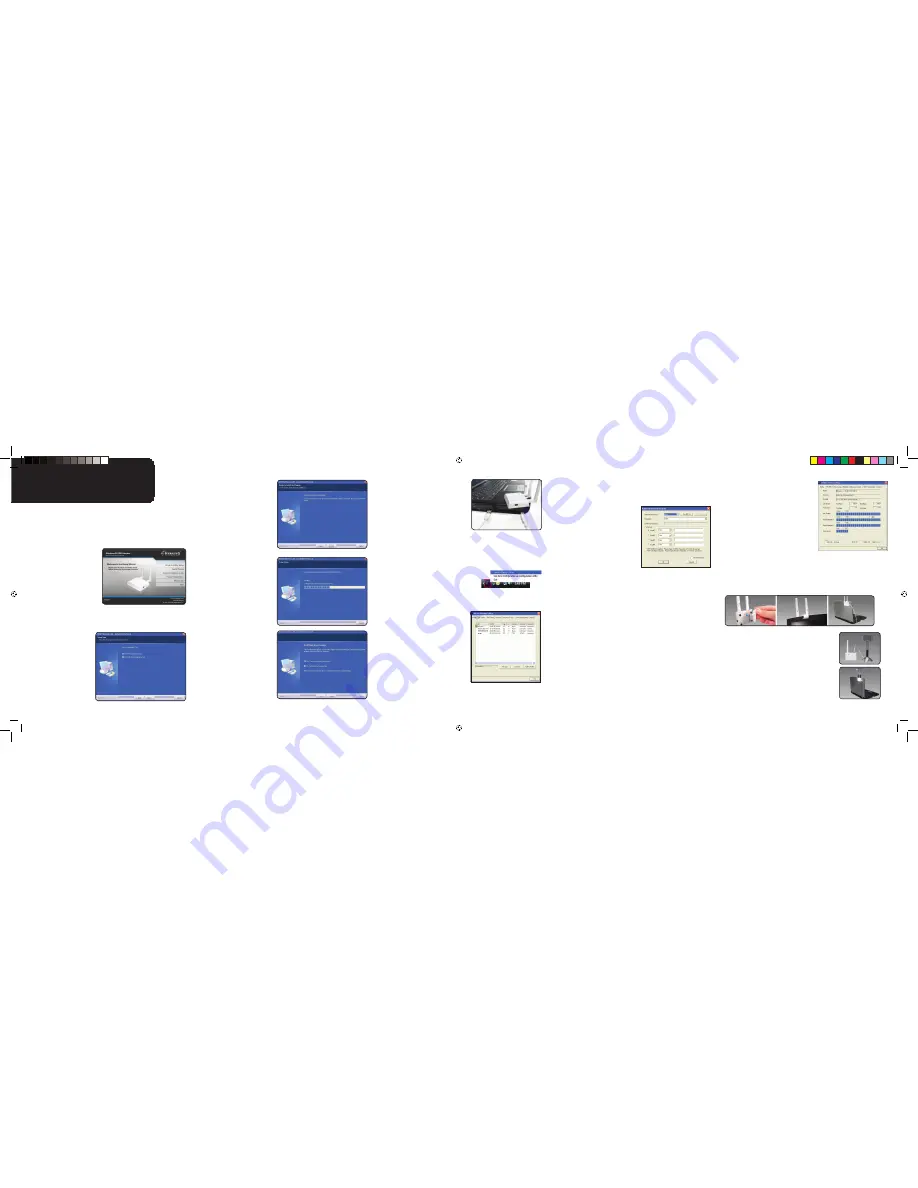
After restarting your PC, locate the
Hawking icon in the system tray, right
click on it and then choose
Launch
Configuration
.
8.
When the utility opens up, select
the tab labeled Site Survey. Click the
Rescan button to get the updated
wireless networks in your area, and
then double click on the desired
network.
note:
If you are connecting to
a network without encryption
(Encryption: None), continue to
Step 10.
If you are connecting to a secured network (network with encryption:
TKIP, WPA, WEP, etc.), please go to Step 9.
10.
Once you are connected to the
network, click on the Link Status tab to
view the performance aspects of your
Wireless Adapter: transmit rate, link/
signal quality, wireless channel, etc.
Make any adjustments to the position of
the HWUN1 to maximize performance.
When done, click OK and begin
enjoying your wireless network!
You have completed the configuration for the Wireless-n
Adapter
.
If you are using a desktop PC, please place the HWUN1 in an open
space where it can easily receive a wireless signal.
If you are using a notebook PC, a laptop mount is included.
UPgRADe oPtIon:
For additional wireless coverage, the HWUN1
Wireless-N Adapter is engineered with two
removable antennas. The HWUN1 Wireless-N
Adapter is compatible with Hawking’s entire line
of Hi-Gain Indoor & Outdoor Antennas.
For more information, please visit
www.hawkingtech.com
3.
On the next page, click
install when prompted to do so.
4.
Please wait a while as the
installation process takes place.
5.
When installation is
complete, be sure to restart
your computer before using
the HWUN1 adapter, as it may
not function properly without
restarting your system.
Important:
Do not connect the USB adapter until you
install the driver from the CD and are instructed to do so.
Otherwise, the USB adapter may not operate correctly.
1.
Insert the Setup CD
and a menu page will
automatically appear
on your screen. Select
“
Driver & Utility
Setup
”.
2.
Select the HWUN1 Configuration Tool and then click Next.
9.
Select the Authentication Type. If you do not have this information,
please request it from your network administrator or from the person who
set up your network.
If your network is
WeP
enabled:
a.
Select 64-bit or 128-bit
b.
passphrase - this is case sensi-
tive, no more than 16 alphanumeric
characters, and must be the same as
your network.
c.
64-bit WEP key: exactly 10 hexa-
decimal characters and must be the
same as your network.
128-bit WEP key: exactly 26 hexa-
decimal characters and must be the
same as your network.
If your network is
WPA
enabled:
a.
Encryption Type: Select TKIP or AES
b.
All Encryption must match the selected network’s encryption settings.
c.
Pre-shared Key: Should be 8-63 characters and must match your
network.
If your network is
WPA2
enabled:
a.
Enter Pre-shared Key (should be 8-63 characters and must match
your network).
After you are done entering the
selected Network Encryption, click OK and proceed.
note:
If you are using ASCII,
please select ASCII from the
drop down menu
QIG_hwun1_final.indd 2
11/21/2007 6:01:14 PM


