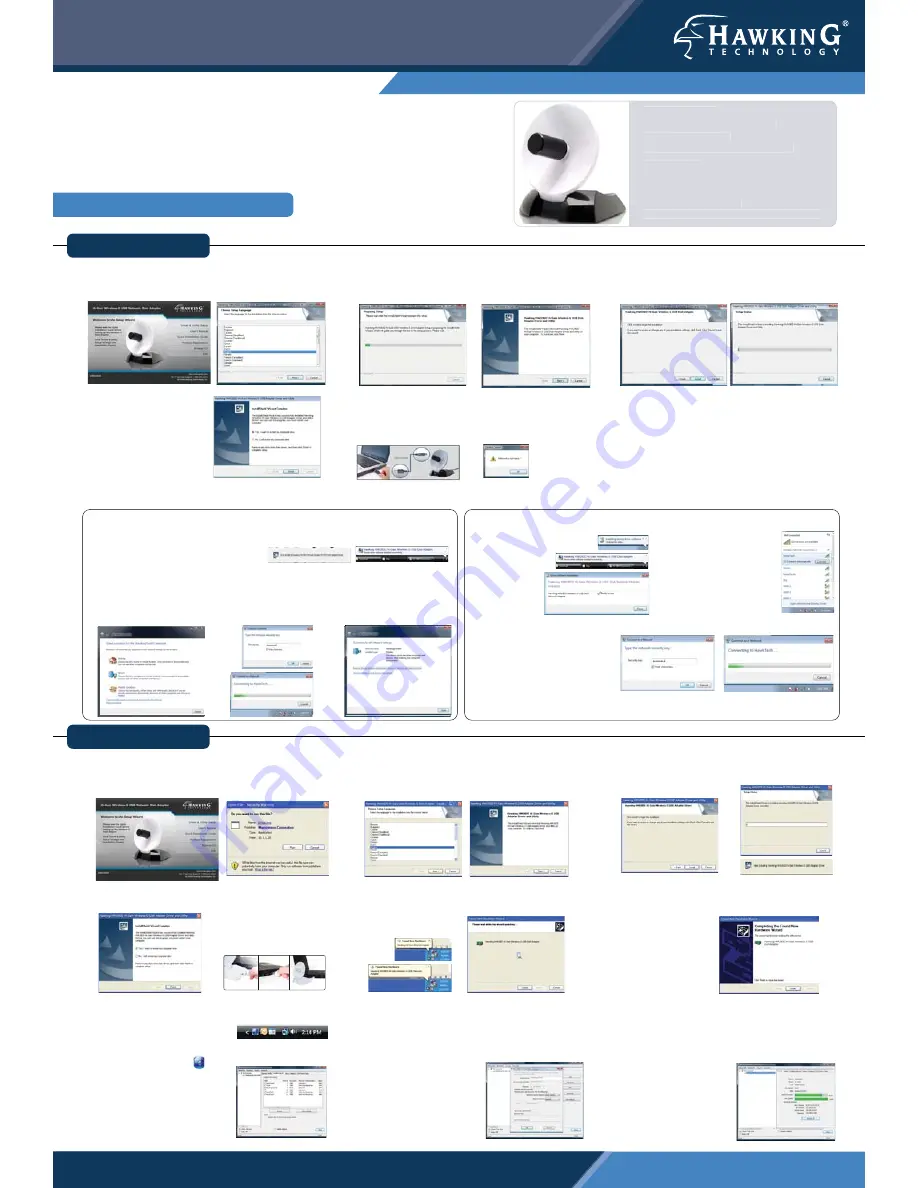
Q U I C K I N S T A L L A T I O N G U I D E
Hi-Gain
TM
Wireless-G USB Network Dish Adapter
Part No. HWU9DD
www.hawkingtech.com
© 2008 Hawking Technologies, Inc. All rights reserved. All trademarks herein are the property of their respective owners. Apple and Mac are registered trademarks of Apple Computer, Inc. No affiliation implied or expressed.
Start
Here
Important: Do not connect the USB adapter until you install the driver from the CD
and are instructed to do so. Otherwise, the USB adapter may not operate correctly.
Find Your Operating System
(See the reverse side for Mac Installation Instruction. Refer the manual on the install CD for Windows XP Instruction)
Windows Vista /7
Windows XP
Connect To A Wireless Network [Using Hawking Wireless Utility]
Package Contents
• 1 x Wireless-G USB Dish Adapter
• USB Extension Cable
• CD: User Manual & Driver (Mac & PC)
Requirements
• PC or Mac Laptop or Desktop
• Windows XP/Vista or Max OS X 10.4 or later
• One Available USB port
• An available Wireless 802.11b/g/n Network
Package Contents
• 1 x Wireless-G USB Dish Adapter
• USB Extension Cable
• CD: User Manual & Driver (Mac & PC)
Requirements
• PC or Mac Laptop or Desktop
• Windows XP/Vista or Max OS X 10.4 or later
• One Available USB port
• An available Wireless 802.11b/g/n Network
1.
Insert the Setup CD and a menu page will
automatically appear on your screen. Select Driver
& Utility Install. Then, select a language and “next”.
2.
Wait until the installation completes. Then select
“Next” in the following screen.
3.
If you want to change any settings, click Back.
Otherwise, click “Install” and wait while the Wizard
installs the HWU9DD Driver and Utility.
4.
When the installation is
complete you may be
prompted to restart your
computer.
5.
After the restart, plug in your Adapter. Windows will
indicate that your network is not ready, select OK.
6
. It is recommended for Windows 7 and Vista users to
use the Windows Zero Configuration Utility. To
connect, go to “Connect To A Wireless Network...”
A.
To manually connect to a
network, go to your system tray
on your bottom right hand corner and click on the
Hawking Wireless icon .
B.
From the Hawking Hi-Gain USB
Wireless-G Dish Adapter
Wireless Utility. Select the
“Available Network” tab. Then
choose a Wireless Network.
If your desired network is password protected, please
enter your password in the Network key field and
re-enter it in the Confirm network key field.
C.
Congratulations! You are now connected. To view
your link status, click on the General tab. For more
information, please refer to the User’s Manual on the
CD.
Connect To A Wirelelss Network (Windows Vista)
1. The Adapter will automatically search
and locate an open network. Select a
location for the network.
2. Select a location for your network. If your selected network is
encrypted/password protected, please enter the network security key and click “OK”.
If you don’t have the network security key, please contact your network
administrator.
Connect To A Wireless Network (Windows 7)
1. The Adapter will
automatically
search and
locate an open
network.
Select a location
for the network.
2. Select a location for your
network. You can locate
search for the available
network by clicking on the
wireless icon on your
system tray (bottom-right
corner).
3. If your selected network is
encrypted /password protected,
please enter the network security
key and click “OK”. If you don’t
have the network security key,
please contact your network
administrator.
1.
Insert the Setup CD and a menu page will
automatically appear on your screen. When
prompted, select “Run” to continue.
2.
Select a language, then click “next”. Wait until the
setup completes, then select “Next” on the
following screen.
3.
Click “Install” and wait while the installer configures
the HWU9DD Driver and
Utility.
4.
Restart your computer when prompted to do so.
Plug in the HWU9DD after your computer restarts.
5.
Your computer will recognize the HWU9DD adapter,
please wait while it locates the newly installed
driver.
6.
Finally select “Finish” to complete your software
installation.


