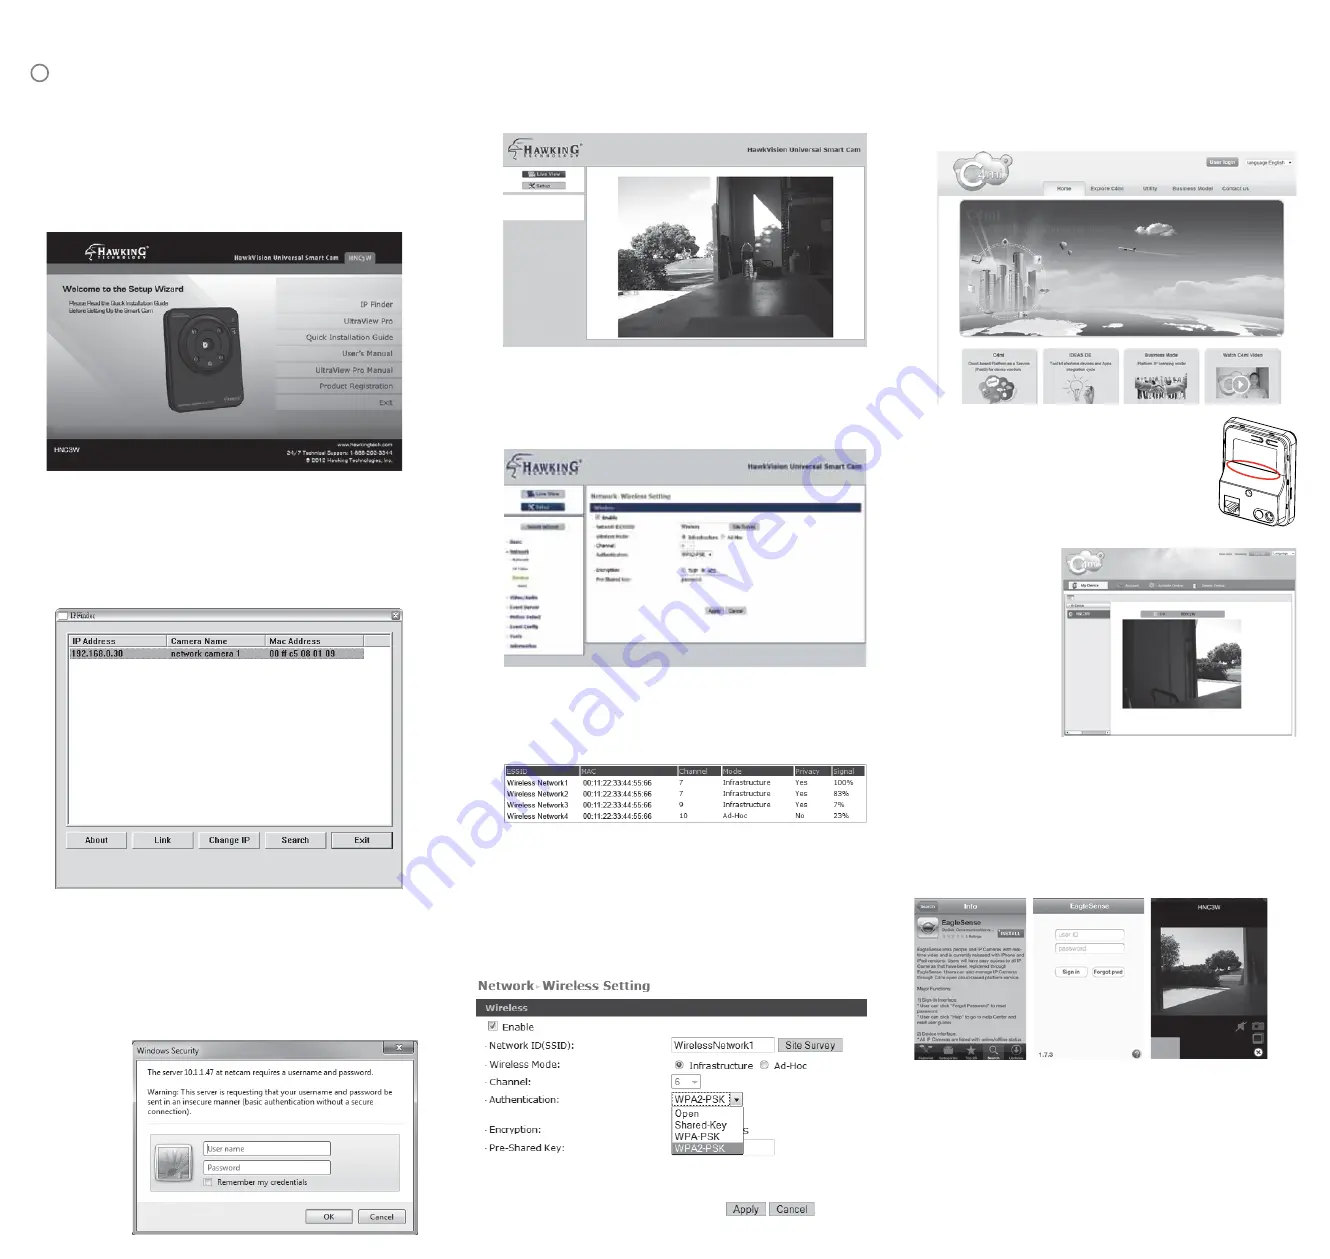
4) Congratulations. Your are done configuring the camera.
Now, you can start viewing the camera images, using any
computer on your local area network. If you wish to use the
camera wirelessly, please continue with the
wireless
setup
.
On the web browser, click on Setup. On the setup page, on
the left column, click on Network, then select Wireless.
On the wireless settings page, click on “Site Survey”. Wait a few
seconds, and a list of networks will appear. Double click on your
wireless network. It should be highlighted. Once that is done, the
Network ID should change to your selected network.
Note: if you have a secured wireless network, you must choose
your Authentication type. In the drop down box, select your
security type and then be sure to type in the wireless key/password
of your wireless network.
Click “Apply.” The device will then reboot. You may now remove the
Ethernet cable and go wireless. Now, you can start viewing the
camera images, using any computer on your local area network.
!
The camera must be connected to your local area network with an
Ethernet cable for the initial setup. Once connected, wait until the
LINK LED flashes green, then the camera is ready for installation.
1) Insert the Setup CD into your Computer’s CD-Rom and
wait for it to autoload. Once the program starts, select
“IPFinder”. Note: the initial camera setup requires a
Windows computer. Once setup, any Operating System will
be able to access the camera’s image via a web browser.
2) Once
IPFinder
starts, it will automatically find the
camera. The IP address and Mac Address will be listed on
the
IPFinder
. Make sure the MAC address matches the
one on your device. Select your camera and click “Link”.
Important:
please make note of this IP Address. You will
need this to access the camera from a different computer.
3) After you press “Link”, your web browser will prompt you to
enter in a username/password.
Default Username:
admin
Default Password:
admin
Note:
Some web browsers will prompt you to install an
add-on, you must allow this to properly configure the device.
Thanks for choosing Hawking Technologies, Inc.!
Technical Support Information
Website: www.hawkingtech.com
Phone: 1.888.202.3344
E-mail: [email protected]
©2012 Hawking Technologies, Inc. All rights reserved. All trademarks herein are the property of
their respective owners. IOS is a trademark or registered trademark of Cisco in the U.S. and
other countries. Android is a trademark of Google Inc. No affiliations are implied or expressed.
CAMERA SETUP
WIRELESS SETUP
SET UP
From your computer, access “http://www.c4mi.com” in your
web browser. Select “User Login”in the top right hand
corner of the window to create your account.
Locate the unique 16 character
alpha-digital “activation code” located
on the back of your product. Use this
code to activate cloud service to view
the camera image from the web or
portable devices.
ACCESS
Once you have created an account on
C4mi.com
, you can
access your camera from any computer by logging into your
account via C4mi.com. To access your camera from your
iOS
and Android devices
, simply download the “EagleSense” app
on your chosen device and login with your
C4mi.com
account.
Please enter the
activation code when
prompted by
C4mi.com
. After you
have successfully
created an account,
make note of your
chosen username and
password since you
will need this to access
your device in the
future.
INTERNET VIEW


