- 16 -
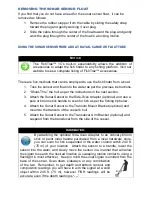
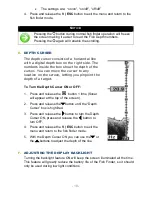
4. Press and release the
V | ESC
button to exit the menu and return to the
fish finder mode.
N
OTICE
:
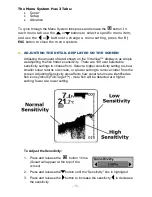
While learning to use the Fishtrax™ 1C it is recommended that you
use the AUTO sensitivity setting. This setting will continually
monitor the sonar returns and adjust the sensitivity to reduce and/or
increase the amount of echoes displayed on the HD VirtuView™
display.
Information:
Which setting is the right setting? It greatly depends on the clarity
and/or depth of the water. Very clear water allows for a moderate
sensitivity setting. Conversely, dirty water requires a higher
sensitivity setting to target detail but will increase irritating false
readings. Targeting deep water fish generally requires greater sensitivity,
especially in stained or dirty water. Salt and brackish water also require a
comparatively higher sensitivity setting. While this analysis may seem
confusing, the concept is simple. As the Fish Finder's sensitivity is elevated, a
broader view and smaller details show on the screen. But, with a broader and
stronger view comes more clutter and debris. The clearer the water, the less
sensitivity needed to get accurate details and vice-versa.
B.
ADJUSTING THE DEPTH RANGE DISPLAYED ON THE SCREEN
You can set the display on the FishTrax™ 1C to automatically adjust the
display range to the water depth, or manually set it to lock the display in a
specific depth range.
Select AUTO to have the display automatically adjust the depth range for the
detected water depth. Advanced users may want to manually select a depth
range from 0-9 Ft. to 0-240 Ft.
(0-3 M to 0-73 M)
to only see sonar echoes in
those ranges. Keep in mind this locks the depth range of the display to this
preset range and ONLY sonar returns from that range will be displayed.
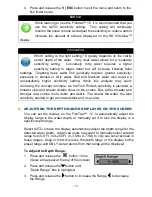
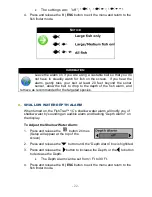
To Adjust the Depth Range:
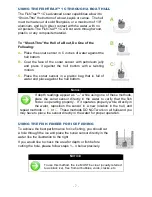
1. Press and release the
button 1 time
(Sonar will appear at the top of the screen)
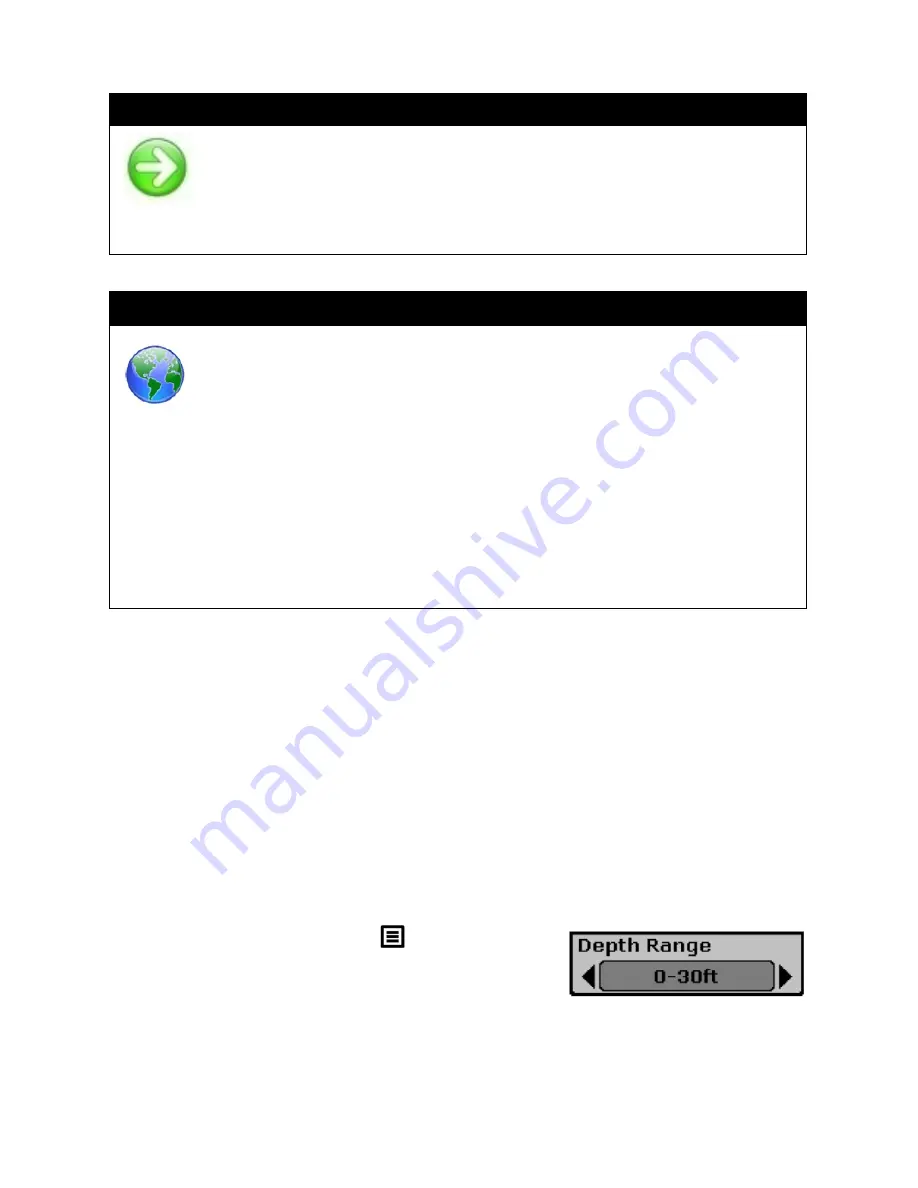
2. Press and release the
button until
“Depth Range” box is highligted.
3. Press and release the
button to increase the Range,
to decrease
the Range.

