2018 Version RCTT Setup Guide
Before You Start
After securely mounting the radiator as per the manufacturer
’
s installation instructions, plug
the radiator into a 13-amp socket, ensuring both the rocker switch on the back of the heater
and the mains switch are both turned on. The radiator may display the letters Pr:Hd, in
which case press OK.
Setting the Time, Day & Language
To start using your radiator, you will need to set the language, time and day.
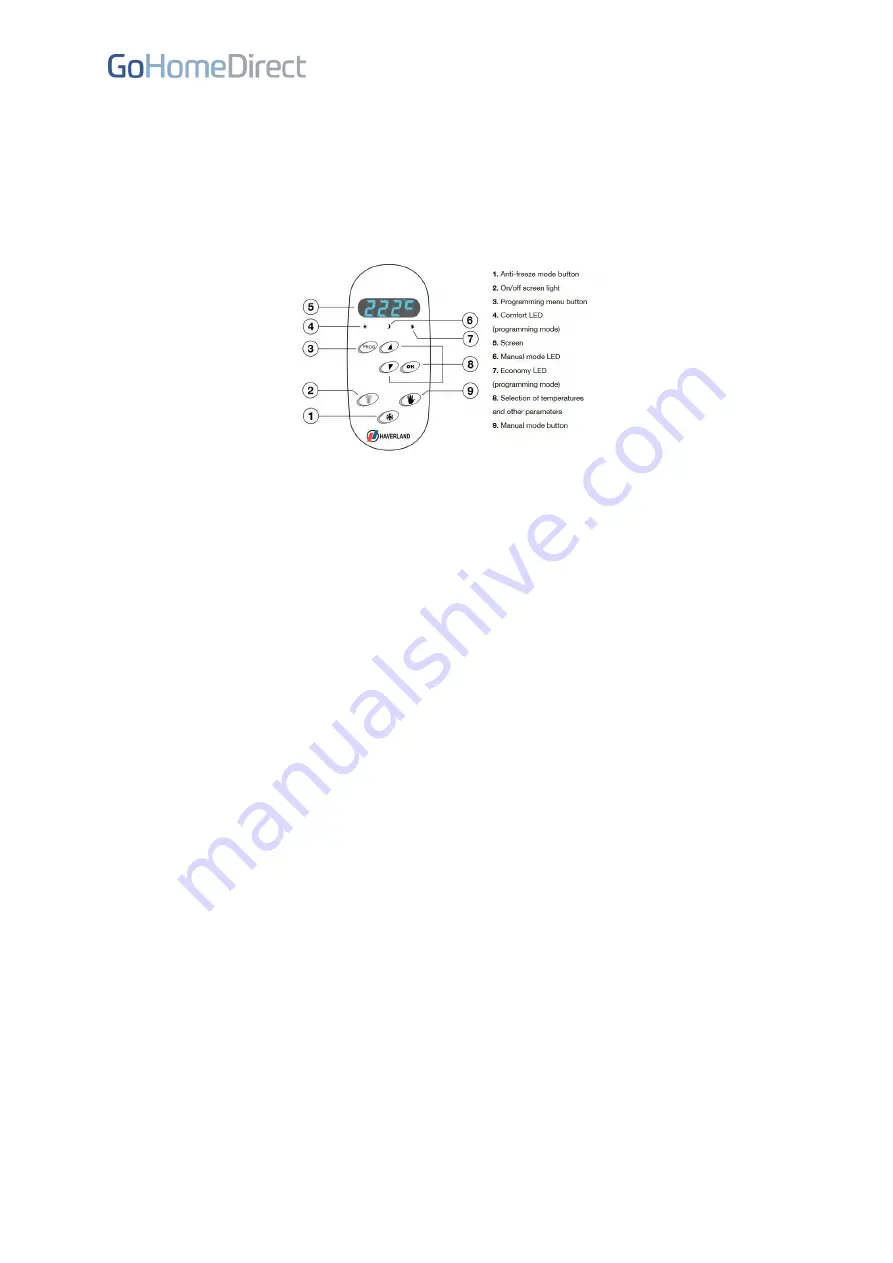
Press and hold the PROG button to enter the programming menu. You may see the word
‘Hora’ (Spanish for hour) appear on the screen. Cycle through the languages by pressing the
Hand
button until you see the word ‘Hour’ in English and press OK.
The programmer will then move on to setting the time. The hour will flash to indicate it is
selected and can be changed using the up or down arrow buttons. Press OK to confirm the
hour and repeat the process with the minutes. Once you have pressed OK to confirm the
minutes, the word
‘
Day
’
will be displayed. Press OK then choose your current day of the
week using the up or down buttons
. The day is displayed as ‘ddMo’ for Monday and so on.
Press OK to confirm your selection.
Setting Temperature Levels
After you have set the day, you will automatically be prompted to set your ideal comfort
temperature and will see
‘
t °C
’
displayed on the screen. Press OK then scroll up or down
with the arrows to choose a comfort temperature. Press OK again to confirm your comfort
temperature. Next you will see
‘
t °E
’
on the screen which represents your economy
temperature. Press OK to enter the Economy temperature settings screen. Use the arrow
buttons to scroll until you reach your ideal economy temperature, then press OK to confirm.
Pre-Set Programs
The Haverland TT has 4 pre-programmed plans that you can look up in the instructions
manual. In order to select a pre-set plan, press and hold PROG for 3 seconds (you will see
the word ‘Hour’ appear to indicate you have entered the radiator’s settings menu)
then
scroll through the menu options using the arrows until PLAN is displayed. Press OK and then
use the up/down buttons to select the plan that best fits your needs. Press OK to confirm
your selection. Though the screen
will display ‘ddMo’ at this point, press the PROG button
to accept the selected plan and return to the main screen. (Pressing the OK button on the


