background image

13

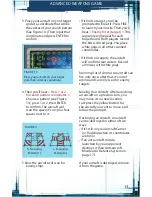
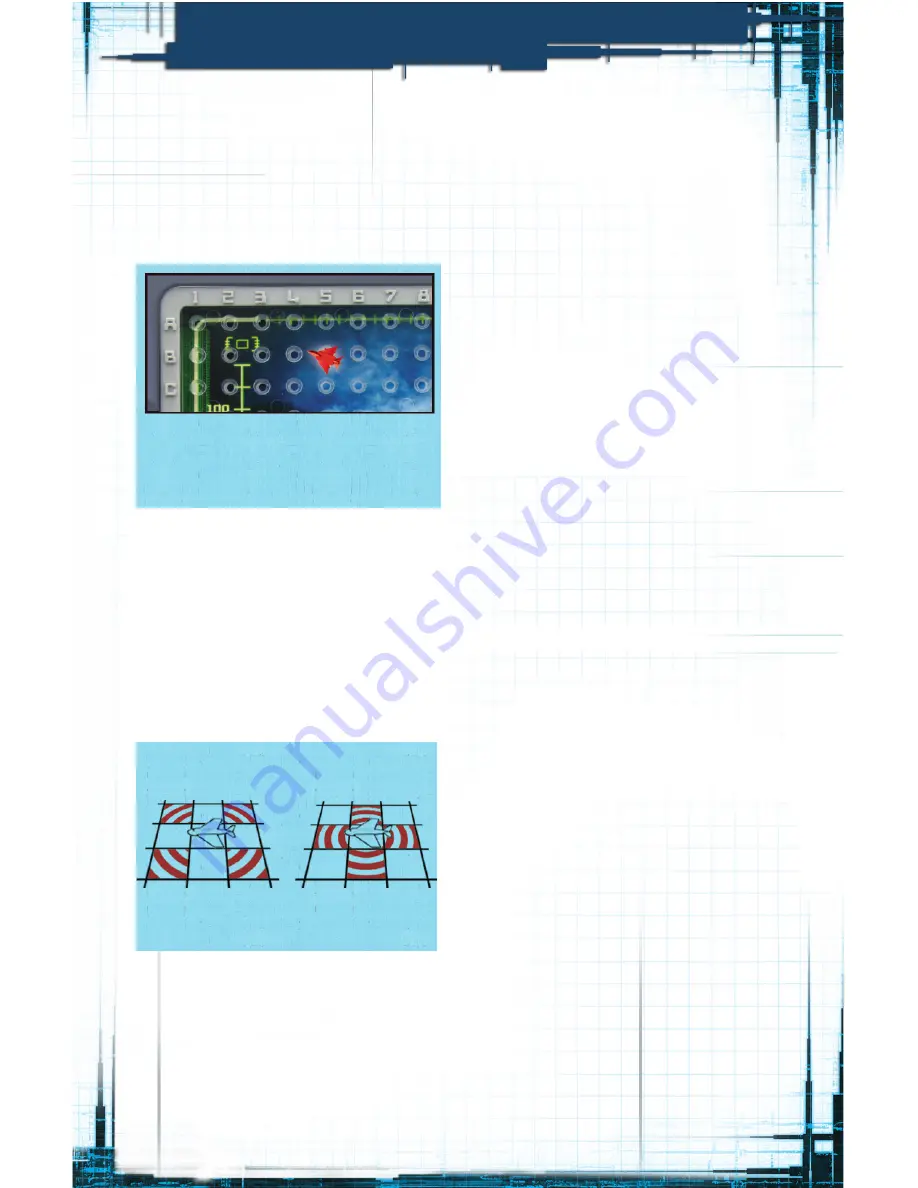
3.  Place your aircraft on your target 

grid at a coordinate that will be 

the center of your search pattern. 

(See Figure 10.) Then input that 

coordinate and press ENTER to 

confirm.

4.  Then you’ll hear 

< Press 1 or 2 

for search pattern coordinates. >


Choose a pattern (see Figure 

11), press 1 or 2, then ENTER 

to confirm. The aircraft will 

scan the space it’s on, plus four 

spaces next to it.


5.  Now the aircraft will scan for 

enemy ships. 

•  If it finds a target, you’ll be 

prompted to fire at it. Press FIRE 

to launch your missile. Then you’ll 

hear 

< Enemy hit at [target]. >

 This 

sequence will repeat for each 

target found. Both players record 

the hits with red pegs. You place 

white pegs in all other scanned 

coordinates. 

•  If it finds no targets, the aircraft 

will confirm clear waters. Record 

all misses with white pegs.

Running Out of Ammo: An aircraft can 

fire only once; after that, it’s out of 

ammo and can only scan for enemy 

targets. 

Moving Your Aircraft: After launching 

an aircraft on a previous turn, you 

may move it to a new location. 

Just press the yellow button for 

the aircraft you want to move, and 

follow the prompts.

Destroying an Aircraft: An aircraft 

can be destroyed in either of two 

ways:

•  If it’s still on your Aircraft Carrier 

(or Flagship) when its coordinates 

are hit; or

•  If an anti-aircraft missile 

launched by your opponent 

destroys it. (See Anti-aircraft 

Missiles/Air Defense System on 

page 17.)

If your aircraft is destroyed, remove 

it from the game. 

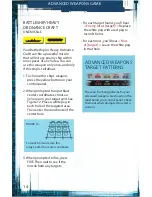
FIGURE 10
Place your aircraft on your target 
grid, then enter its coordinate.

X Scanning 

Pattern (1)

+ Scanning

Pattern (2)

FIGURE 11

ADVANCED WEAPONS GAME

Содержание Battleship Deluxe Movie Edition

Страница 1: ...r Navy fleet They had come with no warning had offered no greeting Their menacing presence made only one thing clear whoever these beings were they had not come to befriend us A single shot pierced th...

Страница 2: ...N 1 TO AVOID BATTERY LEAKAGE a Alwaysfollowtheinstructionscarefully Use onlybatteriesspecifiedandbesuretoinsert themcorrectlybymatchingthe and polarity markings b Donotmixoldbatteriesandnew batterieso...

Страница 3: ...green label to the target grid and the small blue BATTLESHIP label to the storage tray See Figure 5 Then apply the red target grid label and the red BATTLESHIP label in the same places on the Alien si...

Страница 4: ...s that make up each fleet THE NAVY FLEET AIRCRAFT CARRIER 5 Hits To Sink BATTLESHIP 4 Hits To Sink RED JAPANESE DESTROYER 3 Hits To Sink BLUE AMERICAN DESTROYER 3 Hits To Sink RHIB RIGID HULLED INFLAT...

Страница 5: ...st command The last prompt by the computer will be repeated Enter new data ENTER Press to confirm game options and commands FIRE Press to launch an attack SETTING UP YOUR GAME 1 Lay the ocean grids fl...

Страница 6: ...ss 1 2 or 3 then press ENTER to confirm 2 Player Game If you re playing a 2 player game press 2 then press ENTER to confirm Now follow steps 3 4 and 5 to choose a game type weapon type and fleet setup...

Страница 7: ...the Fleet Deployment Options box for details For example if you press 1 you ll hear Custom fleet deployment selected Press ENTER to confirm Press ENTER WEAPON CHOICES 1 Basic Weapons Press 1 and ENTE...

Страница 8: ...B9 The game will automatically know the coordinates in between Then press ENTER to confirm Canceling an entry If you make a mistake press the CANCEL button and re enter the information after the last...

Страница 9: ...want then press ENTER to confirm The ships shown in these formations are shaped generically so that they can be used for either the Navy Fleet or the Alien Fleet You may need to rely on the color of y...

Страница 10: ...you ll hear an explosion see the red light flash and hear Enemy hit at target Good job Replace your white peg with a red one to record the hit Your opponent records the hit by fitting a red peg into...

Страница 11: ...n a turn you can either enter a coordinate as you would in a Basic Weapons game or you can press a yellow or blue button on your control panel to activate a special weapon Here s a rundown of the spec...

Страница 12: ...rdinates on Aircraft Carrier Now enter the coordinates of your red squadron Next you ll be prompted to enter the coordinates of your blue squadron If you choose Predetermined Fleet Deployment place yo...

Страница 13: ...tes If it finds no targets the aircraft will confirm clear waters Record all misses with white pegs Running Out of Ammo An aircraft can fire only once after that it s out of ammo and can only scan for...

Страница 14: ...ite peg in each hole of the targeted area Then enter the coordinate of the center hole 3 When prompted to fire press FIRE Then wait to see if the missile finds any targets For each target found you ll...

Страница 15: ...e press FIRE Then wait to see if the missile finds any targets For each enemy ship found you ll hear Enemy hit at target Replace the white peg with a red peg to record the hit For each miss you ll hea...

Страница 16: ...t After hitting an enemy ship the missile won t travel any further Place a red peg to record the hit and place a white peg in each hole before that to record the misses See Figure 16 If no targets are...

Страница 17: ...future turns If no enemy ships are detected you ll hear Search confirms clear waters Record all misses with white pegs ANTI AIRCRAFT MISSILES AIR DEFENSE SYSTEM These weapons are a great defense again...

Страница 18: ...4 1 A B C D E F G H I J A B C D E F G H I J 2 3 4 5 6 7 8 9 10 11 12 13 14 1 A B C D E F G H I J A B C D E F G H I J 2 3 4 5 6 7 8 9 10 11 12 13 14 1 A B C D E F G H I J A B C D E F G H I J 2 3 4 5 6...

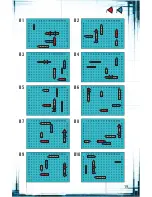
Страница 19: ...19 B1 B3 B5 B7 B9 B2 B4 B6 B8 B10 1 2...

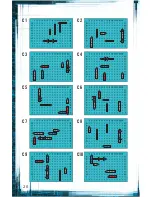
Страница 20: ...20 C1 C3 C5 C7 C9 C2 C4 C6 C8 C10...

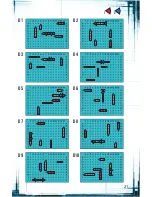
Страница 21: ...21 D1 D3 D5 D7 D9 D2 D4 D6 D8 D10 1 2...

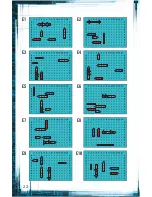
Страница 22: ...22 E1 E3 E5 E7 E9 E2 E4 E6 E8 E10...

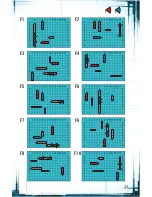
Страница 23: ...23 F1 F3 F5 F7 F9 F2 F4 F6 F8 F10 1 2...

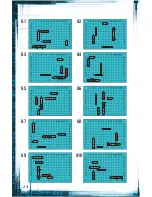
Страница 24: ...24 G1 G3 G5 G7 G9 G2 G4 G6 G8 G10...

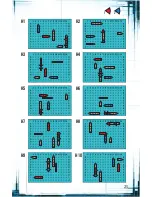
Страница 25: ...25 H1 H3 H5 H7 H9 H2 H4 H6 H8 H10 1 2...

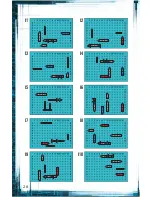
Страница 26: ...26 I1 I3 I5 I7 I9 I2 I4 I6 I8 I10...

Страница 27: ...27 J1 J3 J5 J7 J9 J2 J4 J6 J8 J10 1 2...

Страница 28: ...Increasetheseparationbetweentheequipment and receiver Consultthedealeroranexperiencedradio TV technician for help Caution Changesormodificationstothisunit notexpresslyapprovedbythepartyresponsible fo...

Отзывы: