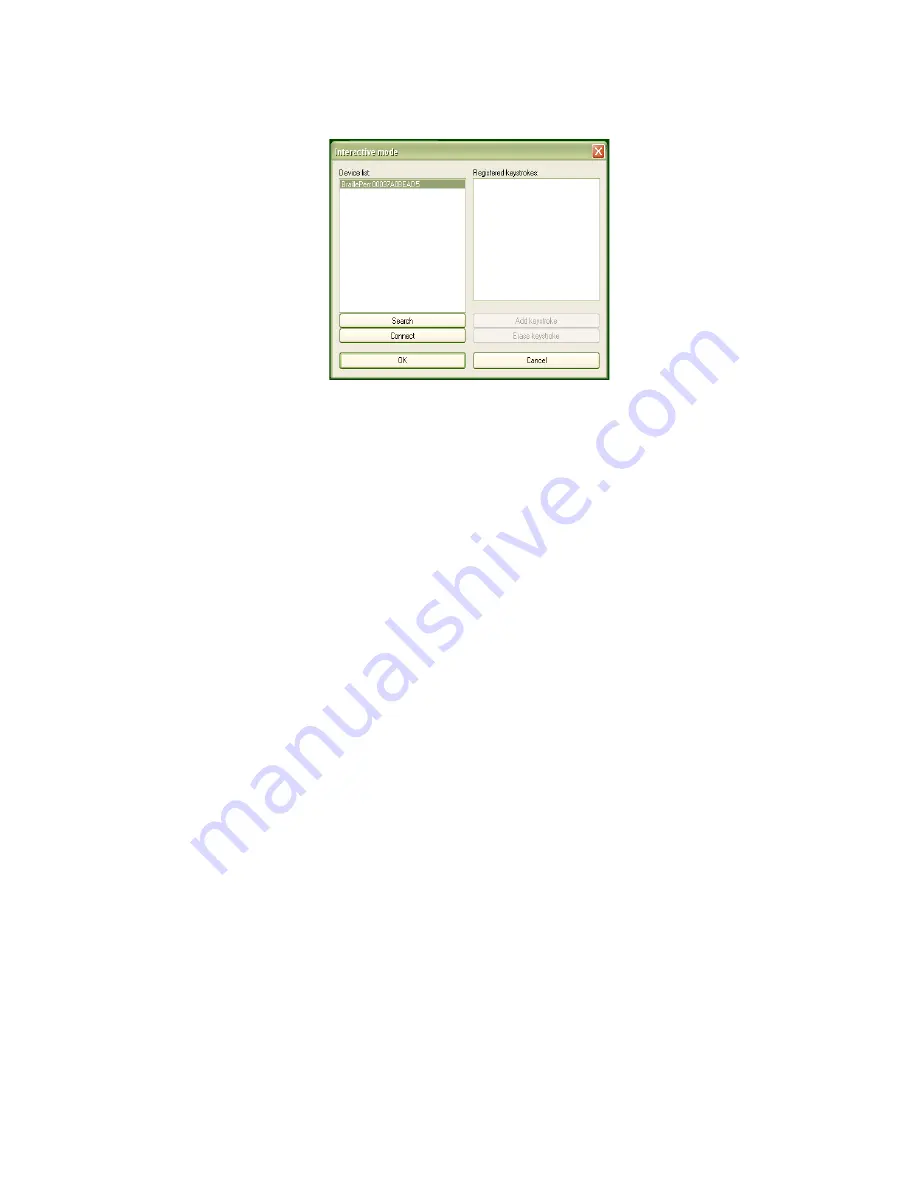
First there is a flashing Bluetooth icon in the centre of the left panel, and then when BPConfig
has discovered your BraillePen12, it will put the MAC address in the left-hand side of the
window, and you can then click Connect.
On the right side of the window is a display space to list the key mappings as you build them
up. Under that display space is a pair of buttons: Add keystroke and Erase keystroke.
When you click Add keystroke, a new window appears inviting you first to press the keystroke
on one or other of the keyboards - it doesn't matter whether you begin with the BraillePen12
or the PC keyboard.
When you have pressed that keystroke, the message then invites you to press the
corresponding keystroke on the other keyboard. When you have done that, the new window
disappears, and your new combination is displayed in the right-hand display space.
If you should enter a combination in error, you can use the Erase keystroke button to delete
that keymap from the list, and then use Add keystroke to do it afresh.
The two buttons at the bottom of the Interactive Mode window are OK and Cancel. Cancel
takes you back to the main BPConfig window, without making any changes to the keymap
you have loaded; OK takes you back to the main window and writes your changes into the
file you have loaded - you can check the display space for your changes and additions, which
will appear at the bottom of the list.
Remember to save the keymap file from the main window to write it to the disk as a file; use
the Save keymap button in the main window to do this.
15
Illustration 13: BPConfig ready to connect.


