8
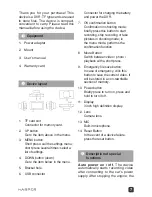
device automatically saves the video
and turns off.
Video / Photo shooting
instructions
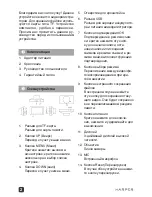
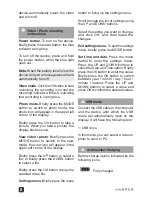
Power button.
To turn on the device,
briefly press the power button, the blue
indicator will light up.
To turn off the device, press and hold
the power button, while the blue light
goes out.
Note.
When the battery level is low, the
device will give a message about it and
automatically turn off.
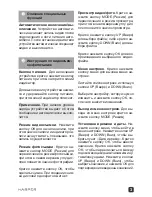
Video mode.
Click the OK button to start
recording, the recording icon and the
recording indicator will flash, indicating
that recording is in progress.
Photo mode.
Briefly press the MODE
button to switch to photo mode, the
photo icon will appear in the upper left
corner of the display.
Briefly press the OK button to take a
picture. When you take a picture, the
display flashes once.
View video / photo.
Briefly press the
MODE button to switch to the view
mode, the view icon will appear in the
upper left corner of the display.
Briefly press the UP button to select a
file; or briefly press the DOWN button
to select a file.
Briefly press the OK button to play the
selected video file.
Settings menu.
Briefly press the menu
button to bring up the settings menu.
Scroll through the list of settings using
the UP and DOWN buttons.
Select the setting you want to change,
and click OK, and then make the
changes.
Exit settings menu.
To exit the settings
menu, briefly press the MODE button.
Set time and date.
Press the menu
button to enter the settings menu.
Press the UP and DOWN buttons to
select the Date and Time option. Briefly
press the OK button to enter the value.
Briefly press the OK button to switch
between year / month / day / hour /
minute / second. Press the UP and
DOWN buttons to select a value and
press OK to confirm the entered values.
USB mode
Connect the USB cable to the computer
and the device, after which the USB
menu will automatically open on the
display. It will have the following item:
1: USB drive.
In this mode, you can select a video or
photo to send to PC.
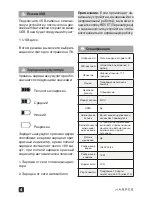
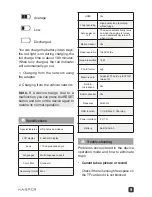
Accumulator charging
Battery charge level is indicated by the
following icons:
Fully charged
Содержание DVHR-410
Страница 1: ...HD DVHR 410 RUS User manual ENG A life of joy www harper ru...
Страница 2: ...TF 1 2 3 4 1 TF 2 UP 3 MENU 4 DOWN 5 6 USB 7 OK 8 9 10 11 3 12 13 MIC 14 Reset 2...
Страница 3: ...OK MODE OK MODE UP DOWN OK UP DOWN OK MODE UP DOWN OK OK UP DOWN OK 3...
Страница 4: ...4 USB USB USB 1 USB 180 1 2 RESET HD HD 3 170 MOV HDMI 1080P 30fps 12 M JPG TF 32 10...
Страница 5: ...5 50 60 USB 1 USB 2 5 1 180 TF TF TF 50 60 RESET...
Страница 6: ...6 User manual HD dash camera DVHR 410...
Страница 11: ......


