


© 2015Harmar Mobility, LLC • All Rights Reserved
| www.harmar.com
16
Pinnacle 101 Stair Lift
FOLDING RAIL INSTALLATION
Note -
The photos in this section show a "left" folding rail, assembled to be installed on the left side of
the stairway. If you’re assembling a "right’"side, please complete all of these steps in mirror-image to
what’s shown.
As always, if you encounter any difficulty, please call Harmar Technical Support at:
(866) 351-2776
Folding Rail Option Installation
FOLDING RAIL INSTALLATION PROCEDURES
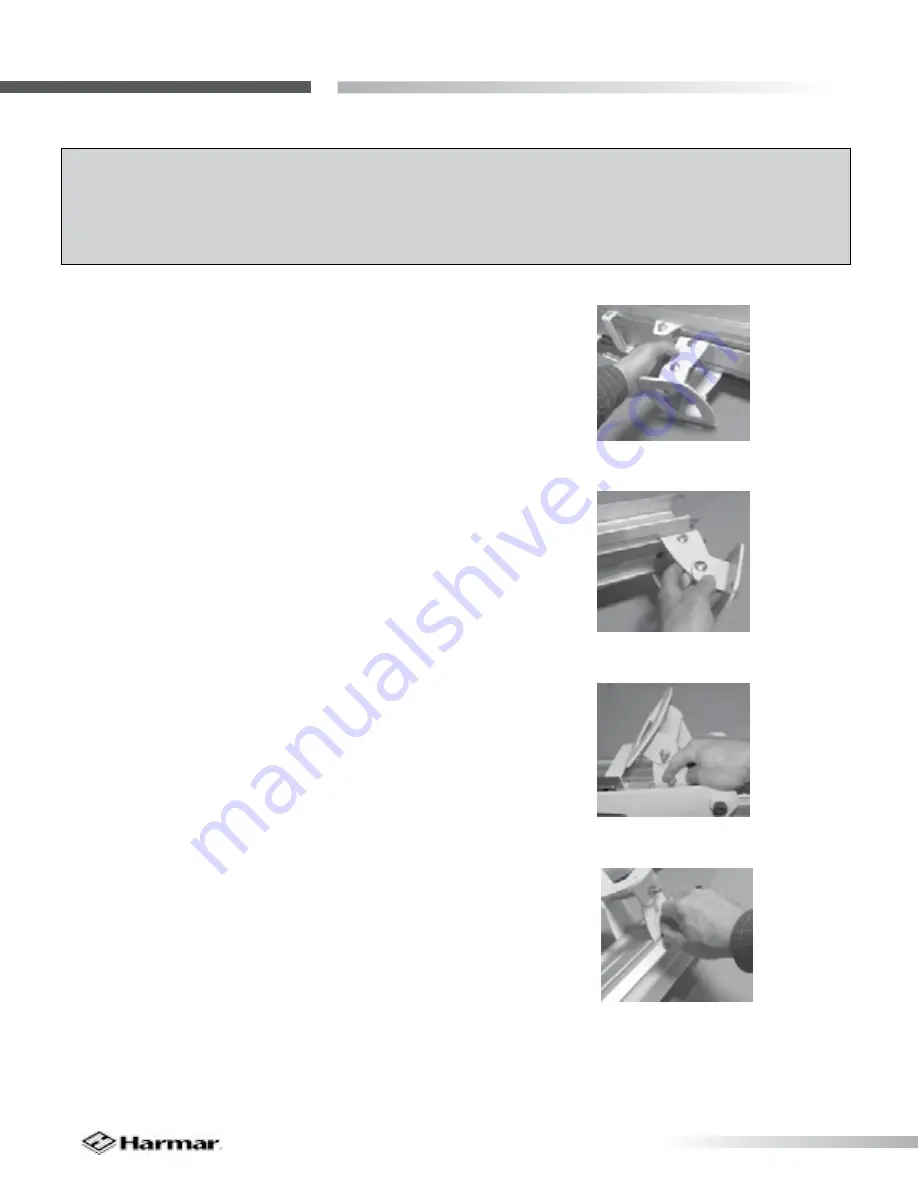
1.
Orient the two rail brackets onto the folding rail
as shown
[Figure 20-1],
with the nuts on the same
side as the folding mechanism (for either left or right
folding).
[Figure 20-2]
Figure 20-1
Figure 20-4
Figure 20-3
Figure 20-2
2.
Expand and snap the two brackets over the rail,
so the top is in the bracket-groove.
[Figure 20-3]
3.
Partially tighten the two nuts that position
these on the rail, using a 1/2" wrench (deep socket
preferred), so they won’t slide when you’re test-
fitting the position.
[Figure 20-4]


