


SYSTEM SETUP
19
ENGLISH
System Setup
assume that sound should always be coming
from each speaker, most of the time there will be
little or no sound in the surround channels. This is
because they are only used when a movie director
or sound mixer specifically places sound there to
create ambiance, a special effect or to continue
action from the front of the room to the rear.
When the output levels are properly set it is nor-
mal for surround speakers to operate only occa-
sionally. Artificially increasing the volume to the
rear speakers may destroy the illusion of an
enveloping sound field that duplicates the way
you hear sound in a movie theater or concert hall.
The default settings of the DVD player is 0 dB for
all channels. In case you feel adjustments are
necessary in your setup, we advise you to copy
the settings currently in use with 5.1 surround
modes (for instance Dolby Prol Logic II) of your
AV receiver to the DVD player.
When all settings have been done select
DONE
on the bottom of the menu and press the
Enter
Button
6
.
Video Settings
The Video Setting Submenu contains the
following settings. Follow the explanations in the
Instruction Line on the bottom of your screen to
change the settings.
Important Note
: The settings for the
Video
Output
,
Scan Type
and
Scart Output
will not
affect the HDMI output, only the appropriate
analog video outputs.
Aspect Ratio:
This step selects the TV aspect
ratio, conventional screen shape (4:3) or
widescreen (16:9), according to your TV.
Also when you have a "4:3" TV that can be
turned to the "16:9" mode (or turns itself
automatically) select "16:9" for the aspect ratio
to enable the best vertical resolution available
with all movies.
Video Standard:
Sets the output video format
i.e. NTSC, PAL or SECAM, of the DVD player. If
you have a multi standard TV, we recommend the
AUTO setting for optimal picture quality.
Video Output:
Sets the video output type to
S-Video, Component or SCART. Scart will be used
for most TV's with only analog inputs.
Component will be used for most LCD, Plasma
and projectors.
Note that this setting is available only when
Interlaced is selected for the Scan Type (see
below).
Scan Type:
This setting allows you to select
between progressive and interlaced scanning for
the
Component Video Outputs
to maxi-
mize the image resolution for the type of video
display in use. The output at the
S-Video
,
Scart
and
Composite Video
outputs
will always be standard-rate video that is com-
patible with any television set or video display.
Two choices are available:
Progressive:
Select this option if you have a
video display that is compatible with input
sources of 480P or greater on the Component
Inputs. Displays labeled as “HDTV Ready,”
including virtually all large-screen LCD and
plasma displays, are compatible with progressive
scan.
Interlaced:
Select this option when you are
using an older video display that has Y/Pr/Pb
component inputs, but which is not capable of
displaying high scan rate, or “HD” signals.
NOTES:
1. The Scan Type may only be changed when the
Video Output setting has been set to
Component.
2. If you have connected the DVD 47 to a video
display that is not capable of displaying
progressive scan video using the Component
(Y/Pr/Pb)
Video Outputs
, and you have
inadvertently changed the Video Output
Setting to Component and the Scan Type
setting to Progressive, you may reset the scan
type to interlaced by pressing the
Progressive Scan/Interlaced Button
L
.
Be sure that the Setup menu is not activated
(then the front panel display will not show
SETUP
, otherwise press the
Setup Button
8
at first.
3. When Progressive is selected there will be no
video signal on the outputs
Composite
,
Scart
and
S-Video
.
Also the
Video Output Indicators
O
"480p"
or "576p" will light in the front display, no mat-
ter which resolution is selected for the HDMI out-
put (see below) to indicate that the
Progressive
Component Outputs
are in use.
Scart Output:
Selects which kind of video
output signals will be routed over the scart.
RGB will be used for most TV’s and is therefore
recommended.
Note that for RGB on the Scart output also
RGB
must be selected in the
Video Output
line (see
above).
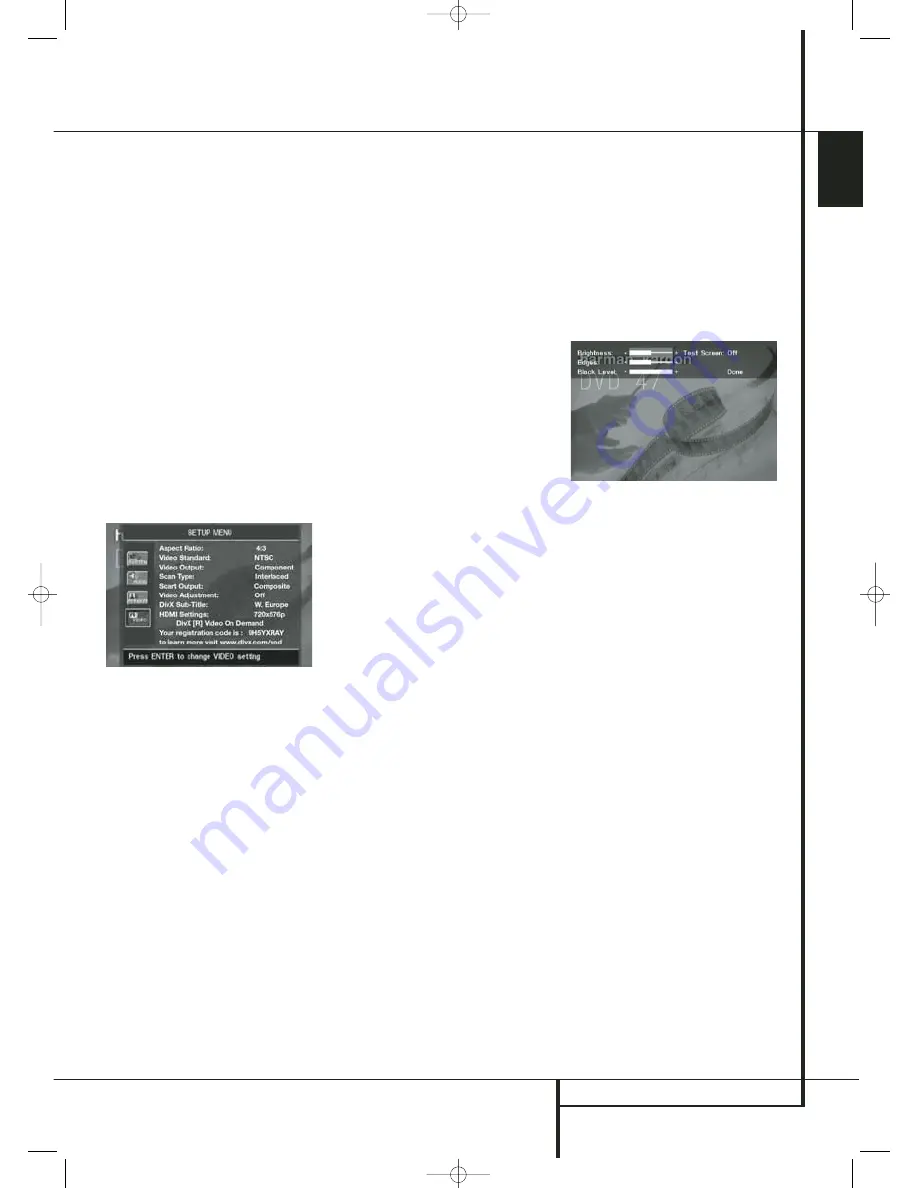
Video Adjustment:
The Video Adjustment
Submenu, that appears after
O N
has been
selected in the Video Adjustment line, contains
access to some video parameters and to the Test
Screen. First adjust the video display device (TV)
with the help of the Test Screen. After that the
output settings of the player can be fine-tuned
with the Brightness, Sharpness and Black Level
settings. In order to change the settings, move
the cursor to the appropriate setting. Once one
of the icons is highlighted, pressing the right or
left
Arrow
Button
9
will increase or decrease
the value of the setting, as will be shown in the
bar behind the setting. When the Test Screen is
activated the Video Adjustments submenu will
disapper after some seconds, to restore it simply
press the
Status
button
D
.To exit the Video
Adjustment Menu, move the cursor to DONE,
and press ENTER.
DivX Subtitle:
This setting selects the desired
subtitle language for DivX movies.
Below the menu items you will find your personal
DivX Video On Demand (VOD) code.
This code allows you to rent and purchase videos
using the DivX VOD service. For more infor-
mation, visit www.divx.com/vod. Follow the
instructions and download the video onto a disc
for playback on this unit. Note that all the
downloaded videos from DivX VOD can only be
played back on this unit.
HDMI Settings:
This setting displays the char-
acteristics of the video output signal at the
HDMI Output
. When the DVD 47 is con-
nected to a video display using the
HDMI
Output
, as soon as the player is turned on
(while the display is on already) the display sends
information to the DVD 47 that indicates the
highest video resolution it is capable of handling,
and the DVD 47 automatically sets the video out-
put to match it. That resolution is displayed here.
You may use this setting to manually select
another video output resolution. Changes made
here remain active until the player is turned off.
When it is turned on again, the DVD 47 will
revert to the default setting transmitted by the
display. Make sure your video display or other
video switching equipment (such as an HDMI-
capable receiver) is capable of handling the
DVD 47’s HDMI output signal.
The HDMI settings can also be changed directly
by pressing the
HD Mode Selector
on the
remote (see more details on page 9) as long as
the Progressive Component Output is not
selected.
30016_DVD47_ENG 20/11/06 15:52 Side 19


