ENGLISH
13
ASSEMBLY
1.
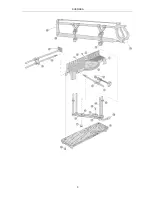
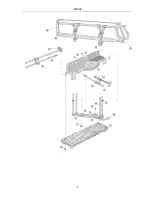
Adjust the drill hole (17) to the mounting hole (6) and tighten the screw (7). Tighten the retaining
screw (8) to fasten the pivot arm (5) on the stand (1).
2.
Attach the pointer (2) with the screw (18) on the pivot arm (5).
3.
Fix the wooden base (9) with four screws (18) on the stand (1).
4.
Screw in the clamping screw (11) on the front of the frame. Fix the screw by tightening the hex nut.
5.
Screw in the set screw (10) on the side of the frame. Fix the screw by tightening the hex nut.
6.
Pull the controls (14) over the guides (12), so that the saw frame (20) can move freely.
7.
The saw is now ready to be assembled.
OPERATION
1.
Fix the wooden base (9) on a work table.
2.
Press the lever (13) up to adjust the frame and pivot arm to the required angle.
3.
Lift the frame (20) and place the workpiece (wood) on the frame (1).
4.
Fasten the workpiece with the fence (22) from the side and with the clamp (21).
5.
Hold the grip firmly (23).
6.
You can now start to saw.
Jula reserves the right to make changes. In the event of problems, please contact our service
department.
www.jula.com
Содержание 120-200
Страница 3: ...SVENSKA 3 ...
Страница 6: ...NORSK 6 ...
Страница 9: ...POLSKI 9 ...
Страница 12: ...ENGLISH 12 ...


