Safety Warnings and Precautions (continued)
8.
Check for damaged parts
. Before using any tool, any part that appears damaged should be carefully checked to
determine that it will operate properly and perform its intended function. Check for alignment and binding of
moving parts; any broken parts or mounting fixtures; and any other condition that may affect proper operation. Any
part that is damaged should be properly repaired or replaced by a qualified technician. Do not use the tool if any
switch does not turn On and Off properly.
9.
Replacement parts and accessories
. When servicing, use only identical replacement parts. Use of any other parts
will void the warranty. Only use accessories intended for use with this tool. Approved accessories are available from
Harbor Freight Tools.
10.
Do not operate tool if under the influence of alcohol or drugs
. Read warning labels on prescriptions to deter-
mine if your judgment or reflexes are impaired while taking drugs. If there is any doubt, do not operate the tool.
11.
Maintenance
. For your safety, maintenance should be performed regularly by a qualified technician.
WARNING:
People with pacemakers should consult their physician(s) before using this product. Electromagnetic fields
in close proximity to a heart pacemaker could cause interference to, or failure of, the pacemaker.
Warning: The warnings, cautions, and instructions discussed in this instruction manual cannot cover all possible condi-
tions and situations that may occur. It must be understood by the operator that common sense and caution are factors which
cannot be built into this product, but must be supplied by the operator.
Unpacking
When unpacking, check to make sure all parts shown on the Parts Diagram and Parts Lists are
present. If any parts are missing or broken, please call Harbor Freight Tools at the number on the cover
of this manual.
Preparing to Operate
#43149
Page 3
To Assemble the Metal Detector:
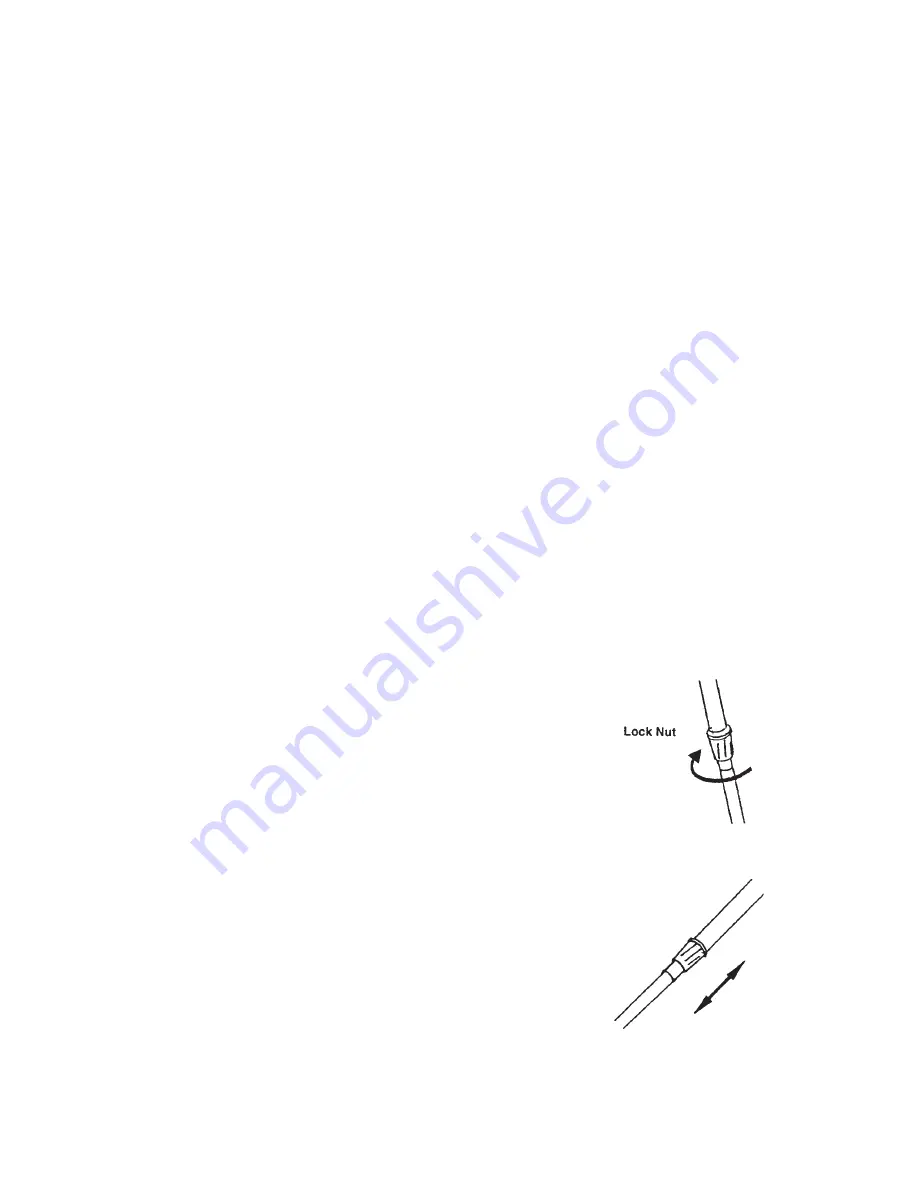
1. Turn the lock nut on the stem clockwise to loosen (see Figure 1).
2. Adjust the length of the stem so that when you stand upright with
the metal detector held in your hand, the search coil is level with and
about 1/2 to 2 inches above the ground (see Figure 2).
3. Turn the stem’s lock nut counterclockwise to lock it in place.
4. Unscrew the knob on the search coil and take off the knobs and
connector. Insert the stem and align the holes on the search coil
bracket and the stem. Push the connector through the holes and
tighten the knob.
Figure 1
Figure 2
REV 07f
Содержание 43149
Страница 10: ... 43149 Page 10 ...
Страница 11: ... 43149 Page 11 ...
Страница 13: ... 43149 Page 13 ...
Страница 14: ... 43149 Page 14 ...
Страница 15: ... 43149 Page 15 ...
Страница 17: ... 43149 Page 17 Wiring Diagram continued on next page ...
Страница 18: ... 43149 Page 18 Wiring Diagram continued from prior page ...


