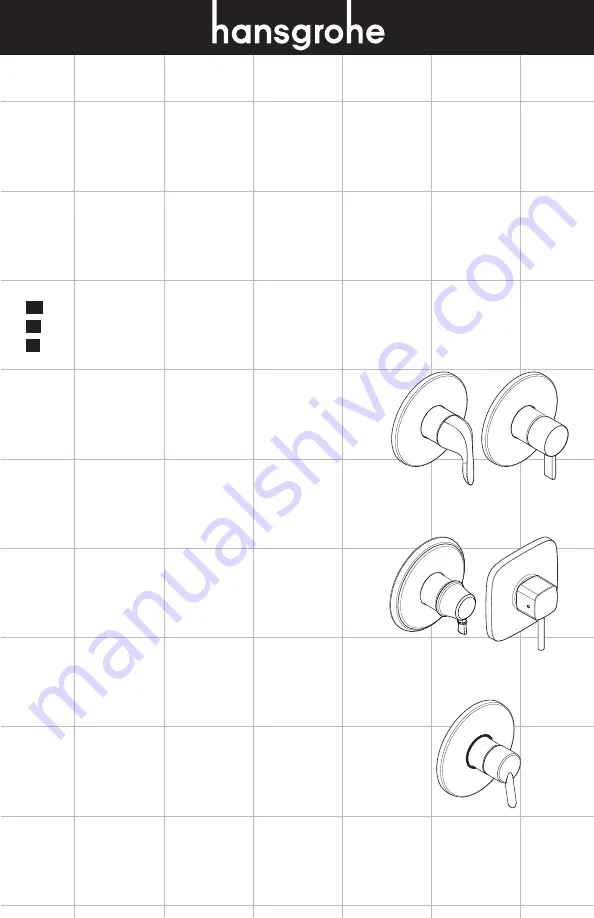
E
04228xx0
S
04233xx0
C
04223xx0
PuraVida
15407xx1
04441000
EN
Installation / User Instructions / Warranty
FR
Instructions de montage / Mode d'emploi / Garantie
ES
Instrucciones de montaje / Manejo / Garantía
Страница 1: ...E 04228xx0 S 04233xx0 C 04223xx0 PuraVida 15407xx1 S 04441000 EN Installation User Instructions Warranty FR Instructions de montage Mode d emploi Garantie ES Instrucciones de montaje Manejo Garant a...
Страница 2: ...04223xx0 04228xx0 04233xx0 15407xx1 04441000 6 3 6 3 6 3 2 4 6 2 4 3 6 2...
Страница 3: ...ensed profes sional plumber Please read over these instructions thoroughly before beginning installation Make sure that you have all tools and supplies needed to complete the installation This trim is...
Страница 4: ...to en lugar seguro El recibo se requiere en caso de ser necesario solicitar piezas bajo garant a prendre en consid ration pour l installation Pour de meilleurs r sultats Hansgrohe re commande que ce p...
Страница 5: ...d arr t d isolation Cierres de servicio User Instructions Instructions de service Manejo closed ferme cerrado open ouvert abierto off ferm cerrado on ouvert abierto warmer plus chaud m s caliente cool...
Страница 6: ...e cold stop 1 Remove the flushing block using a 5 mm Allen wrench Turn it 90 and reinstall 2 Open the hot stop 3 Allow the hot supply to flush for at least 5 minutes 4 Close the hot stop Flush the hot...
Страница 7: ...r installez le 2 Ouvrez l eau chaude la but e d arr t d isolation 3 Rincez le conduite de l eau chaude pour au moins 5 minutes 4 Fermez l eau chaude la but e d arr t d isolation 1 Retire el inserto de...
Страница 8: ...can lead to possible water damage Remove the flush insert screw flush insert and seals 2 Install the function block Tighten the screws using a 4 mm Allen wrench Installation Close the stops using a 4...
Страница 9: ...ella la pared pueden pro ducirse da os por acci n del agua Retire el tornillo el inserto de lavado y las juntas 2 Inserte el bloque de funci n Instale los tornillos del bloque de funci n con una llave...
Страница 10: ...t each screw so that it is X long Open the stops using a 4 mm Allen wrench 1 Install the carrier plate 2 Install the carrier plate screws Measure the distance from the front of the plaster shield to o...
Страница 11: ...tallez les vis de la plaque support Agregue a X Anote esta medida Corte el tornillo de modo que sobresalga X Abra el paso del agua en los cierres de servicio con una llave Allen de 4 mm 1 Instale la p...
Страница 12: ...e valve opens through hot re verse the cartridge See page 14 If the maximum high temperature is greater than 120 F or that permitted by local plumbing code adjust the rotational limit stop See page 16...
Страница 13: ...e 120 F 49 C ou la temp rature permise par le code de plomberie local voir page 16 Fermez l eau Retirez la poign e 4 Lubrifiez la joint torique sur la cartouche avec une petite quantit de graisse de p...
Страница 14: ...handle counter clockwise approximately turn after hitting the stop Reverse the cartridge If the valve opens through hot reverse the cartridge Close the stops using a 4 mm Allen wrench or turn the wat...
Страница 15: ...do antihorario Gire aproxi madamente despu s de alcanzar el tope Inversez la cartouche Si le robinet s ouvre en faisant couler l eau chaude inversez la cartouche Fermez les but es l aide d une cl hexa...
Страница 16: ...asonally or if changes are made to the water heater Turn the rotational limit stop clockwise to make the water cooler counter clockwise to make it warmer Depending on local conditions each notch repre...
Страница 17: ...Tournez la but e de limite de rotation dans le sens horaire pour que l eau soit plus froide ou dans le sens antihoraire pour qu elle soit plus chaude Tout d pendant de la r gion chaque encoche repr se...
Страница 18: ...oil rubbed bronze 82 brushed nickel 83 polished nickel 92 rubbed bronze Replacement Parts Pi ces d tach es Repuestos 16x2 E S 96647000 96454000 88727000 96525000 13596xx0 optional 13595000 optional 8...
Страница 19: ...19 15597xx0 optional 96454000 C PuraVida 98793000 88765xx0...
Страница 20: ...with regard to design and functionality To avoid damage and returns it is necessary to consider certain criteria when cleaning Cleaning Materials for Faucets and Showers Acids are a necessary ingredi...
Страница 21: ...el resto de detergente La utilizaci n de limpiadores a vapor no est permitida las altas temperaturas pueden da ar los productos Indicaciones importantes Los residuos de productos de aseo como jab n l...
Страница 22: ...d If you purchased the product for use primarily for any other purpose including without limitation a commercial purpose this warranty extends only i for 1 year with respect to Hansgrohe Commercial pr...
Страница 23: ...NTABILITY Some States do not allow the exclusion or limitation of incidental or consequential damages so the above limitation or exclusion may not apply to you This warranty gives you specific legal r...
Страница 24: ...Hansgrohe Inc 1490 Bluegrass Lakes Parkway Alpharetta GA 30004 Tel 770 360 9880 Fax 770 360 9887 www hansgrohe usa com US Installation Instructions Part No 90111801 Revised 03 2011...