30
For detailed definitions of technology terms, please visit our website at
www.hannspree.com/us (under the services section).
3.1 OSD Setting Menus
Follow the instructions indicated on the bottom of the OSD Function Menu. Press
/
on the control panel or
/
arrow keys on the remote control to scroll
through the menus. Press
INPUT
on the control panel or
OK
key on the remote
control to select an item and then press
MENU
key to exit the OSD menu.
The following menus can be set by different adjustment methods.
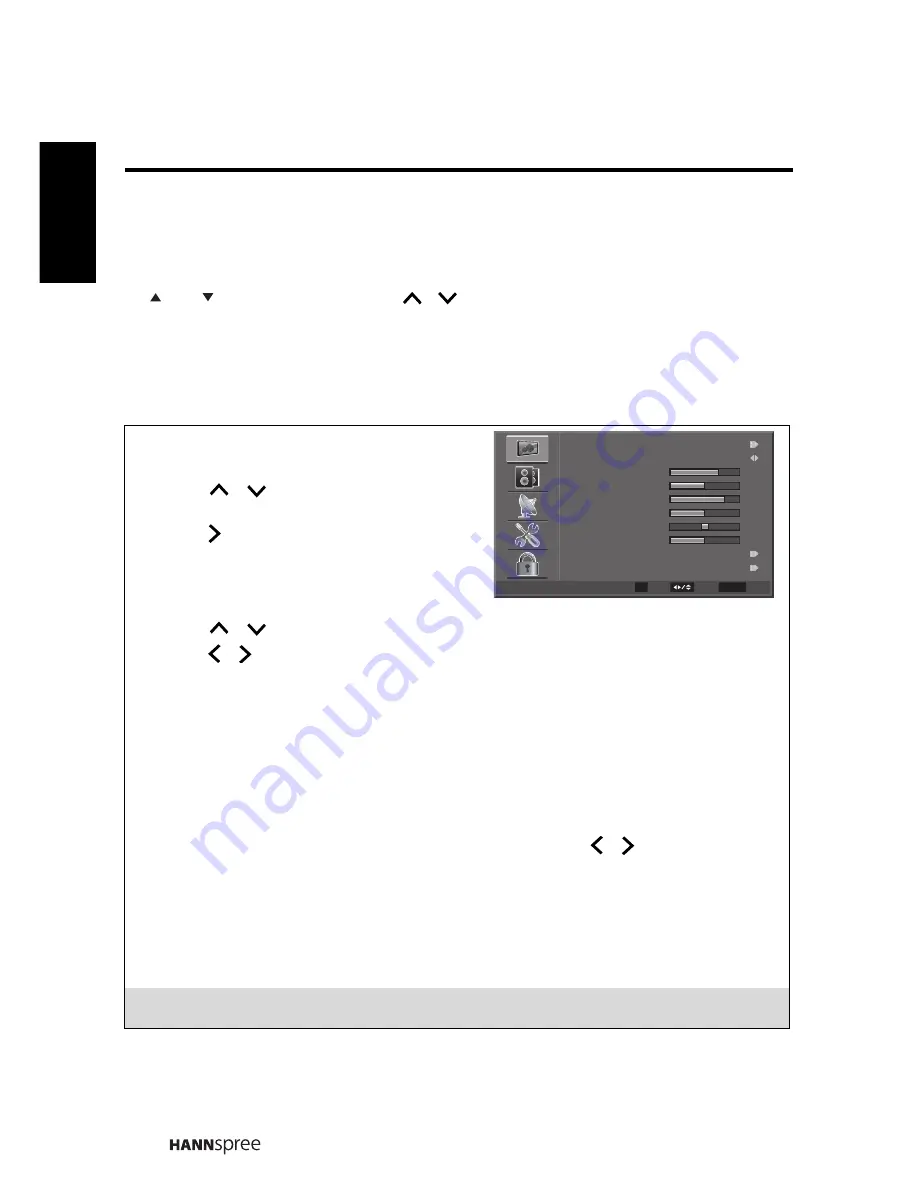
3.2 Adjusting Video Settings
1
Press
MENU
to enter the OSD Main Menu
screen.
2
Press
/
on the remote control to
select Video menu.
3
Press /
OK
on the remote control to
enter the Video menu.
4
Press
/
on the remote control to select an item.
5
Press / on the remote control to change the scales or press
OK
on the remote
control to enter an item.
6
Press
RETURN
to return to the Video menu.
7
Press
MENU
to exit the Video menu.
The Video menu can be used to adjust the
Multimedia
,
Picture Mode
,
Back Light
,
Brightness, Contrast
,
Saturation
,
HUE
,
Sharpness
,
Color Temperature
,
Advanced Video
, and
VGA
(VGA mode only) settings.
Back Light
,
Brightness
,
Contrast
,
Saturation
,
HUE
,
Sharpness
, and
Color Temperature
are only available
for adjustments if you select
User
in Picture Mode. Press / on the remote
control to adjust these settings.
• Multimedia can be used to access image and audio files on a USB flash drive.
• Picture Mode can be set to
Cinema
,
Sport
,
Vivid
,
Game
, or
User
.
• Advanced Video can be used to set
ANR
,
MPEG NR
,
Adaptive Luma Control
,
Flesh Tone
, and
Blue Stretch
.
• VGA can be used to set
Auto Adjust
,
H.Position
,
V.Position
,
Phase
, and
Clock
.
Note:
The items available on the OSD may vary depending on the input signal source.
CH
CH
Enter
Select
Exit
OK
RETURN
Multimedia
Picture Mode
Back Light
Brightness
Contrast
Saturation
HUE
Sharpness
Color Temperature
Advanced Video
Video
70
50
78
50
0
10
User
Engli
sh


