Section 3: Fuel Tank Assembly
9
Step 4
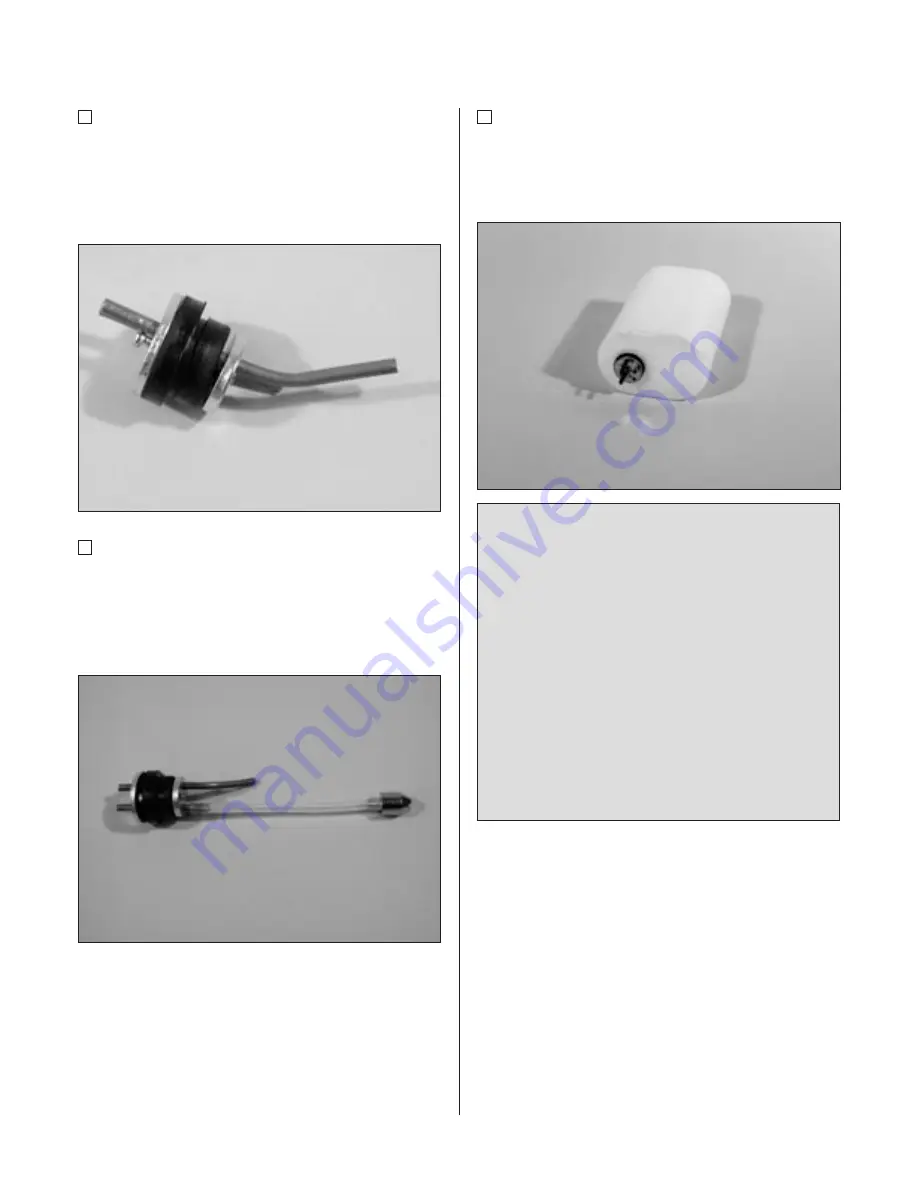
Locate the vent tube. It is the one that has a slight
bend. Slide the longer end of the vent tube into the
remaining hole in the stopper from the tank (small
cap) side. The bend must be on the back of the
stopper, so it ends up inside the fuel tank.
Step 5
Locate the clear piece of silicone fuel tubing and
the fuel tank clunk. Install the clunk onto one end
of the silicone tubing. Slide the silicone tubing (end
opposite the clunk) onto the fuel tank pickup tube
(straight tube) in the stopper.
Step 6
Carefully insert the stopper assembly into the fuel
tank. Note the position of the vent tube; it must point
towards the top of the fuel tank to function properly.
(The stopper is located towards the top of the tank.)
Check to make sure the clunk can move
freely inside the tank. You must be able
to turn the tank to any attitude, and the
clunk will fall to the lowest point (all
directions except for having the stopper
facing down). If it does not, remove the
stopper and shorten the line by 1/16 inch
and check again. Take your time during
this step, as it is important that the clunk
operates properly. Having the line too short
will keep the engine from drawing all the
fuel from the tank.


