EXPELLER
Periodically inspect the expeller teeth for wear or damage. Damaged, broken, or missing expeller teeth
will cause excessive machine vibration. Consult with your local H&S dealer for additional ordering
information.
SERVICE
-26-
AUGER & EXPELLER SPEED OPTIONS
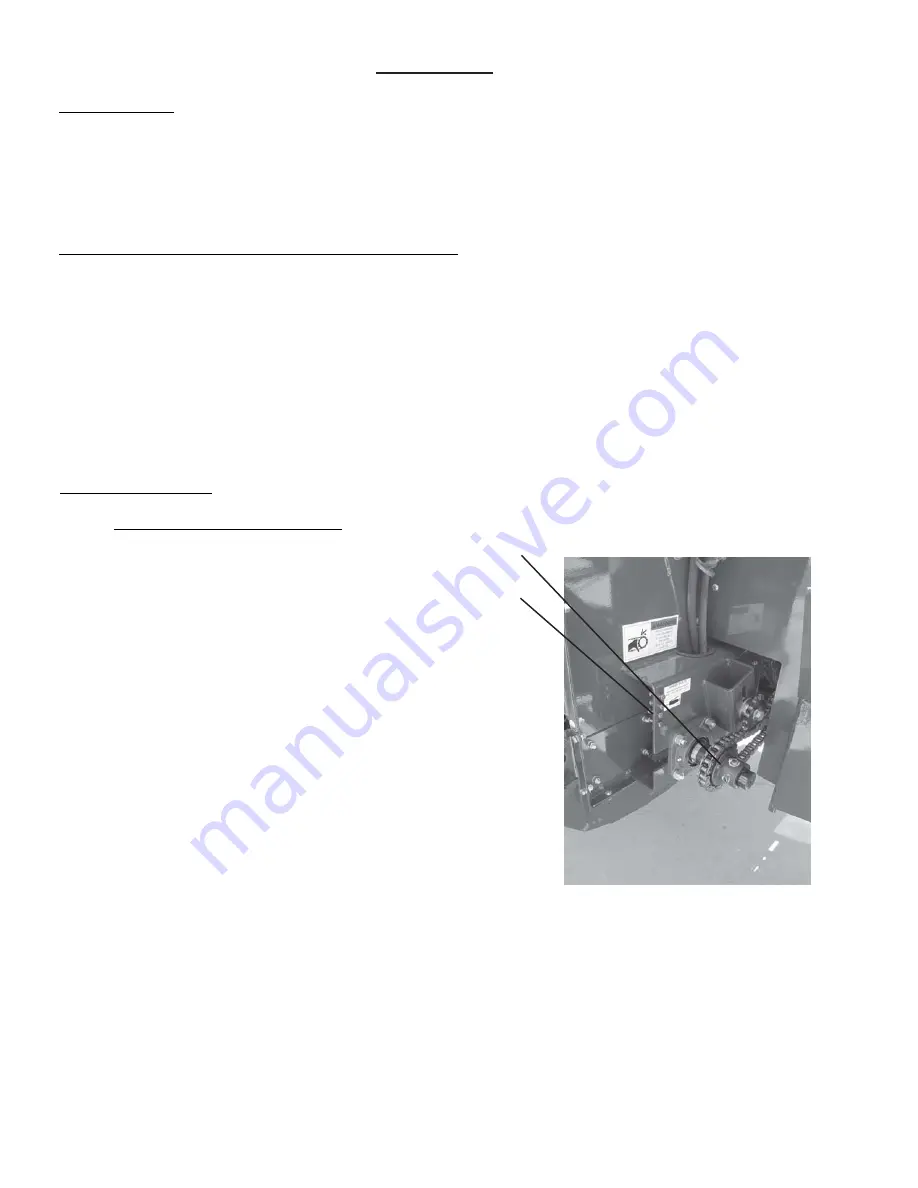
The expeller input drive sprocket can be changed by raising the auger and then removing the indicated
sprocket which is retained by a snap ring and set screws.
The auger input drive sprocket change requires removal and disassembly of input shaft.
NOTE: When making sprocket changes, some chain length modifications may be required depending
on the condition of the chain and size of the sprocket installed.
SHEAR BOLTS
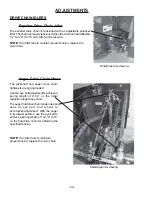
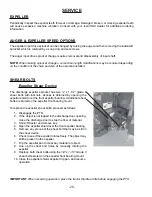
Expeller Shear Device
The discharge expeller sprocket has two ¼” x 1-1/2” grade 8
shear bolts with locknuts. Access is obtained by opening the
expeller shield over the front expeller bearing. Additional shear
bolts are stored on the expeller front bearing mount.
To replace the expeller shear bolts, proceed as follows:
1. Disengage the PTO.
2. If the object is not lodged in the discharge door opening,
close the discharge door to stop the flow of material.
3. Shut-off tractor and remove key.
4. Open the expeller shield over the front expeller bearing.
5. Remove any pieces of the shear bolt that may be still in
the shear device.
6. Check to see if the expeller rotates freely. The object may
still be present in the expeller.
7. Trip the expeller pan to clear any material or object.
8. Line up the shear bolt holes by manually rotating the
expeller.
9. Replace both shear bolts using the 1/4” x 1-1/2” Grade 8
shear bolts stored on the expeller front bearing mount.
10. Close the expeller shield, expeller trip pan, and resume
operation.
Shield open for viewing
IMPORTANT: When resuming operation, place the tractor throttle at idle before engaging the PTO.
Содержание 5115
Страница 3: ......
Страница 4: ......
Страница 6: ...4 Intentionally Left Blank...
Страница 8: ...6 Intentionally Left Blank...
Страница 11: ...9 SAFETY INFORMATION...
Страница 12: ...SAFETY INFORMATION 10...
Страница 14: ...12...
Страница 40: ...SERVICE NOTES 38...

