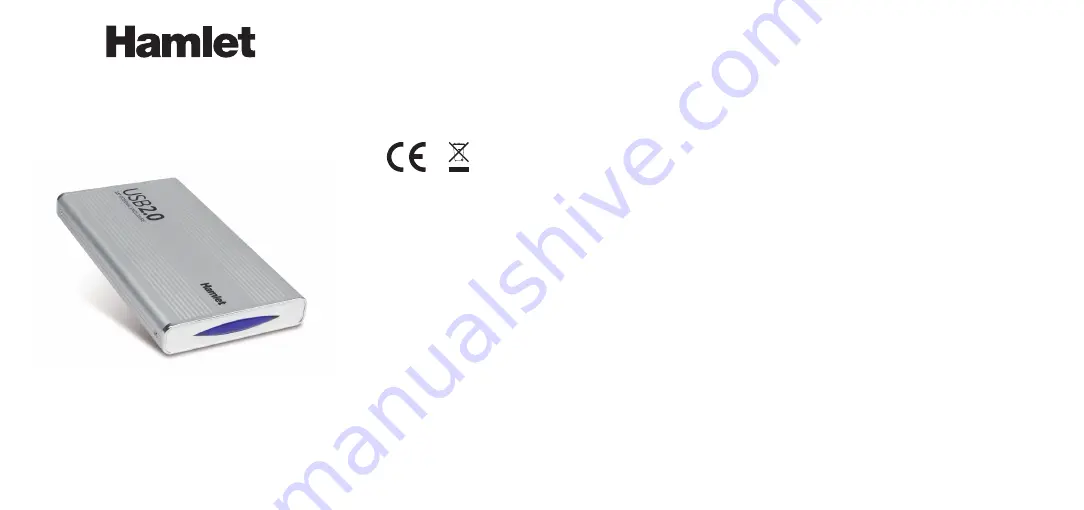
IDE+SATA MOBILE STATION
Enclosure for 2.5" IDE/SATA Hard Disk
USER MANUAL
HXD2CCUU
www.hamletcom.com
Hard Disk installation
1. Unscrew the two fixing screws and remove the rear panel.
2. Pull out the internal board from the aluminum box.
3. Depending on the interface of the hard disk you want to install, connect it to the
SATA or IDE connector of the board.
4. Tighten the hard disk drive at the base of the board with the screws, then put it back
into the aluminum enclosure.
5. Replace the back panel into its slot and secure it with the screws. The disk is now
ready to use.
Device installation
1. Connect the USB 2.0 cable to your computer and to the drive.
2. The drive will mount in “My Computer” (Windows) or on your “Desktop” (Mac).
IMPORTANT NOTE
: Before using your external storage device, the hard drive must
be formatted. Please refer to your Operating System manual for the correct formatting
procedure.
If you are using Windows 98SE, connect to www.hamletcom.com website to download
the drivers.
Connecting and disconnecting USB devices
Most USB devices can be removed and unplugged at will. When unplugging storage
devices, such as USB flash drives, you should be sure that the computer has finished
saving any information to the device before removing it. If the device has an activity
light, wait for a few seconds after the light has finished flashing before unplugging it.
Windows Users
If you see the “Safely Remove Hardware” icon in the notification area at the far right
of the taskbar, you can use this to ensure that devices have finished all operations in
progress and are ready to remove.
1. Click the “Safely Remove Hardware” icon.
2. You’ll see a list of connected devices.
3. Click the device you want to remove.
Mac Users
To eject a disk or volume, do one of the following:
• Select the item to eject, and choose File > Eject.
• Drag the item to the Trash icon in the Dock (While you drag, the Trash icon changes
to an Eject icon).
Dear Customer,
thanks for choosing an Hamlet product. Please carefully follow the instructions for its
use and maintenance and, once this item has run its life span, we kindly ask You to
dispose of it in an environmentally friendly way, by putting it in the separate bins for
electrical/electronic waste, or to bring it back to your retailer who will collect it for free.
We inform You this product is manufactured with materials and components in
compliance with RoHS 2011/65/EU directive, with WEEE 2002/96/CE directive,
2003/108/CE Italian Legislative Decree 2005/151 and EMC 2014/30/EU directive for
the following standards: EN 55022: 2010 + AC: 2011, EN 55024: 2010 + A1: 2015,
EN 61000-3-2: 2014, EN 61000-3-3: 2013.
The complete CE declaration of conformity of the product can be obtained by
contacting Hamlet at [email protected].
The information on the importer for your country can be found in the “About Us”
section of the website www.hamletcom.com.
Trademarks and changes
All trademarks and company names mentioned in this manual are used for description
purpose only and remain property of their respective owners. The material in this
document is for information only and subject to change without notice.
Important information
Any loss, corruption or destruction of data while using a Hamlet drive is the sole
responsibility of the user, and under no circumstances will Hamlet be held liable for
the recovery or restoration of this data. To help prevent the loss of your data, it is highly
recommended that you keep TWO copies of your data; one copy on your external
hard drive, for instance, and a second copy either on your internal hard drive, another
external hard drive or some other form of removable storage media.
Introduction
System Requirements
• Windows 98SE/ME/2000/XP/Vista/7/8 and 10, Mac OS 9 or above, Linux (kernel
2.4.18 or above)
• Available USB port (recommended USB 2.0)
Package content
• 2.5" SATA + IDE Enclosure
• USB cable
• User’s manual


