My View IP Cam
Wireless N Network Surveillance Cam
User Manual
HNIPC150W
www.hamletcom.com
Страница 1: ...My View IP Cam Wireless N Network Surveillance Cam User Manual HNIPC150W www hamletcom com...
Страница 2: ...489 1 V1 8 1 2008 04 EN 301 489 17 V2 1 1 2009 05 EN 300 328 V1 7 1 2006 10 EN 60950 1 2006 A11 2009 A1 2010 A12 2011 IEC 60950 1 2005 A1 The complete CE declaration of conformity of the product can b...
Страница 3: ...ations of the Camera 10 3 Accessing the camera 11 3 1 Using IPFinder 11 3 2 Accessing to the Camera 12 3 3 Configuring the IP Address of the PC 15 4 Configuring the camera 16 4 1 Using the Web Configu...
Страница 4: ...contained in the package carefully You should have the following Wireless Network Camera AC Power Adapter Camera Stand Ethernet Cable RJ 45 Installation CD ROM Quick Installation Guide NOTE Once any...
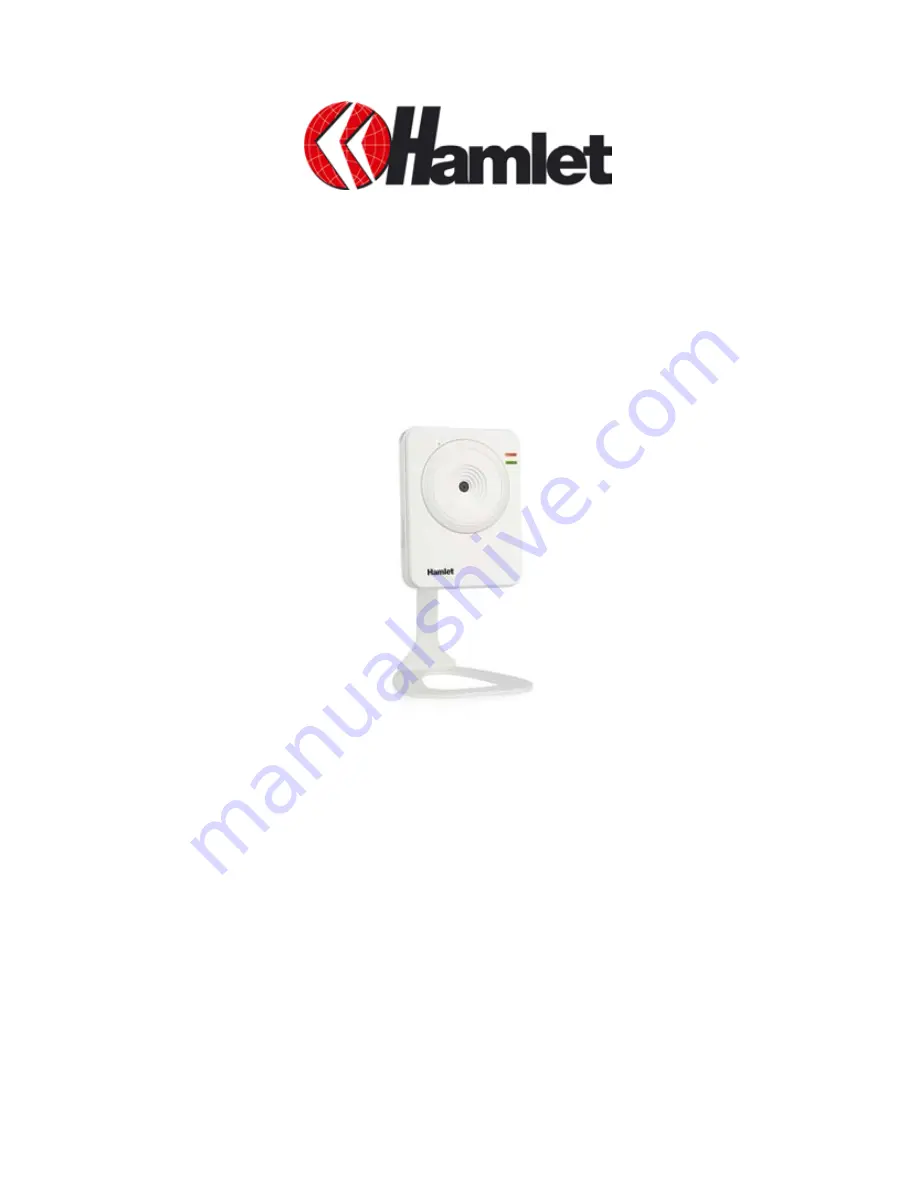
Страница 5: ...View Lens Assembly Power LED indicates the camera is powered on with the steady amber light Link LED indicates the camera s network connectivity with the flashing green light Internal Microphone allow...
Страница 6: ...le Connector is used to connect the network cable which supports the NWay protocol so that the camera can detect the network speed automatically Reset Button will restart the camera when it is pressed...
Страница 7: ...addition the camera can be upgraded remotely when a new firmware is available The users are also allowed to monitor the image and take snapshots via the network Multiple Platforms Supported The camera...
Страница 8: ...00 or above User Interface Internet Explorer 6 0 or above Safari 2 or above Mozilla Firefox 2 00 or above Google Chrome Accessing the Camera using UltraView Pro Platform Microsoft Windows XP Vista Win...
Страница 9: ...mera comes with a camera stand which uses a swivel ball screw head to lock to the camera s screw hole When the camera stand is attached you can place the camera anywhere by mounting the camera through...
Страница 10: ...erify the power status from the Power LED on the front panel of the camera Once connected the Link LED starts flashing green light and the camera is on standby and ready for use now When the camera is...
Страница 11: ...ternet or Intranet Capture still images and video clips remotely Upload images or send email messages with the still images attached The following diagram explains one of the typical applications for...
Страница 12: ...ck the IPFinder item to launch the utility The control panel will appear as below 3 Once you get the IP address of the camera launch the Web browser or UltraView Pro to access your camera Display the...
Страница 13: ...browser 2 If Network Camera can t get IP Address under DHCP mode the default IP Address will be 192 168 1 30 3 When the login window appears enter the default User name admin and password admin and p...
Страница 14: ...e system Live View Image Displays the real time image of the connected camera Live View Setup Switch Click Setup to configure the camera For details see Chapter 4 and Click the Live View button to ret...
Страница 15: ...NOTE If your PC use Microsoft Vista 7 platform Maybe you can t find these recorded files what stored by Snapshot or Manual Record That you need to disable the protected mode of Security in the IE Bro...
Страница 16: ...on to open the Network Connection window 3 Right click Local Area Connection and then click Properties from the shortcut menu 4 When the Local Area Connection Properties window appears select the Gene...
Страница 17: ...ion and guides you through the configuration of the camera by using the web browser To configure the camera click Setup on the main page of Web Configuration The Web Configuration will start from the...
Страница 18: ...you through the necessary settings with detailed instructions on each step To start the wizard click Smart Wizard in the left menu bar Step 1 Camera Settings Step 2 IP Settings Enter the name for the...
Страница 19: ...18 Step 3 Email Settings Step 4 Wireless Networking Enter the required information to be able to send email with image Complete the required settings for wireless networking...
Страница 20: ...nfiguration of your camera When you confirm the settings click Apply to finish the wizard and reboot the camera Otherwise click Prev to go back to the previous step s and change the settings or click...
Страница 21: ...name for the camera Location Enter a descriptive name for the location used by the camera Indication LED This item allows you to set the LED illumination as desired There are two options Normal and O...
Страница 22: ...lick Add Modify to add the new user to the camera To modify the user s information select the one you want to modify from UserList and click Add Modify UserList Display the existing users of the camer...
Страница 23: ...22 4 4 Network Settings The Network menu contains three sub menus that provide the network settings for the camera such as the IP Setting DDNS Setting IP Filter and Wireless for wireless model...
Страница 24: ...DNS Domain Name System translates domain names into IP addresses Enter the Primary DNS and Secondary DNS that are provided by ISP PPPoE Select this option when you use a direct connection via the ADSL...
Страница 25: ...so that you can access the camera if it is behind an NAT router or firewall Select the Enable option to enable this feature Ports Number HTTP Port The default HTTP port is 80 NOTE If the camera is be...
Страница 26: ...k Add to save the range setting You can repeat the action to assign multiple ranges for the camera IPv6 Enter the IP Address that is allowed to access the camera Deny IPv4 Assign a range of IP address...
Страница 27: ...any access point under the infrastructure network mode To connect the camera to a specified access point set a SSID for the camera to correspond with the access point s ESS ID To connect the camera to...
Страница 28: ...low communication only with other devices with identical WEP settings WPA PSK WPA2 PSK WPA PSK WPA2 PSK is specially designed for the users who do not have access to network authentication servers The...
Страница 29: ...SK or WPA2 PSK as the Authentication mode you need to complete the following settings Encryption Select TKIP or AES TKIP Temporal Key Integrity Protocol changes the temporal key every 10 000 packets t...
Страница 30: ...SETUP Press the Reset To Unconfigured button to reset the WPS configuration of the camera WPS PIN Mode The PIN Personal Information Number mode builds the connection by entering the PIN Code directly...
Страница 31: ...tion Utility you can press the WPS button if the camera is designed with a hardware button of WPS function c You need to press the WPS button on the router or access point within 120 seconds to comple...
Страница 32: ...m 0 100 Contrast Adjust the contrast level from 0 100 Saturation Adjust the colors level from 0 100 TIP Click Default then Apply to restore the default settings of the three options above Mirror Selec...
Страница 33: ...our network Video Quality Select the desired image quality from five levels Lowest Low Normal High and Highest Frame Rate Select a proper setting depending on your network status The available setting...
Страница 34: ...r not Once the camera connects to the server successfully click Apply EventServer Setting FTP Host Address Enter the IP address of the target FTP server Port Number Enter the port number used for the...
Страница 35: ...a way to upgrade a plain text connection to an encrypted TLS or SSL connection instead of using a separate port for encrypted communication Authentication Mode Select None or SMTP according to the mai...
Страница 36: ...provides two detecting areas To enable the detecting area select Window 1 or 2 from the pull down list and then select Enable When the detecting area is enabled you can use the mouse to move the detec...
Страница 37: ...s four sub menus that provide the commands to configure event profiles Event Configuration General Setting Snapshot Recording Subfolder You can assign a given sub folder for captured file Otherwise le...
Страница 38: ...ou select in the Schedule Profiles list Weekdays Select the weekday s that you want to separately assign in the schedule profile The weekday that has been assigned will be displayed with green color T...
Страница 39: ...red images within the detecting area to the FTP server or email receiver You have to configure corresponding settings such as FTP server and email server to enable this feature Schedule Profile Select...
Страница 40: ...ule Trigger You can separately configure the schedule for trigger function of the camera by Email or FTP Select the Enable option on each item and then select a Schedule Profile from the pull down lis...
Страница 41: ...boot Click Reboot to restart the camera just like turning the device off and on The camera configuration will be retained after rebooting Configuration You can save your camera configuration as a back...
Страница 42: ...nce you obtained a latest version of firmware Select the firmware Click Browse to locate the firmware file and then click Update NOTE Make sure to keep the camera connected to the power source during...
Страница 43: ...nu displays the current configuration and events log of the camera Device Info Display the Basic Video Network and Wireless settings for wireless model of the camera System Log The Logs table displays...
Страница 44: ...RAM 32MB SDRAM ROM 4MB NOR Flash Power DC 5V Communication LAN 10 100Mbps Fast Ethernet auto sensed Auto MDIX WLAN IEEE 802 11b g n Protocol support TCP IP UDP ICMP DHCP NTP DNS DDNS SMTP FTP HTTP PP...
Страница 45: ...a Firefox 2 00 or above Google Chrome Software UltraView Pro for playback recording configuration features Operating Environment Temperature Operation 0 C 45 C Storage 15 C 60 C Humidity Operation 20...
Страница 46: ...The rule at the moment is that an applet can only make an Internet connection to the computer form that the applet was sent ASCII American Standard Code For Information Interchange it is the standard...
Страница 47: ...e while it is still connected It also supports a mix of static and dynamic IP addresses This simplifies the task for network administrators because the software keeps track of IP addresses rather than...
Страница 48: ...pology F Fast Ethernet Fast Ethernet also called 100BASE T operates at 10 or 100Mbps per second over UTP STP or fiber optic media Firewall Firewall is considered the first line of defense in protectin...
Страница 49: ...information worldwide Internet address To participate in Internet communications and on Internet Protocol based networks a node must have an Internet address that identifies it to the other nodes All...
Страница 50: ...distributed network L LAN Local Area Network a computer network that spans a relatively small area sharing common resources Most LANs are confined to a single building or group of buildings M MJPEG MJ...
Страница 51: ...t possible transmission speed between two devices P PCM PCM Pulse Code Modulation is a technique for converting analog audio signals into digital form for transmission PING Packet Internet Groper a ut...
Страница 52: ...et Protocol TCP IP suite forwards packets from one network to another using the same network protocol R RJ 45 RJ 45 connector is used for Ethernet cable connections Router A router is the network soft...
Страница 53: ...ious transmission methods It was developed y the Department of Defense to connect different computer types and led to the development of the Internet Transceiver A transceiver joins two network segmen...
Страница 54: ...Windows Windows is a graphical user interface for workstations that use DOS WPA WPA Wi Fi Protected Access is used to improve the security of Wi Fi networks replacing the current WEP standard It uses...