background image

5

How to Assemble

IMPORTANT:

Your blender jar and

cutting assembly are subject to wear
during normal use. Always inspect jar
for nicks, chips, or cracks. Always
inspect cutting assembly for broken,
cracked, or loose blades. If jar or cut-
ting assembly is damaged, do not use.
Call our toll-free customer service num-
ber to obtain replacement parts.

1.

Make sure blender is unplugged.
Place blender base on clean, dry
surface.

2.

Fit gasket over blades as shown in
illustration on page 4. The gasket
must lie flat. Set jar on top of gasket
and screw on cutting assembly.
Make sure the cutting assembly is
firmly screwed onto the jar.

3.

Set jar into place on blender base,
making sure it is securely seated.
If not, gently rock the jar until seated.

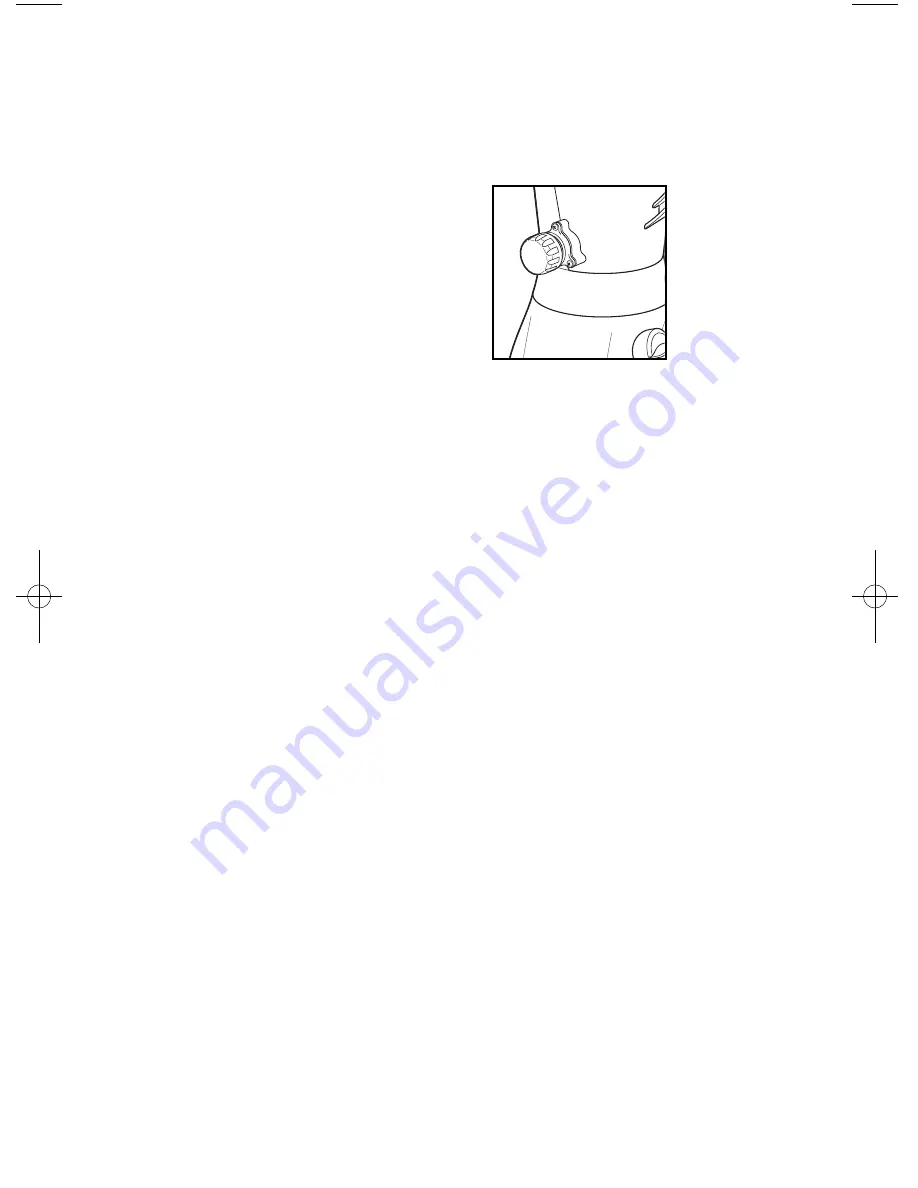
OPTIONAL: 

When dispenser is not

needed,
replace dis-
penser with
spout cap.
Remove 
dispenser by
rotating 
counterclock-
wise (see

“How to Clean” section). Insert
spout cap on jar. Turn spout cap
clockwise to tighten.

4.

When spout cap is not in use, snap
onto bottom of blender base for
storage.

How to Operate

1.

Plug cord into outlet.

2.

Put ingredients in jar. Place lid with
filler cap on jar.

3.

Process food or beverages. 

NOTE: 

When blending thin liquids,

do not fill above the 32-ounce/
4 cup/1000 ml mark on blender jar.

4.

ALWAYS turn blender off and wait
until blades have stopped rotating
before removing jar.

5.

To remove jar after blending is com-
plete, lift the jar straight up. If it is not
easily removed, rock gently and lift.
Do not twist.

To Use the Dispenser:

To dispense thick liquids (such as 
milkshakes, smoothies, frozen drinks,
etc.), turn the control knob to 

DISPENSE

and pull Dispenser Lever up. Turn OFF
after dispensing.

NOTE: 

Blender MUST be ON to 

dispense thick liquids and frozen drinks.

When dispensing thin liquids, it may not
be necessary to turn the blender ON to
dispense the liquid.

NOTE: 

NEVER replace jar onto unit

while motor is running.

840155503 ENv01.qxd:840153700 ENv01.qxd  7/9/10  8:37 AM  Page 5

Meijer.com

Содержание AC16

Страница 1: ...cipes tips and to register your product online Fran ais 10 Canada 1 800 267 2826 Rendez vous sur www hamiltonbeach ca pour notre liste compl te de produits et de nos manuels utilisateur ainsi que nos...

Страница 2: ...e the risk of severe injury to persons or damage to the blender A rubber spatula may be used but must be used only when blender is not running 11 Blades are sharp handle carefully especially when asse...

Страница 3: ...ped over Do not place blender jar in the freezer filled with food or liquid The contents may freeze and may result in damage to the cutting blades jar blender and possibly result in personal injury NO...

Страница 4: ...a damp cloth or sponge DO NOT IMMERSE BASE IN WATER Care should be taken when handling the cutting assembly as the blades are very sharp 1 2 3 4 Dispense Smoothie Milkshake Icy Drink Control Knob Sett...

Страница 5: ...rclock wise see How to Clean section Insert spout cap on jar Turn spout cap clockwise to tighten 4 When spout cap is not in use snap onto bottom of blender base for storage How to Operate 1 Plug cord...

Страница 6: ...blender base Ensure dispenser assembly or spout cap are fully rotated clockwise to lock into posi tion reverse of Step 5 above 8 Store blender with lid or filler cap removed to prevent container odor...

Страница 7: ...asket is in place on cutting assembly Make sure gasket is not damaged If damaged please call our toll free customer service number to order a replacement Make sure lid with filler cap is pushed down t...

Страница 8: ...until ice is crushed to desired consistency For best results always crush ice immediately after removing from freezer General To add foods when blender is operat ing remove filler cap from container...

Страница 9: ...eep the original sales receipt as proof of purchase is required to make a warranty claim This warranty is void if the product is used for other than single family household use We exclude all claims f...

Отзывы: