6
7
g
Operating Instruction
I. Introduction
Thank you for choosing the Hama X-Style Gamepad and
congratulations on your decision.
We are certain that our product will provide you with
plenty of gaming pleasure for years to come.
These instructions contain valuable information on
operating and confi guring the gamepad. Please keep
these instructions in a safe location for future
reference.
II. Product features
• 12
programmable
buttons
• 2 360° analogue sticks including button function
• Switchable
analogue/digital
function
• 2 integrated motors for vibration
• Additional
turbo/auto-fi
re
button
III. System requirements
• Windows
98SE/ME/2000/XP/Vista
• USB
port
Note:
Please note that USB operation is not supported by
Windows 95/NT.
IV. Installation
Software installation
1. Insert the driver CD provided into your drive.
2. The installation program starts automatically.
3. If it does not start, proceed as follows:
START > Run > Browse
Select your CD drive.
4. Double-click the setup.exe fi le.
5. Follow the steps in the installation program.
6. Restart your PC.
Hardware installation
1. After installing the software, plug the USB cable of
your gamepad into a USB port on your computer. The
operating system may prompt you to insert your
Windows CD to install new hardware components.
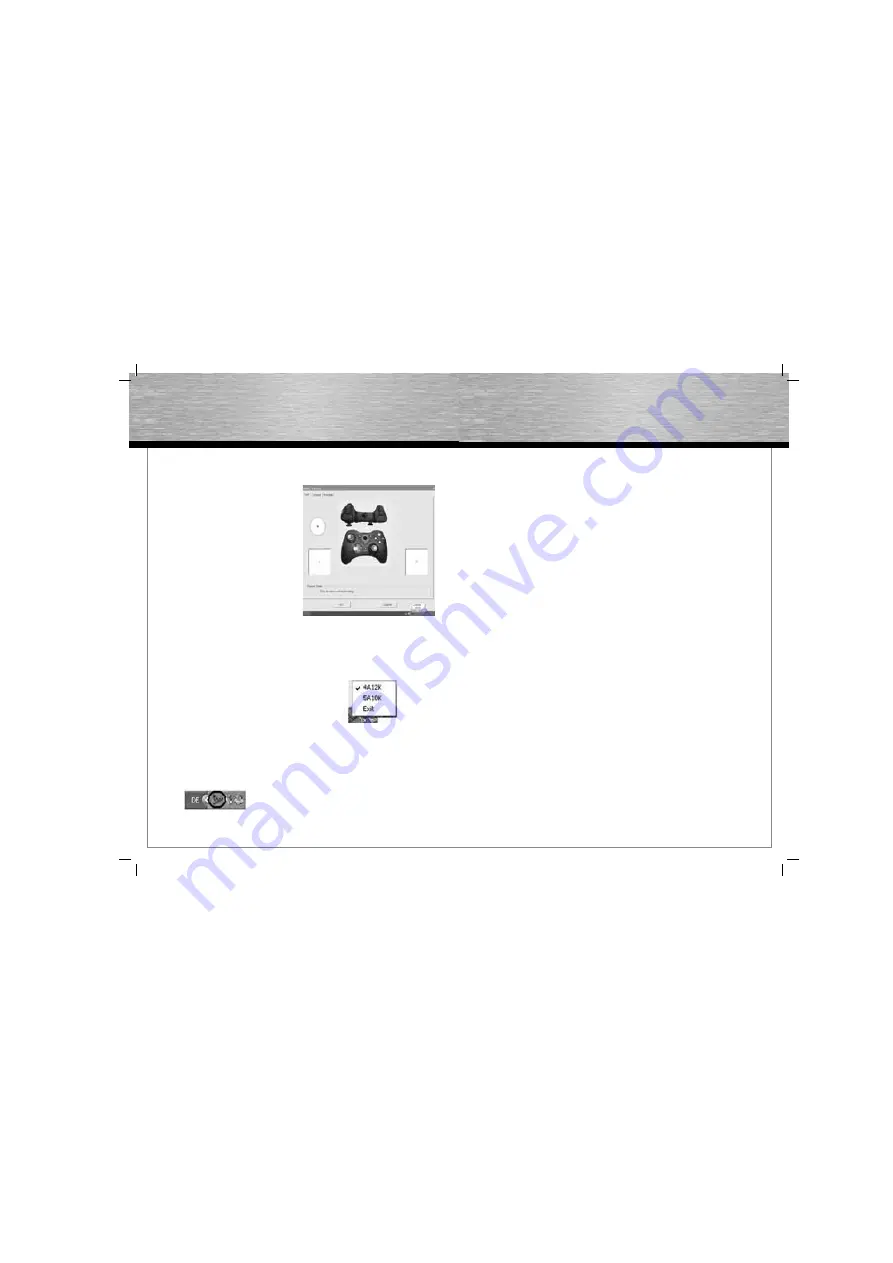
2. To confi gure, double-click the shortcut on your
desktop (Hama X-Style Pad) and right-click the
new icon in the notifi cation area (system tray).
3. Now select “4A12K” or “5A10K” (for more details see
“Functions – changing function buttons”).
4. Select a test page of your choice to test and calibrate
all functions in the menu, including vibration.
V. Functions
Axis button function
A special feature of the Hama X-Style Pad is that it lets
you assign different numbers axes and buttons to the pad.
You can choose between 4A12K (4 axes and 12 buttons)
and 5A10K (5 axes and 10 buttons) by right-clicking the
icon in notifi cation area.
- 4A12K
Choosing this gives you a choice of 12 fi ring buttons.
This is designed for most games which require you
to perform a variety of functions (e.g. sports or action
games).
- 5A10K
The advantage here is that you can use the lower
shoulder buttons for throttling gas and the brake in
racing or fl ying simulators. In this case the trigger
buttons cannot be used for any other function in the
game.
Note:
Always check which function you think is better for the
game in question, and select the appropriate one before
starting the game.
Turbo/auto-fi re function
With the X-Style Pad you can opt to perform certain
functions multiple times by pressing and holding a button
(turbo-fi re), or you can fi re automatically without pressing
a button (auto-fi re).
To activate turbo-fi re:
1. Press and hold the turbo button.
2. Press and hold one of the 12 buttons that you wish
to
set.
3. Release both buttons.
4. Press the button that you set to test if turbo-fi re is
active.
To deactivate turbo-fi re and activate auto-fi re:
1. Press and hold the turbo button.
2. Press and hold the button that you wish to reset
(i.e. change from turbo to auto-fi re).
3. Release both buttons.
4. The button that you set should now fl ash continuously
until you press and hold it again.
To deactivate auto-fi re:
1. Press and hold the turbo button.
2. Press and hold the button that you wish to deactivate.
3. Release both buttons.
4. Press the button that you set to test if turbo and
auto-fi re are now inactive.
Note:
Not all games support the turbo/auto-fi re function, in
which case pressing the buttons in question has no
effect.
Vibration function
The X-Style Pad has two internal motors, which only
function in games that support Force Feedback and when
all the drivers provided have been installed.
Refer to the manual of your game to fi nd out if it supports
the vibration function.
If problems persist, check the game options to see if
vibration support is activated.
Mode functions
The Hama X-Style Pad lets you choose between two
modes:
1. Digital
This mode lets you control the direction of action using
the 8-way directional pad – the sticks usually remain
deactivated.
2. Analogue
In analogue mode, the sticks assist perfectly for 3D
games. In addition to the left stick, which controls
movement, you can perform other functions using the
right stick, such as rotation. The directional pad can
help you by providing a quick all-around view.
Notes
1. Ensure that your game software supports game
controllers.
2. In order to use the vibration function, your game
software must support Force Vibration/Force
Feedback.
3. If some buttons do not work during the game, check
the button settings in the option menu. They can
usually be confi gured there as well. Also refer to the
manual of the game in question.
Safety instructions
• Do not attempt to service or repair the device yourself.
Leave any service work to qualifi ed experts.
• Do not modify the device in any way. Doing so voids
the
warranty.
All manuals and user guides at all-guides.com


