background image

9

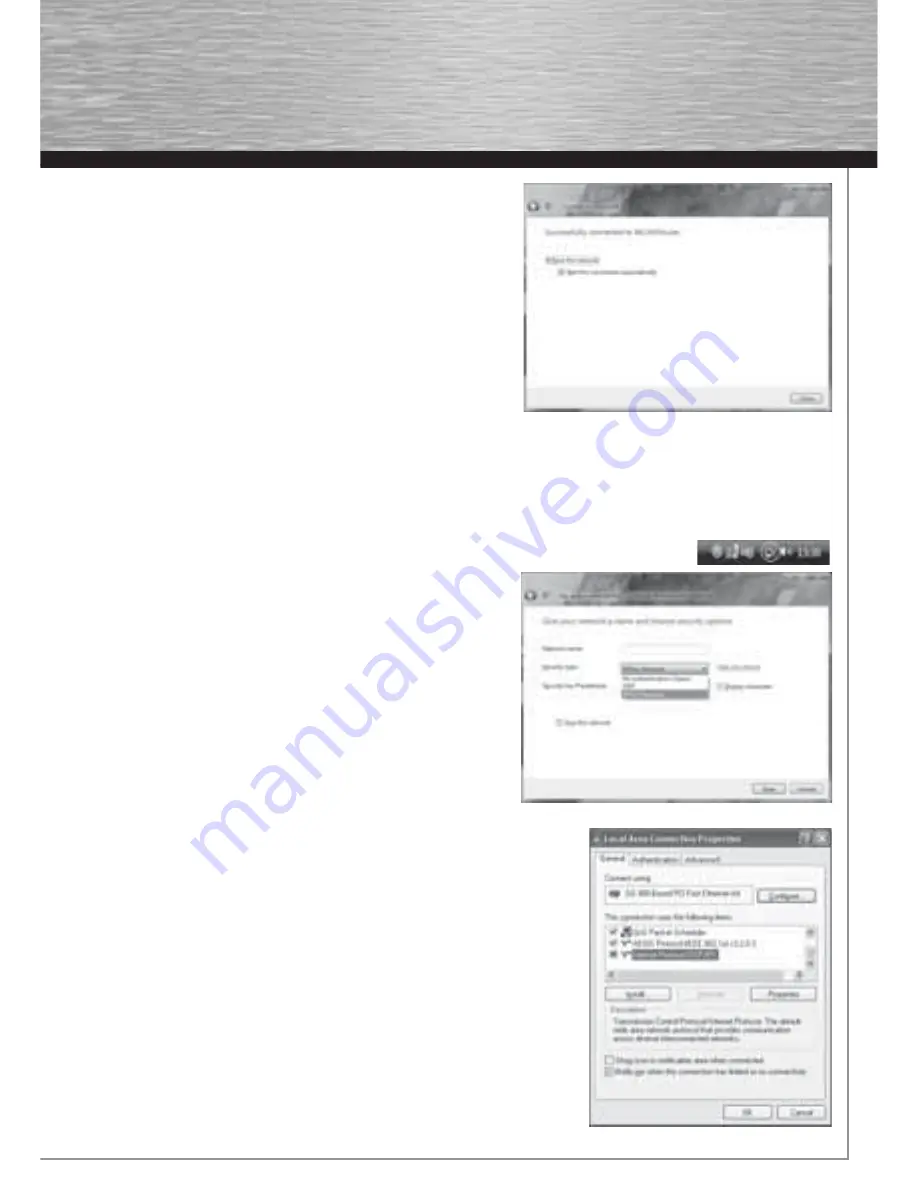
Afterwards, you are mostly asked to enter the network 

security key

. For 

reasons of safety, we advise you against using uncoded networks. 

Click “

Connect

” for confi rmation.

Windows establishes now the connection to the desired WLAN. Afterwards, 

you can store the network and start it automatically next time. The connec-

tion is so automatically established in future. Finish the confi guration by 

clicking with the mouse “

Close

”.

4.3 Setting up an Ad-hoc network

This enables direct connections to another Wireless LAN Client device, e.g. a USB stick or a WLAN PCI add-in card. No wireless LAN 

router or Accesspoint is required for this. 

If such a network already exists, you can establish a connection with this one as described above. 

If it is to be set up a new, so that other users can connect themselves, you have to proceed as described below: 

Click the symbol with the two computer monitors in the task bar with the

 left mouse

 button: 

Click 

“Connect to a network”, “Set up a connection or network”

 and then 

Set up a wireless Ad hoc (computer-to-computer) network

”. Confi rm with 

-> Next -> Next

In the next window, you are asked to enter data concerning the network 

name and the security type. More information is shown if you move the 

mouse cursor towards the appropriate fi eld. 

Additional remarks concerning 

the network name and WPA2 security key

. Here, you should only use letters 

from A-Z, as well as numbers from 0-9.

Confi rm your specifi cations with 

-> Next -> Close

5. Confi guring the operating system and computer (Windows)

After you have successfully installed the network adapter, you still have to install or 

confi gure a protocol. This protocol governs the data exchange between the computer 

and the network. TCP/IP is most common. Each computer has to be assigned its own 

address for the protocol. Automatic address assignment is only reliable if a DHCP server 

exists in the network, e.g. a router or access point. If you have one of these devices with 

a DHCP function, you should leave the setting on “Get automatically”. 

Proceed as follows to check the settings on your PC:

Start -> Settings -> Control panel -> Network connections

Select the connection (network adapter) via which your PC is connected to the router, 

e.g. “LAN connection”. When you 

right-click

 the corresponding connection, the follow-

ing screen is displayed when you select 

Properties.

Select the 

Internet Protocol (TCP/IP)

 entry in the list and click 

Properties.

00062742bda_GB.indd   Abs2:9

00062742bda_GB.indd   Abs2:9

17.09.2007   7:26:24 Uhr

17.09.2007   7:26:24 Uhr

Содержание 62742

Страница 1: ...Automatic con guration Page 08 4 2 Operation of the Windows Vista con guration program Page 08 4 3 Setting up an Ad hoc network Page 09 5 Con guring the operating system and computer Windows Seite 09...

Страница 2: ...rt the mains plug into the socket and start the PC 2 Installing the driver and con guration program on Windows 2000 XP After you start the operating system the Windows New Hardware Wizard dialogue box...

Страница 3: ...n entered here applies to all users of the network There are two methods a Con guration using the button Press the WPS button on the router access point Within two minutes you must press the PBC butto...

Страница 4: ...work overview To reduce the energy consumption you can run the device in power saving mode PSM In this mode certain functions are deactivated or run at a lower setting if they are not fully used Selec...

Страница 5: ...t WEP encryption WPA and WPA2 encryption Note Encryption is deactivated by default However for security reasons we recommend that you always use encryption 3 2 2 1 WEP encryption Wired Equivalent Priv...

Страница 6: ...nd punctuation marks can be used 64 characters are required for HEX whereby only characters from 0 9 and a f can be used If you do not have this code it can be found in your router access point or you...

Страница 7: ...PS tab page in the WLAN adapter s con guration program The connection is now established automatically b Pin code Make a note of the pin code which is displayed in the WLAN adapter s con guration prog...

Страница 8: ...you are asked to enter data concerning the network name and the security type More information is shown if you move the mouse cursor towards the appropriate eld Additional remarks concerning the netwo...

Страница 9: ...from your computer After the software is removed you may have to restart the system Save all open documents and close all programs before restarting the PC 7 Installing the driver and con guration pr...

Страница 10: ...select the hard drive where you installed the driver and the utility earlier The utility is installed in the Programs directory by default Double click the icon The following window opens This screen...

Страница 11: ...f the required network Encryption Type Encryption used in the target network Network Type type of network Infrastructure or ad hoc Open the Wireless Utility Using the Network overview Site survey tab...

Страница 12: ...a standard encryption algorithm for WLAN It both controls the access to the network and guaran tees the integrity of the data This method is considered vulnerable due to a range of weaknesses If you...

Страница 13: ...under Encryption Now enter the code used in the WPA preshared key eld The code entered must be absolutely identical with that used in the network It must be min 8 and max 63 random characters for ASCI...

Страница 14: ...15...

Отзывы: