background image

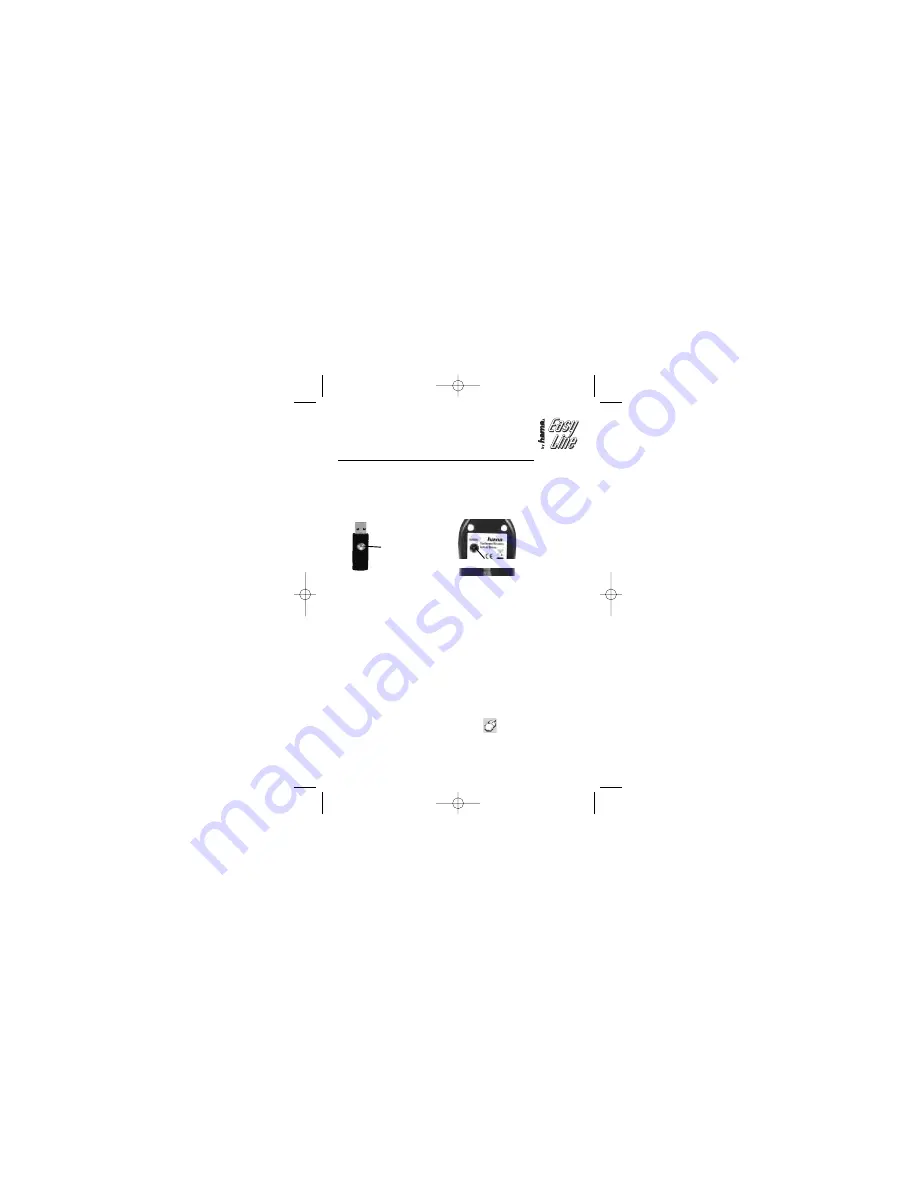
2.2 Connecting the mini USB receiver / connecting mouse and receiver

a) Connect the mini USB receiver to a free USB connector at the PC.
b) If your computer is switched off, switch it on and wait until it has started up.*
c) The receiver is now detected by the Windows operating system and the 

required drivers are automatically installed. 

d) Press now the connecting button at the receiver for a short time 

(maximally 1 second), afterwards the one at the mouse**. 

*The mini USB receiver can be connected when the PC is switched off or on.
** If the connecting button is pressed for more than 2 seconds, the mouse switches
off. See point 5. 

• The mouse works now as a standard 3-button mouse. You have to install the 

enclosed software if you want to assign a certain function to the third (wheel) 
button.

3. Software Installation

• Uninstall the mouse software which is eventually already installed.
• The software supports Windows 98/ME/2000/XP/Vista/Windows7.

a)  Insert the enclosed CD in your CD-ROM or DVD-ROM drive. Wait a moment, 

the installation starts automatically. If this is not the case, click on Start => 
Run, enter “X:\Mouse/Setup” (“X” stands for the drive letter of your CD-ROM 
drive) and confirm with Enter. 

b) Select the desired language and click on “Next”.
c) Restart your PC to terminate the installation.
d) After a successful installation, the mouse symbol           appears in the task line.

Connecting button

Connecting button

00020898bda  11.08.2009  8:08 Uhr  Seite 8

Содержание 20898

Страница 1: ...weilige Landesrecht Das Symbol auf dem Produkt der Gebrauchsanleitung oder der Verpackung weist auf diese Bestimmungen hin Mit der Wiederverwertung der stofflichen Verwertung oder anderen Formen der V...

Страница 2: ...00020898 Optische Funkmaus Wireless Optical Mouse 00020898bda 11 08 2009 8 08 Uhr Seite 3...

Страница 3: ...2 Hardware Installation 2 1 Einlegen der Batterien a Zum Einlegen der Batterien dr cken Sie den Batteriedeckel der Maus nach hinten b Legen Sie die beiden AA Batterien polrichtig in das Batteriefach D...

Страница 4: ...un als Standard 3 Tasten Maus Um der 3 Rad Taste eine bestimmte Funktion zuordnen ist es notwendig die beigelegte Software zu installieren Siehe Punkt 3 3 Software Installation Deinstallieren Sie zun...

Страница 5: ...halten um z B die Batterien zu schonen falls die Maus l ngere Zeit nicht ben tigt wird Bet tigen Sie dazu die Verbindungstaste f r mindestens 2 Sekunden Das Ausschalten wird durch ein kurzes Aufleucht...

Страница 6: ...ide 2 Hardware Installation 2 1 Inserting of batteries a Press the battery cover of the mouse backwards in order to insert the batteries b Insert the two AA batteries correctly in the battery compartm...

Страница 7: ...oint 5 The mouse works now as a standard 3 button mouse You have to install the enclosed software if you want to assign a certain function to the third wheel button 3 Software Installation Uninstall t...

Страница 8: ...eries if the mouse is not used for a longer period of time Press the connecting button for at least 2 seconds A short lighting up of the optical sensor indicates that the mouse is now switched off Pre...

Отзывы: