17
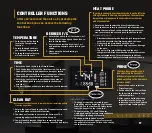
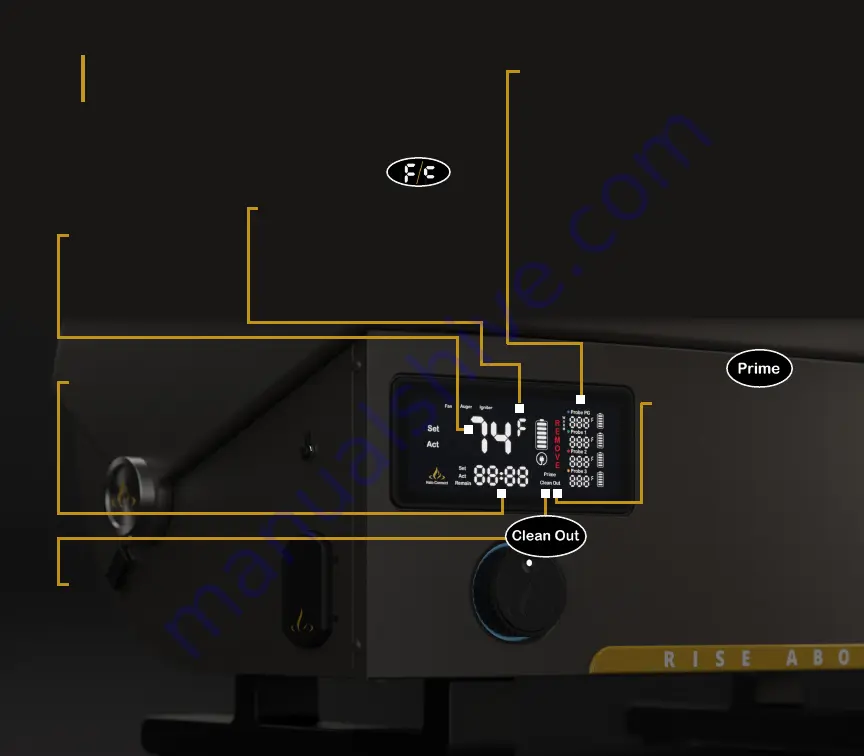
CONTROLLER FUNCTIONS
After you've turned the unit on by pressing the
control knob you can access the following
functions:
TEMPERATURE
1. Push the control button to
lock in the Temperature
function.
2. Rotate the knob to select
your desired Temperature.
3. Pushing the control button
will now start the unit.
PRIME
The Prime function allows you to
feed pellets into the burn pot to
initially start your unit or to feed
additional pellets during a smoke to
get more smoke.
1. Rotate the knob to select the
Prime function.
2. Push and hold the control knob
for the prime function to feed
additional pellets.
3. After you are finished priming
the pellets into the burn pot,
release the control knob and the
auger will stop feeding pellets.
CLEAN OUT
The cleanout function is used to remove the last remaining pellets
from the auger tube.
1. Rotate the control knob to select the Cleanout function and
push the button to lock in this function.
2. The cleanout function is set to run for 3 minutes. The
remaining pellets will be fed into the burn pot.
3. You will need to remove the pellets completely before
starting your unit. Failure to do so may cause fire and injury.
IMPORTANT TO NOTE:
•
The hopper should be emptied to your
best ability prior to beginning the cleanout
function. You can remove the safety screen
from the hopper in order to do this.
•
The unit must be OFF, the AC adapter
unplugged, and the battery removed before
cleaning out the hopper manually.
•
The hopper safety screen must be
reassembled into the hopper after most of
the pellets are removed. Failure to do so may
cause harm or injury.
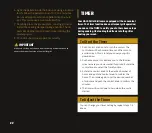
TIME
1. Rotate the knob to select the Time function.
2. Push the button to lock in the Time function. You can set
the number of hours and minutes to time your smoke.
3. Rotate the control knob to the desired number of hours,
then push the control knob to confirm the hours.
4. Rotate the control knob to set the desired number of
minutes, then push the control knob to confirm the
minutes.
5. The timer will count down to zero after your unit is started.
DEGREES F/C
1. Rotate the knob to the F (Fahrenheit) or C
(Celsius) function and push the button to
lock in this function.
2. Rotate the control knob to either F or C
and push the control knob to lock in your
choice.
3. Please note the default setting is
Fahrenheit.
17
MEAT PROBE
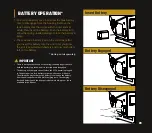
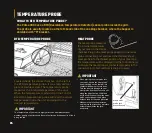
The plug-in connection for the meat probe is on the left side
of the grill above the battery compartment. The meat probe
temperature will appear on the controller after the meat
probe is connected.
1. Rotate the knob to select the Meat Probe function.
2. Push the button to lock in the Meat Probe function, then
rotate the control knob to the desired temperature you
want your meat probe set and push the button to set.
IMPORTANT TO NOTE:
•
Disconnect the meat probe from the jack receptacle and
cover the port with the silicone cap when not in use.
•
One meat probe is included with the unit.
•
Use HALO brand meat probes only to prevent damage
to the unit.
•
The unit will go into WARM mode and the unit
temperature will reduce when the meat probe reaches
the set temperature. This will keep the food from
continuing to cook before it is removed from the unit.
Содержание PRIME300 HS-1005-ANA
Страница 1: ...1 ESSENTIALS GUIDE...
Страница 5: ...5...
Страница 33: ...33 PARTS LIST...
Страница 36: ...36 ELECTRICAL WIRE DIAGRAM...
Страница 61: ...61 LISTA DE PIEZAS DEL...
Страница 64: ...64 DIAGRAMA DE CABLEADO EL CTRICO...
Страница 89: ...89 LISTE DES PI CES DU...
Страница 92: ...92 DIAGRAMME DES FILS LECTRIQUES...

