Makito Air Quick Start Guide
Connecting the Makito Air to the Network and A/V Sources
HVS-ID-QS-MAIR-230, Issue 01
Page 2 of 5
Connecting the Makito Air to the Network and A/V Sources
1.
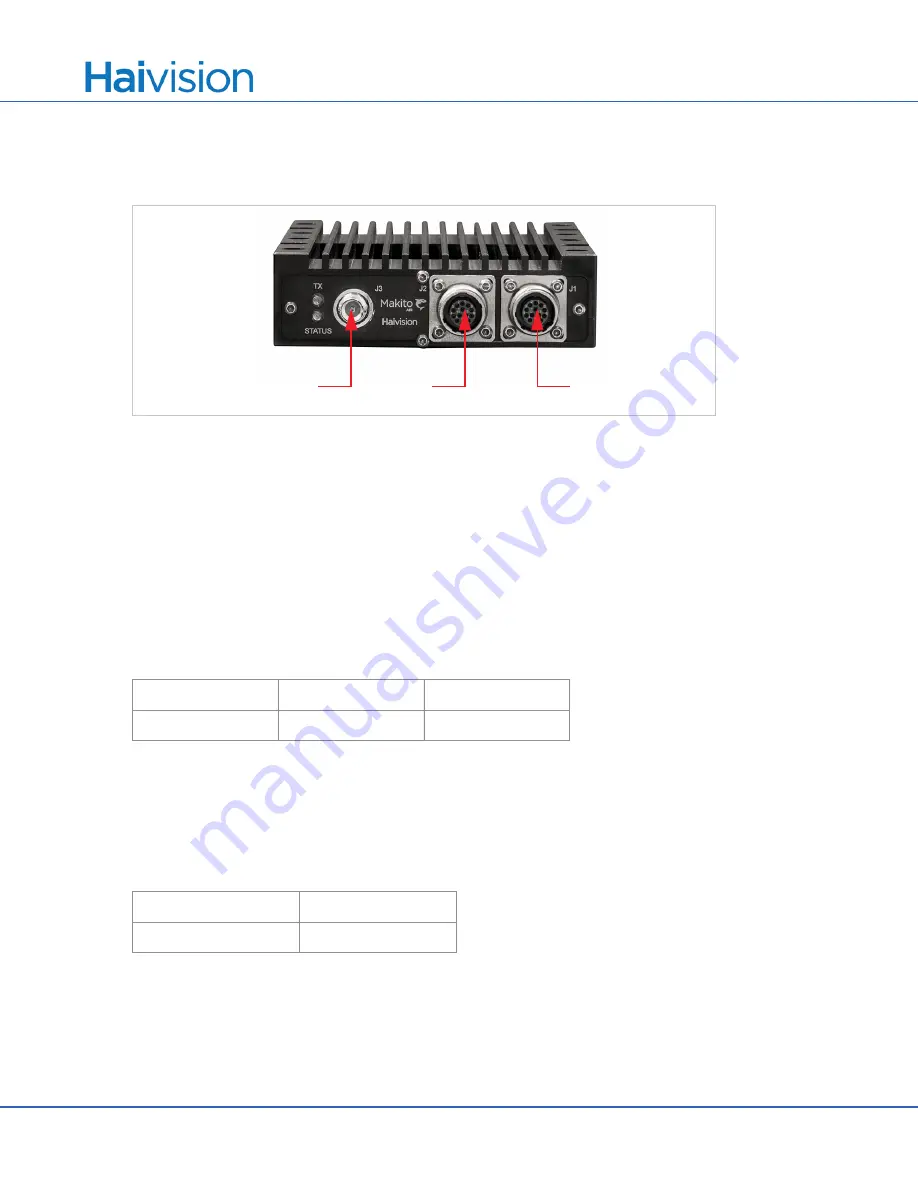
Connect the Makito Air’s Ethernet port [J1] to the IP network using a Type Cat 5E cable.
Makito Air Front Panel
2.
Connect the Makito Air’s Serial port [J2] to the metadata source using a Serial RS-232 cable.
3.
Connect the Makito Air’s SDI Video/Embedded Audio Input [J3] to your Audio/Video sources using the
BNC connector and a coaxial cable.
NOTE:
The Makito Air also supports Composite video as well as Analog audio formats. Selection between
Analog (the default) and SDI audio can be done via the Web Interface (
E
NCODER
>A
UDIO
Settings page).
Setting Up Streaming from the Makito Air
1.
Power on the Makito Air.
2.
The Makito Air comes pre-configured with the following settings:
* The IP address of your computer must be in the same subnet.
3.
To set up a stream to your compatible decoding device, open a Web browser, type the IP Address for the
Makito Air into the URL address bar, and press Enter.
4.
Log in to the Makito Air Web Interface, using the following default administrative username and
password: [*Be sure to change the default password!]
IP Address
Subnet Mask
Gateway
10.5.1.2*
255.255.0.0
10.1.50.1
Admin Username
Password
admin
manager*
J1:
Gigabit
Ethernet port
J2:
J3:
SDI + Embedded Audio
Analog Audio Input
Input / Composite Video


