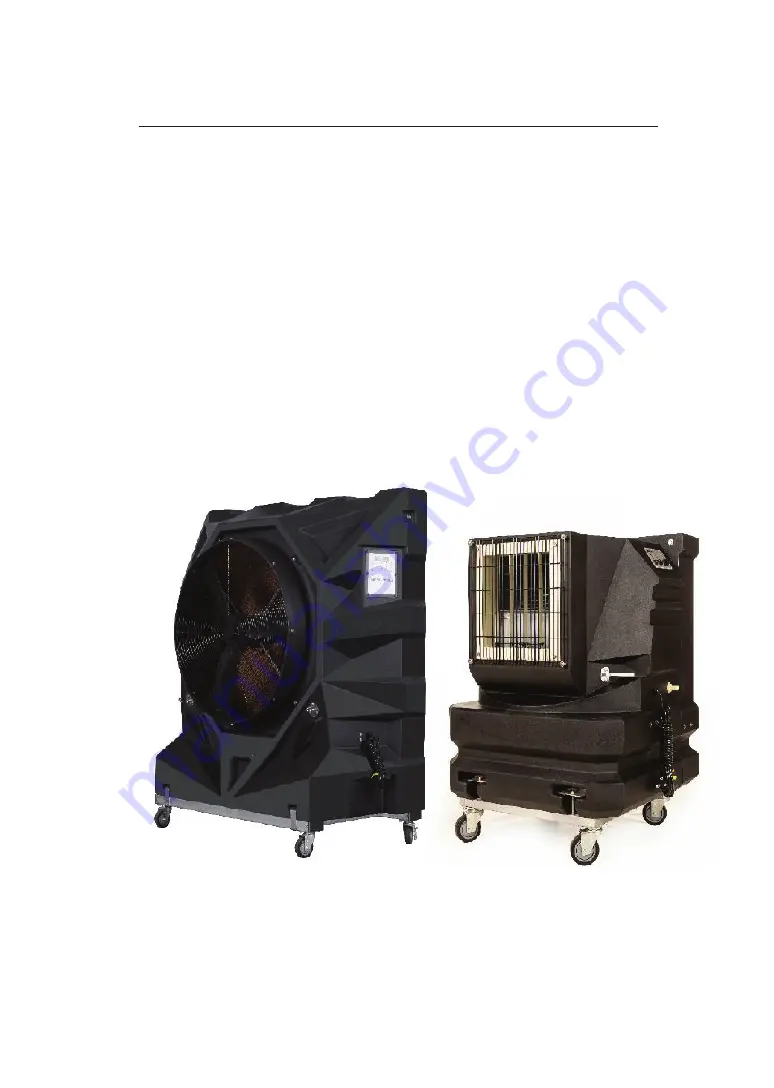
Portable Evaporative Air Cooler
OWNER'S MANUAL
_________________________________________
Страница 1: ...Portable Evaporative Air Cooler OWNER S MANUAL _________________________________________...
Страница 2: ...1 Table of Contents INTRODUCTION SAFETY RECOMMENDATIONS UNIT DESCRIPTION PARAMETER LIST WATER SUPPLY SYSTEM COOLING PAD ASSEMBLY CONTROL PACKING LIST FAQ WARRANTY...
Страница 3: ...your skin producing the cooling effect In an evaporative cooler the cellulose cooling pads take the place of your skin water instead of perspiration wets the cooling pads and a fan moves the air The...
Страница 4: ...maintenance on the components of the unit Never reach into the unit when it is running you could become entrapped by the v belt or injured by the rotating fan blades The frame edges may be sharp do n...
Страница 5: ...ter supply The bottom rests on and is fixed to a rugged steel support frame Four casters 2 locking 2 regular are attached to the underside of the steel frame A pump draws water from the bottom and dis...
Страница 6: ...C 750 EC 370 EC 750 EC 750 AC 1100 Speed 3 variable variable variable variable Water Reservoir L 130 135 115 200 300 Cooling Capacity m2 50 90 170 260 380 Dimension mm H1120 W750 D800 H1430 W980 D600...
Страница 7: ...float valve shuts off the water supply When the water level drops the float valve reopens to maintain a normal operating level After dis connecting the unit the water reservoir can also be manually fi...
Страница 8: ...ll the air flowing in the same direction Do not direct other fans against the unit It will counter the airflow and reduce the cooling effect Obstructing the airflow from the unit severely reduces the...
Страница 9: ...ther chemicals to clean the pads as they can cause foaming during operation Use only clean water 8 Remove the drain cap from the underside and rinse with a hose to flush any manufacturing dust etc fro...
Страница 10: ...y are dry Note With proper use and regular cleaning the cooling pads will last about two seasons If you handle them wet and are abusive however they will be easily damaged NORMAL STARTUP NOTE Some spl...
Страница 11: ...unning the pump dry will void the warranty on the pump NORMAL SHUTDOWN 1 Turn the switch to the High Vent position and let the unit run until the cooling pads are dry This will maximize the life of th...
Страница 12: ...erature the DS1 display the current testing temperature DS2 display the setting temperature press down and up key to adjust the setting temperature TIME Adjust the time press the down and up key to se...
Страница 13: ...ress the pump key to run the pump on and the pump light on display the running status 2 5 Press the TEM key the DS1 displays the current testing temperature DS2 display the setting temperature press e...
Страница 14: ...peed Temperature 26 0 0 40 Set the temperature according to different requirements Time 060 5 600 min Set the running time according to different requirements Parameter Initialization limits Function...
Страница 15: ...e unit in the upper right corner It has the following positions Remarks You should be according to your require to select the switch 1 Pump Refrigeration 2 On Turn on rrefrigeration 3 Off Turn off rre...
Страница 16: ...15 Parts List Item Description 1 Housing 2 Controller 3 Protective screening 4 Impeller 5 belt pulley 6 Electric cable 15A SA Plug Type 7 Base 8 casters 1 2 3 4 5 6 7 8...
Страница 17: ...16 Parts List cont Item Description 9 The water assembly 10 Motor arms 11 Belt 12 Motor 13 Float 14 Dam board 15 Cooling pad 16 Pump 17 Drainage valve 9 10 11 12 13 14 15 16 17...
Страница 18: ...17 Parts List Item Description 1 Housing 2 Controller 3 Swing Louvre 4 Centrifugal Fan 5 Water Connection 6 Electric cable 15A SA Plug Type 7 casters...
Страница 19: ...FOAMING Foaming is generally caused by a dirty water supply or contaminated water in the bottom 1 If foaming occurs stop the unit drain it and flush the bottom and insides thoroughly with clean water...
Страница 20: ...ear Inspect them for cleanliness and repeat if necessary 7 Replace the PVC pipes taking care to ensure the water outlet holes are facing inwards at 90 towards deflector plate Note Ensure you push the...
Страница 21: ...tions not made in accordance with installation instructions 2 Where the operation of the product varies substantially from our operating instructions 3 Malfunctions resulting from misuse negligence al...