


10
CHANNEL SOURCE
Manual search can search and order the program freely.
1.Press MENU button to make the main menu display.
2.Press button to select TUNER menu, press
button to enter.
3. Press button to select CH. SOURCE item,
4. Press button to select CABLE or AIR.
AUTO SCAN
Using AUTO SCAN can search all receiving
programs. We recommend using auto search to
search the program when you use this TV set for
the first time.
1.Press MENU button to make the main menu display.
2.Press button to select TUNER menu, press
button to enter.
3.Press button to select AUTO SCAN.
4.Press button to start searching, press MENU
button to stop auto scan during searching.
Note: The order of the auto scan is due to the
frequency of the program, generally speaking,
it is used only at the first time you search the
program, and once the order of the program has
been confirmed, you don’t have to use this
function, otherwise the order of the program
will be changed.
FINE TUNE
When you can’t get a satisfactory picture effect,
you can fine tune to improve the picture.
1.Press MENU button to make the main menu display.
2.Press button select TUNER menu, press
button to enter.
3. Press button to select FINE TUNE item.
4. Press button to start fine tune until you
obtain the best picture and sound, then release
the button and press MENU button to exit.
FAVORITE
1.Press MENU button to make the main menu display.
2.Press button to select TUNER menu, press
button to enter.
3.Press button to select FAVORITE item.
4. Press button to enter favorite menu.
TV PROGRAM SETTING
30
259.25
AUTO SCAN
11
FAV1 1
FAV2 1
FAV3 1
FAV4 1
FAV5 1
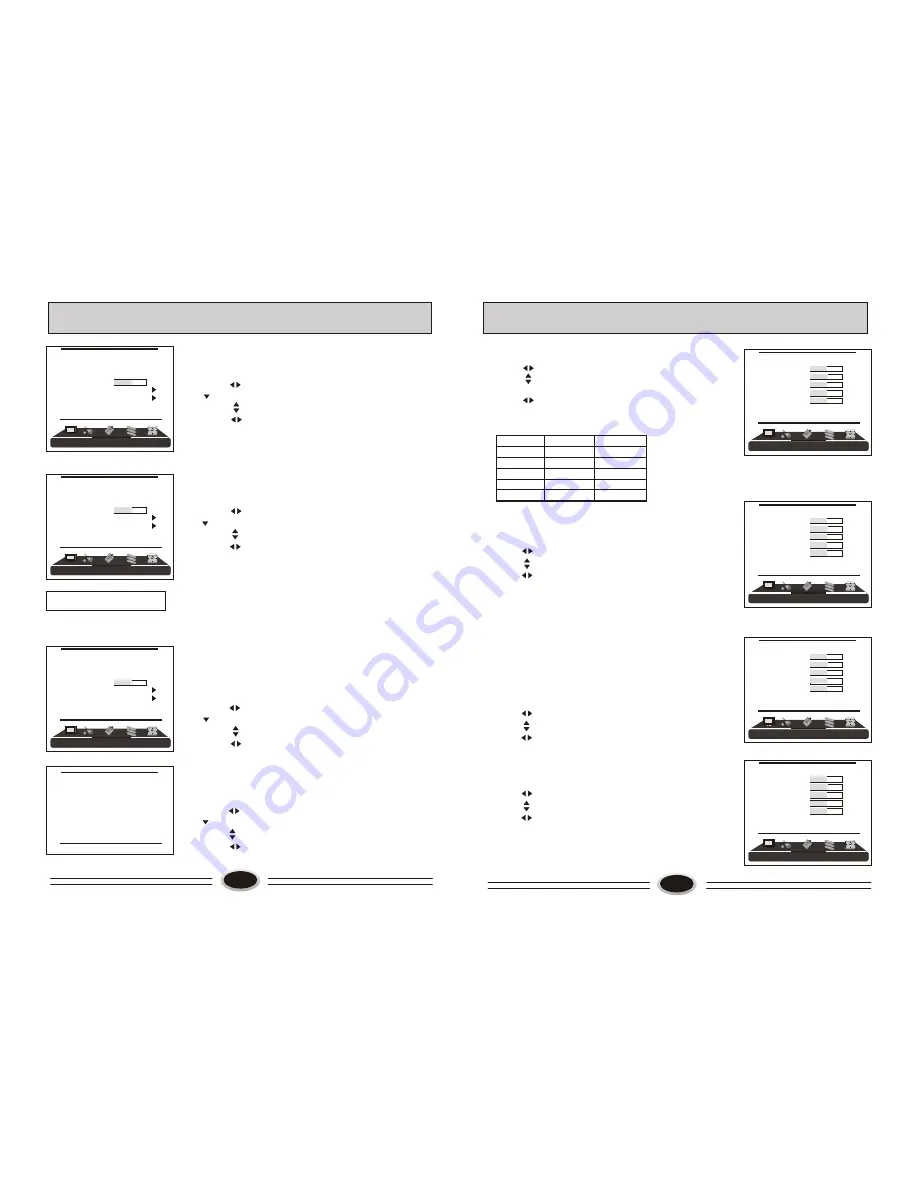
1.Press MENU button to make the main menu display.
2.Press button to select PICTURE menu.
3.Press button to select the item that needs
adjust.
4.Press button to adjust the selected item, the
detailed adjustment is as following table.
The table of picture item adjustment effect
SET
YOUR
FAVOURITE
PICTURE
MODE
IMAGE CONTROL
PICTURE MODE
1.Press MENU button to make the main menu display.
2.Press button to select PICTURE menu.
3.Press button to select PICTURE item.
4.Press button to select STANDARD, BRIGHT,
SOFT or USER .
STANDARD: common mode.
SOFT: the image effect is soft.
USER: set the image effect you like.
BRIGHT: suitable for sport image.
Note: You can also press P.MODE button on the remote
control to select the picture modes.
COLOR TEMPERATURE
1.Press MENU button to make the main menu display.
2.Press button to select PICTURE menu.
3.Press button to select COLOR TEMP. item.
4.Press button to select NORMAL, WARM or
COOL.
ZOOM
1.Press MENU button to make the main menu display.
2.Press button to select PICTURE menu.
3.Press button to select ZOOM item.
3.Press button to select WIDE, NORMAL, ZOOM
or CINEMA.
Note: You can also press SIZE button on the remote
control to select the zoom modes.
Note: Tint is only valid in N system.
*
Items
VOL-
VOL+
Contrast
Brightness
Color
Tint
Sharpness
Weak
Strong
Dark
Bright
Light
Thick
Green
Red
Blur
Sharp
TUNER
CH. SOURCE CABLE
CH. NUM. 11
SKIP OFF
FINE TUNE 50
AUTO SCAN
FAVORITE
TUNER
CH. SOURCE CABLE
CH. NUM. 11
SKIP OFF
FINE TUNE 50
AUTO SCAN
FAVORITE
TUNER
CH. SOURCE CABLE
CH. NUM. 11
SKIP OFF
FINE TUNE 50
AUTO SCAN
FAVORITE
PICTURE
PICTURE
PICTURE
STANDARD
CONTRAST 50
BRIGHTNESS 50
TINT 50
COLOR 50
SHARPNESS 50
COLOR TEMP. NORMAL
ZOOM WIDE
PICTURE
PICTURE
PICTURE
STANDARD
CONTRAST 50
BRIGHTNESS 50
TINT 50
COLOR 50
SHARPNESS 50
COLOR TEMP. NORMAL
ZOOM WIDE
PICTURE
PICTURE
PICTURE
STANDARD
CONTRAST 50
BRIGHTNESS 50
TINT 50
COLOR 50
SHARPNESS 50
COLOR TEMP. NORMAL
ZOOM WIDE
PICTURE
PICTURE
PICTURE
STANDARD
CONTRAST 50
BRIGHTNESS 50
TINT 50
COLOR 50
SHARPNESS 50
COLOR TEMP. NORMAL
ZOOM WIDE


