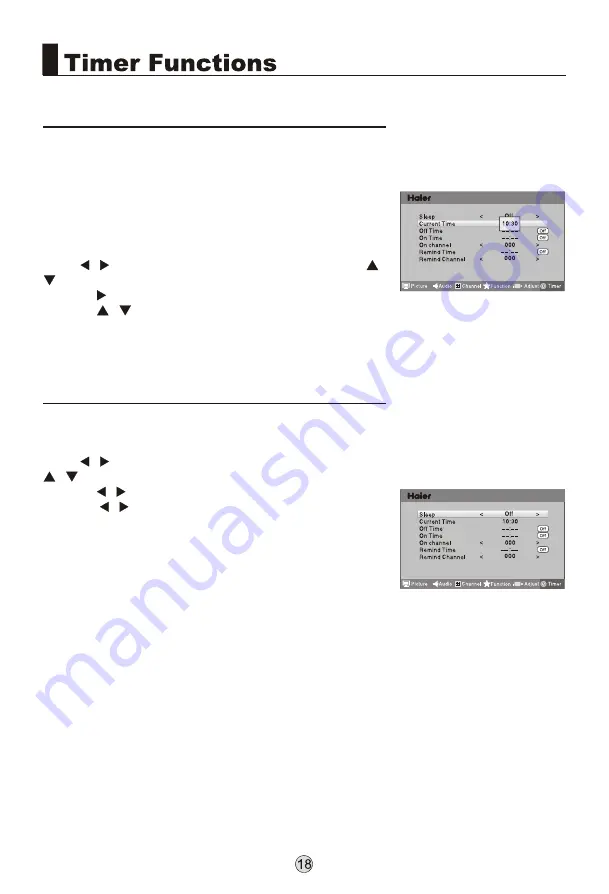
The current time is calculated from the moment upon
turning the TV on. At first, check whether the time
indicated on the TV's clock is consistent with the
standard time of your time zone; if not, adjust the clock
as follows:
1. Press MENU on the remote control unit or MENU on
the TV's front panel to display the main menu, and then
press
/
to select the Time menu, afterwards press
to select the Current Time option.
2. Press to set hour and minute.
3. Press
to adjust the time.
4. After finishing time setting, press OK or MENU to
confirm.
/
/
Setting of Current Time
1. Press MENU on the remote control unit or MENU on
the TV's front panel to display the main menu, and then
press
/
to select the Time menu, afterwards press
to select the Sleep option.
2. Press
/
to set your desired time.
Pressing
/
allows you to select the time from the
following options in turn: off, 5min, 10min, 15min, 30min,
45min, 60min, 90min, 120min, 180min and 240min.
Notes:
1. You may also set the sleep function by operating the
Sleep key on the remote control unit.
2. If the Sleep function is set OFF, the function is not
available. If a time period is selected, the TV will
automatically enter standby mode upon reaching the
preset time, and will resume work when POWER is
pressed.
3. If the Sleep function has been set, press SLEEP
once, the remaining time to sleep will display on the
screen, if you press SLEEP once again before the
display disappears, the sleep time set last time will be
cleared and new time can be set.
4. During 1min before the TV enters sleep mode, there
will be count-down prompt such as Sleep 59s on the
screen until the TV is off. During the 60s, the user may
change the time or cancel the Sleep function by
operating the SLEEP key.
/
Sleep Setting
menu
menu
Содержание L26M9
Страница 1: ...R L26M9 L32M9 L42M9 L46M9 L55M9 LB26R3 LB32R3 LB37R3 LB42R3 LB46R3 LP55R3 L26K3 L32K3 L42K3...
Страница 3: ......
Страница 4: ......
Страница 5: ......
Страница 6: ...Panel Control and Rear Terminals Control COMPONENT IN COMPONENT IN 37 37...
Страница 7: ......
Страница 9: ...ANT...
Страница 10: ...AUDIO VGA IN VIDEO ANT HDMI3 VGA IN VGA DVI AUDIO SOURCE COMPONENT IN...
Страница 11: ...COMPONENT IN 1...
Страница 12: ...AUDIO VGA IN VIDEO HDMI3 VGA IN VGA DVI AUDIO COMPONENT IN...
Страница 13: ...HDMI2 HDMI1 S VIDEO USB AV IN VIDEO L AUDIO R CARD...
Страница 33: ...1...
Страница 34: ...120 70 37 100W 913 290 664 17 0...
Страница 35: ......
Страница 36: ...05 0090509260A R...


