


Menu Operations
Setup Menu Options
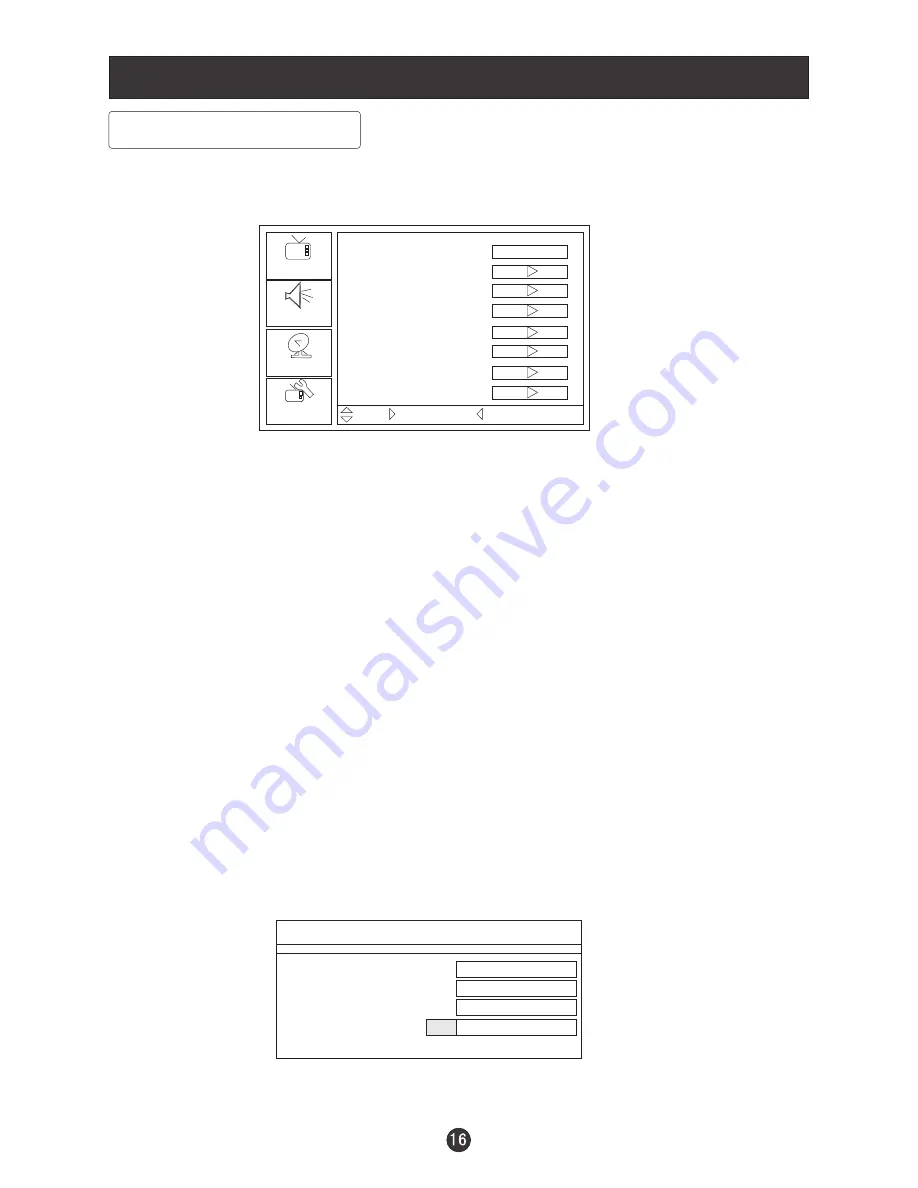
1. Press
MENU
button and
CH+/CH-
until the following menu appears on the
screen.
2. Press
VOL+/ENTER
button to enter the Setup menu and
CH+/CH-
to go up and
down to select the desired option .
3.Press
VOL+/ENTER
button to confirm and
VOL+/VOL-
increase and decrease
the level to adjust the selected option to your preference .
4. Repeat step 2 and step 3 until desired quality has been achieved .
Picture
Audio
Setup
Feature
Tuning Band
DTV Signal
Auto Ch Search
Add On Ch Search
Manual Ch Set
Channel Label
Menu Language
Reset
Air
Move /Enter Select /Exit/Menu Exit
Function:
Tuning Band: Press
VOL+/ENTER
button to select Cable Auto, Air, Cable,
Cable HRC, Cable IRC.
DTV Signal: In DTV mode, you can adjust the angle, orientation of the antenna
etc to improve the quality of the signal.
Auto Ch Search: Press
CH+/CH-
button to select the item. Then press
VOL+/
ENTER
button to enter your selection and scan. All channels now available will
be automatically preset in order .After the search has finished,
This search automatically adds only
the active channels in your area to the TV's memory. It deletes any channels on
which there is no broadcast or a poor signal. The channels found are
automatically saved as below:
the first
program number will display on the screen.
Auto program Menu
NTSC Channel 19
Analog Channels Found
Digital Channels Found
Progress(%)
Not Found
2
0
12
Exit/Menu Stop
Note: The TV searches channels in analog first and then searches channels in
digital signal the second time.
Содержание L1510B-A
Страница 32: ...V0 2 0090508051C ...