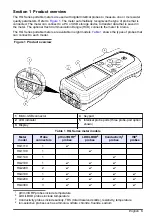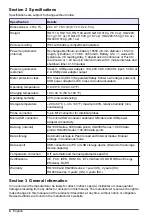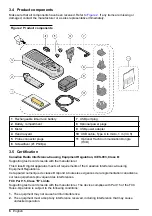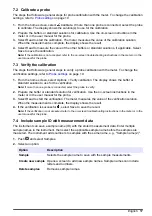
7.2 Calibrate a probe
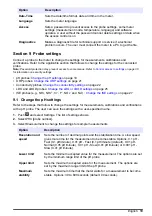
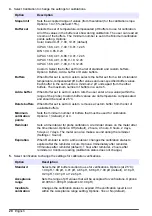
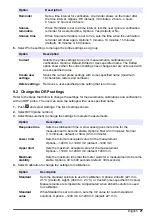
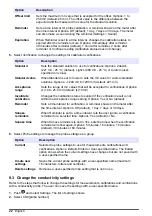
The steps that follow are general steps for probe calibration with the meter. To change the calibration
settings, refer to
on page 19.
1.
From the home screen, select Calibrate. If more than one probe is connected, select the probe
to calibrate. The display shows the solution(s) to use for the calibration.
2.
Prepare the buffers or standard solutions for calibration. Use the on-screen instructions in the
meter or in the user manual for the probe.
3.
Select Read to start the calibration. The meter measures the value of the calibration solution.
When the measurement is complete, the display shows the result.
4.
Select Read to measure the value of the other buffers or standard solutions, if applicable. Select
Save to save the calibration.
Note: If the calibration is not accepted, refer to the on-screen troubleshooting instructions in the meter or in the
user manual for the probe.
7.3 Verify the calibration
The steps that follow are general steps to verify a probe calibration with the meter. To change the
verification settings, refer to
1.
From the home screen, select Options > Verify calibration. The display shows the buffer or
standard solution to use for the verification.
Note: If more than one probe is connected, select the probe to verify.
2.
Prepare the buffer or standard solution for verification. Use the on-screen instructions in the
meter or in the user manual for the probe.
3.
Select Read to start the verification. The meter measures the value of the verification solution.
When the measurement is complete, the display shows the result.
4.
If the verification is successful , select Save to save the result.
Note: If the verification is not accepted, refer to the on-screen troubleshooting instructions in the meter or in the
user manual for the probe.
7.4 Include sample ID with measurement data
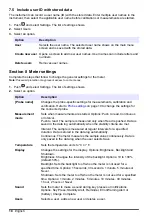
The instrument can save a sample name (ID) with the stored measurement data. Enter multiple
sample names in the instrument, then select the applicable sample name before the samples are
measured. The instrument adds numbers to samples with the same name, e.g., "Sample name (2)".
1.
Push
and select Samples.
2.
Select an option.
Option
Description
Sample
Selects the sample name to save with the sample measurements.
Create new sample
Opens a screen to add new sample names. Sample names can include
letters and numbers.
Delete samples
Removes sample names.
English
17
Содержание HQ1110
Страница 1: ...DOC022 53 80629 HQ1110 HQ1130 HQ1140 HQ2100 HQ2200 HQ4100 HQ4200 HQ4300 08 2020 Edition 1 User Manual...
Страница 2: ......
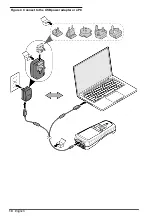
Страница 12: ...Figure 4 Connect to the USB power adapter or a PC 10 English...
Страница 37: ......

