


4-2
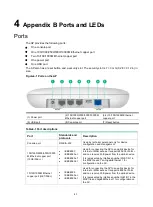
Port
Standards and
protocols
Description
10/100/1000M Ethernet
copper port
(GE2/PoE_OUT)
IEEE802.3
Used for connecting a downlink device. It can also
supply PoE power to the downlink device.
It is represented by interface number GE1/0/2 in the
MAP file and GigabitEthernet 2 for configuration on
the AC.
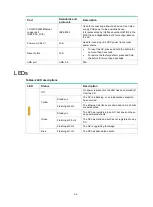
Power port (54 V)
N/A
Used for rec54 VDC power from a local
power source.
Reset button
N/A
•
To reset the AP, press and hold the button for
no more than 5 seconds.
•
To restore the factory default, press and hold
the button for more than 5 seconds.
USB port
USB 3.0
N/A
LEDs
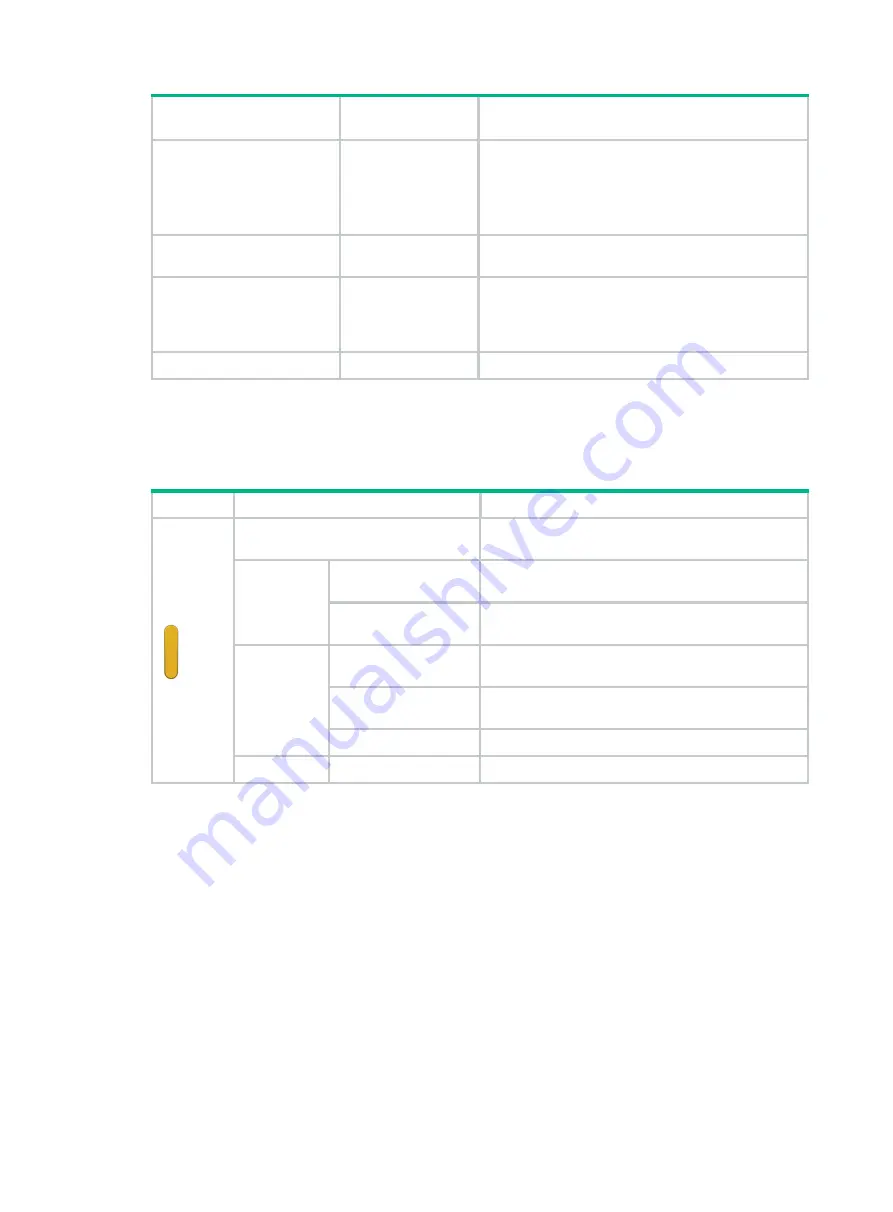
Table4-2 LED descriptions
LED
Status
Description
Off
No power is present or the LED has been turned off
from the CLI.
Yellow
Steady on
The AP is initializing, or an initialization exception
has occurred.
Flashing at 2 Hz
The Ethernet interfaces are down and no mesh links
are established.
Green
Steady on
The AP has registered to an AC, but does not have
any associated clients.
Flashing at 0.5 Hz
The AP has started up but has not registered to any
AC.
Flashing at 2 Hz
The AP is upgrading the image.
Blue
Flashing at 1 Hz
The AP has associated clients.


