3
Step 5.
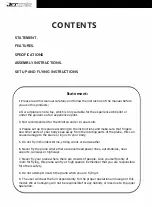
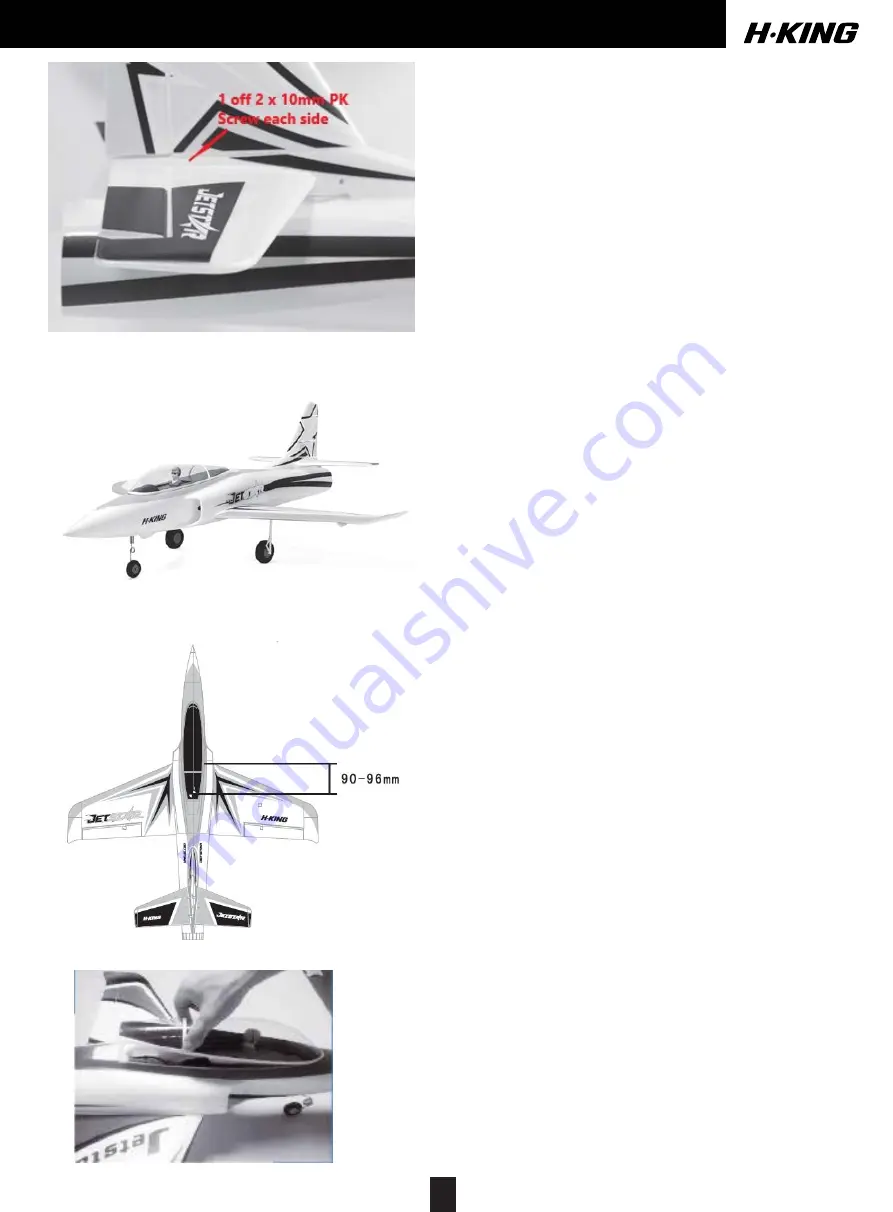
Assembly of the horizontal stabilizers. Slide
the horizontal stabilizers onto the joining rod which
now has the flat at the top, slide them right up to the
fuselage. The stabilizers are held in place with a 2 x
10mm self tapping screw, this screw is screw
e
d in
from the top and goes through the joining rod into
the plastic plate underneath. Feed the pushrods
through the connectors on the elevator horns,
centralize the elevator servo then lock the grub
screws with the elevators in the neutral position.
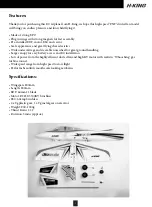
Step 6:
Jet Star assembly is finished.
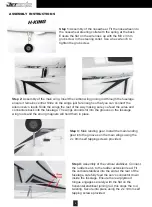
Step 7:
Once you have installed your receiver
and flight battery please check the center of
gravity. This should be between the dimensions
shown in the drawing. Aim to be nearer the front
mark for the first flights as this will increase the
stability of the model. Once you are used to it
you can move it back which will make the model
more agile.
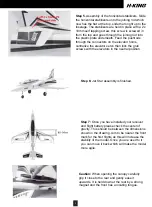
Caution:
When opening the canopy carefully
grip it close t
o
the rear and gently ease it
upwards. It is held down at the rear by a strong
magnet and the front has a locating tongue.
Содержание Jetstar 800mm EDF PNF
Страница 1: ...Instruction Manual...
Страница 7: ...CE a l MADE IN CHINA H KING...


