6
Taking a Look
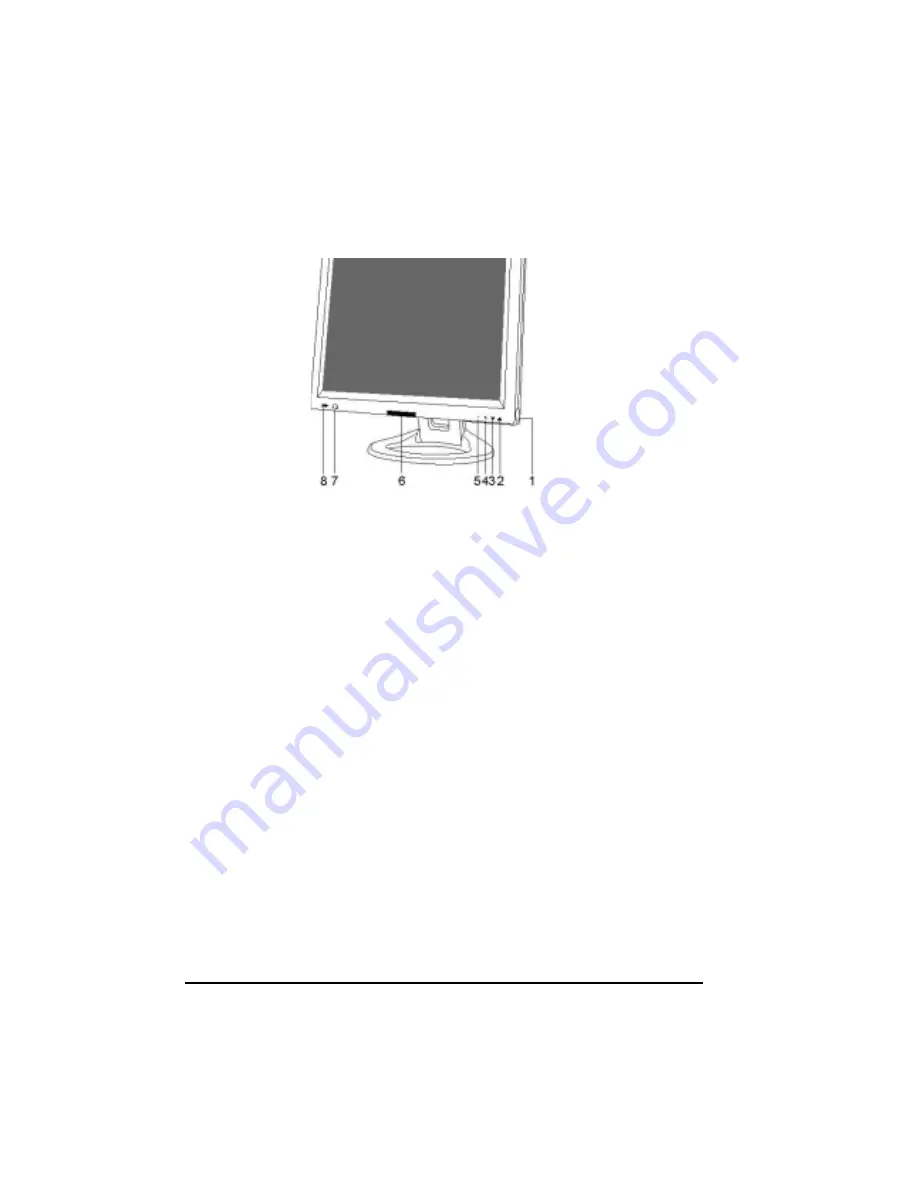
Front View
1.
Power Switch
Pressing this button turns the display system power
on
or
off
.
2.
Menu/Select
▲
Pressing this button opens the OSD menu on the screen, and is used to
select (“Up” direction) the OSD control options on the screen.
3.
Select
▼
This button is used to select (“Down” direction) the OSD control options on
the screen.
4.
+
This button is used to increase the value of the selected OSD control option.
5.
0
This button is used to decrease the value of the selected OSD control option.
6.
Remote sensor window
7.
Earphone Jack
This can be connected with a headphone.
8.
Audio-out Jack
This can be connected with external speakers.
Caution: To prevent headphone from damage, do not plug it into Audio-out jack.
Quick Adjustment Function
(PC mode)
When the OSD Menu is not active, the following functions are available for the quick
adjustment.
Pressing
▲
button once opens the OSD Function Main Menu .
Pressing
▼
button once opens the small Brightness icon. Use
+
or
0
button to adjust the
Brightness level.
Pressing
+
button once opens the small Volume icon. Use
+
or
0
button to adjust the
Volume level.
Pressing
0
button once opens the small Input Select icon.


