Roof Stairs
Models:
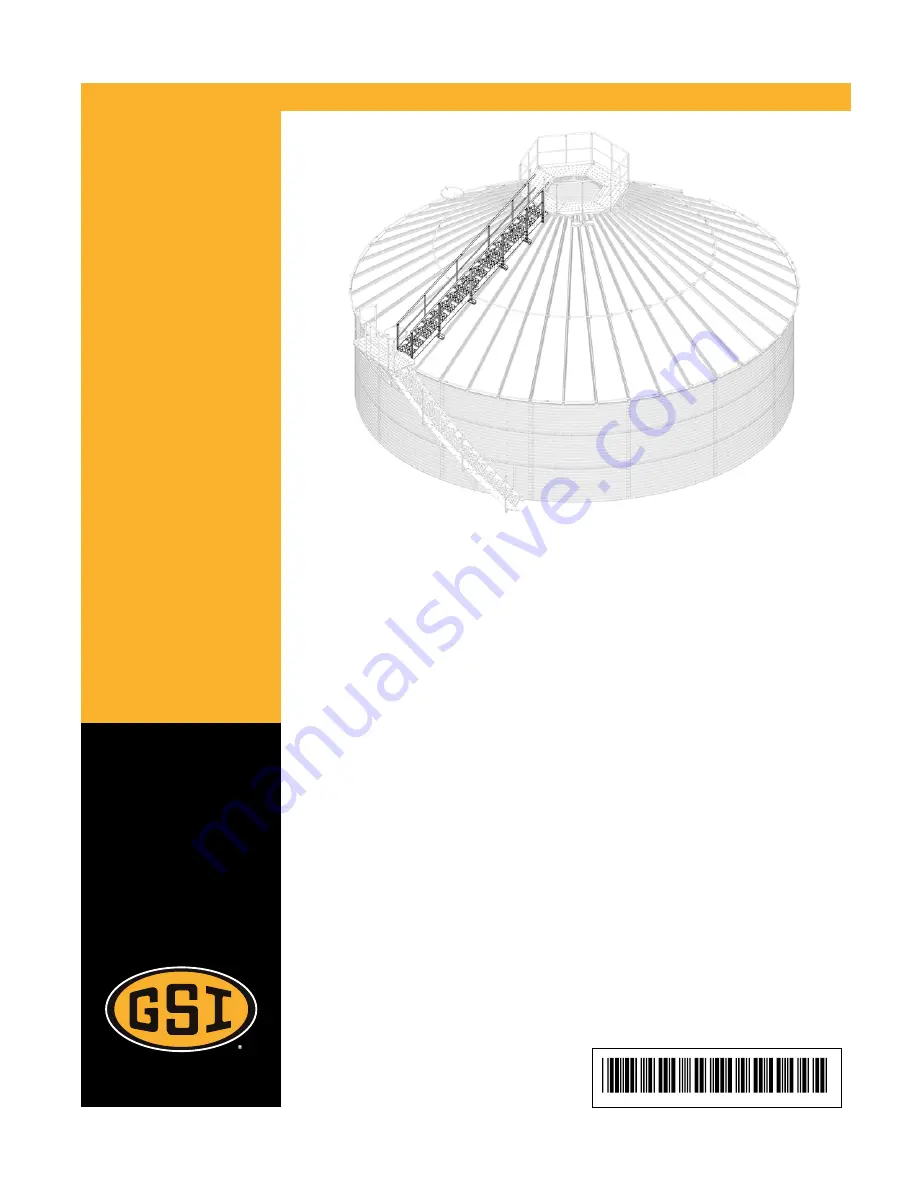
12 FT. – 156 FT. DIAMETER BINS
Installation Manual
PNEG-2062
Version 6.0
Date: 05-02-19
Страница 1: ...Roof Stairs Models 12 FT 156 FT DIAMETER BINS Installation Manual PNEG 2062 Version 6 0 Date 05 02 19 PNEG 2062...
Страница 2: ...ons photos and specifications in this manual are based on the latest information available at the time of publication The right is reserved to make changes at any time without notice 2 PNEG 2062 12 15...
Страница 3: ...13 Chapter 2 Roof Stairs 15 General Information 15 Assembling the 3 Step Stairs Section 16 Assembling the 4 Step Stairs Section 17 Assembling the 8 Step Stairs Section 18 Assembling the Roof Stair Sec...
Страница 4: ...NOTES 4 PNEG 2062 12 156 Diameter Bin Roof Stairs...
Страница 5: ...ed Unqualified persons must stay out of the work area at all times Alterations must not be made to the equipment Alterations can produce dangerous situations resulting in SERIOUS INJURY or DEATH This...
Страница 6: ...ol indicates an imminently hazardous situation which if not avoided will result in serious injury or death This symbol indicates a potentially hazardous situation which if not avoided can result in se...
Страница 7: ...uctions Carefully read all safety messages in this manual and safety signs on your machine Keep signs in good condition Replace missing or damaged safety signs Be sure new equipment components and rep...
Страница 8: ...nd platforms are for use by competent and trained personnel only Do not allow children or other unauthorized persons to have access to the equipment Access to the equipment must be restricted by the u...
Страница 9: ...e Crusted material will collapse and suffocate If you must enter the bin 1 Shut off and lock out all power sources 2 Use a safety harness and safety line 3 Station another person outside the bin 4 Avo...
Страница 10: ...s needed Complete a permit to work and follow all permit required confined space entry procedures defined by the site manager Make sure that the area has been purged of any hazard ous products or gase...
Страница 11: ...in the installation operation service and maintenance of the equipment To replace a damaged of missing decal contact us to receive a free replacement GSI Decals 1004 E Illinois Street Assumption IL 6...
Страница 12: ...fety Precautions Location Decal No Decal Description On bin door covers DC GBC 1A Danger Keep Clear of Augers On bin door covers DC GBC 2A Warning Unload Instructions 12 PNEG 2062 12 156 Diameter Bin...
Страница 13: ...sheet that can be used to verify that all personnel have read and understood the safety instructions This sign off sheet is provided for your convenience and personal record keeping Date Employee Nam...
Страница 14: ...NOTES 14 PNEG 2062 12 156 Diameter Bin Roof Stairs...
Страница 15: ...re spliced together before being installed onto the roof Refer to the table for stair step sections used for different bin diameters Table 2 1 Stair step sections Bin Diameter ft No of 3 step stair Se...
Страница 16: ...tside of the stringer sections and flange nuts 3 on the inside Place the stringers with flanges at the bottom and towards the inside Figure 2 1 Assembling the 3 step stair section 2 5 16 x 3 4 in flan...
Страница 17: ...tside of the stringer sections and flange nuts 3 on the inside Place the stringers with flanges at the bottom and towards the inside Figure 2 2 Assembling the 4 step stair section 2 5 16 x 3 4 in flan...
Страница 18: ...tside of the stringer sections and flange nuts 3 on the inside Place the stringers with flanges at the bottom and towards the inside Figure 2 3 Assembling the 8 step stair section 2 5 16 x 3 4 in flan...
Страница 19: ...licing three 8 step sections to form a roof stair section Refer to the table in General Information page 15 for the number of stair step sections required for each diameter bin 1 Connect the assembled...
Страница 20: ...e handrail post connections should have the bolts oriented so the nut is outside the walking area to eliminate a trip hazard Do not tighten the flange bolts 2 leave hand tight until the stairs assembl...
Страница 21: ...ost sets other than the first handrail post set NOTE Tighten the panel support brackets 40 Figure 2 6 Assembling the platform mount and panel support brackets 2 5 16 x 3 4 in flange bolt S 6606 39 Pla...
Страница 22: ...n RFS 1000 C 8 step stair section RFS 1002 B 4 step stair section RFS 1001 D 3 step stair section RFS 1012 If the 33 48 60 or 72 ft diameter bin is not connecting to a peak walkaround or peak handrail...
Страница 23: ...meter bins A 3 step stair section RFS 1000 C 8 step stair section RFS 1002 B 4 step stair section RFS 1001 E 8 step stair section RFS 1005 RFS 1005 is a 8 step stair section used only for 156 ft diame...
Страница 24: ...is centered and attached to the roof panel R 3 Field drill holes on the roof panel ribs and install the panel support brackets 40 in the roof stair assembly Q to the roof panel R using the standard bi...
Страница 25: ...16 in flange nut S 3611 R Roof panel 39 Platform mount bracket RFS 0009 S Standard roof bolt 40 Panel support bracket RFS 0002 T Flange nut G Platform assembly 4 Tighten all the truss head bolts 1 and...
Страница 26: ...rom the outside of the handrail brackets 17 3 Install the next upper handrail 41 over the installed handrail and secure it to the handrail brackets 17 using two self drilling screws 4 per bracket with...
Страница 27: ...ils 2 5 16 x 3 4 in flange bolt S 6606 38 Handrail post RFS 0048 3 5 16 in flange nut S 3611 41 Upper handrail RFS 0007 4 1 4 x 1 in self drilling screw 42 Lower handrail RFS 0008 17 Handrail brackets...
Страница 28: ...NOTES 28 PNEG 2062 12 156 Diameter Bin Roof Stairs...
Страница 29: ...r any claimant is set forth in this Limited Warranty and shall not exceed the amount paid for the product purchased This Warranty only covers the value of the warranted parts and equipment and does no...
Страница 30: ...be carefully followed in all cases Authorities having jurisdiction should be consulted before installations are made 1004 E Illinois St Assumption IL 62510 0020 Phone 1 217 226 4421 Fax 1 217 226 4420...