


4
PNEG-1720
Vision WatchDog Network Setup
1. WatchDog Network Setup Instructions
Introduction
This document is intended to help network technicians install the WatchDog. It briefly describes how to
setup the network configuration of the WatchDog.
WatchDog Setup
The WatchDog’s WAN (Wide Area Network) port default is setup as a DHCP (Dynamic Host Configuration
Protocol) Client. The script to configure the port is only executed on start-up. To pull down an IP (Internet
Protocol) address, it needs to be attached to a DHCP Server when it is booted.
The MAC (Media Access Control) address is printed on a label that is attached to the front of the
WatchDog board.
Configuring the WatchDog Network Settings
To access the WatchDog setup, connect a computer to the LAN (Local Area Network) port of the board,
using a CAT5 network cable. Make sure the red “SYS” LED is illuminated on the board, as this ensures
the Operating System (OS) has booted completely.
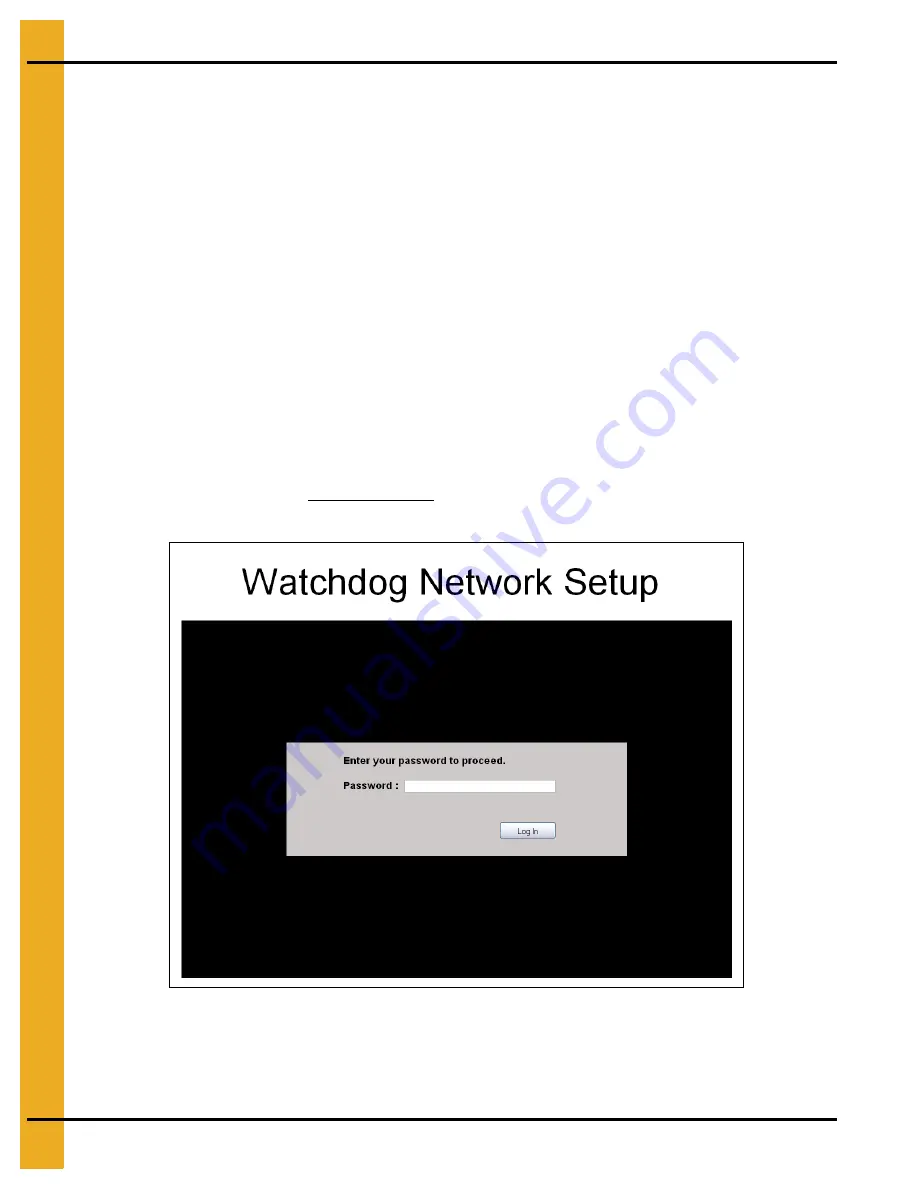
Open a web browser (i.e. Internet Explorer, Mozilla Firefox …) and type “192.168.1.200” into the URL bar
(where you would normally type www.google.com for example). This will bring up a login screen as shown
in
Figure 1A Login Screen
The default password is “default”. The password is the same as is used to access the WatchDog.
Therefore, if the user has changed the password, the setup password will be whatever they have
changed it to. If the user forgets his/her password, see the user manual for resetting the password.


