Grundig GD-ML-CC2430HD Скачать руководство пользователя страница 4


5. Controls & Functions 
 
Buttons on the lower-right part of the panel 

You can use the side panel buttons in the lower right part of your 
monitor to operate many of the monitor’s features. 


1.


 Turn on / off the monitor 

2. SOURCE

: Accesses the available video input signals (VGA & 

 HDMI) 

3. MENU

 Bring up the MONITOR main menu.  

4. 

:

 Turn on the volume. In the MONITOR menu system,  

adjust menu controls. 

5.  

: Turn down the volume. In the MONITOR menu system,  

adjust menu controls. 


How to use buttons 

Use the buttons on the right-side control panel to adjust the 
OSD 

1.


To access the OSD Menu press ‘MENU’. 

2.


Use the ‘MENU’ buttons to select the required menu item, 
then press the ‘

’ or ‘

’button to select the Sub menu. 

3.


Continue to use the ‘MENU’ button to highlight the required 
field, then press ‘

’ or ‘

’ to adjust the Set. 

4.


Press the ‘SOURCE’ button to return to previous menu. 

5.


Press the ‘SOURCE’ button again to exit the OSD Menu 
completely. 

6.


OSD Menu Configuration 


OSD setup under VGA & HDMI input mode
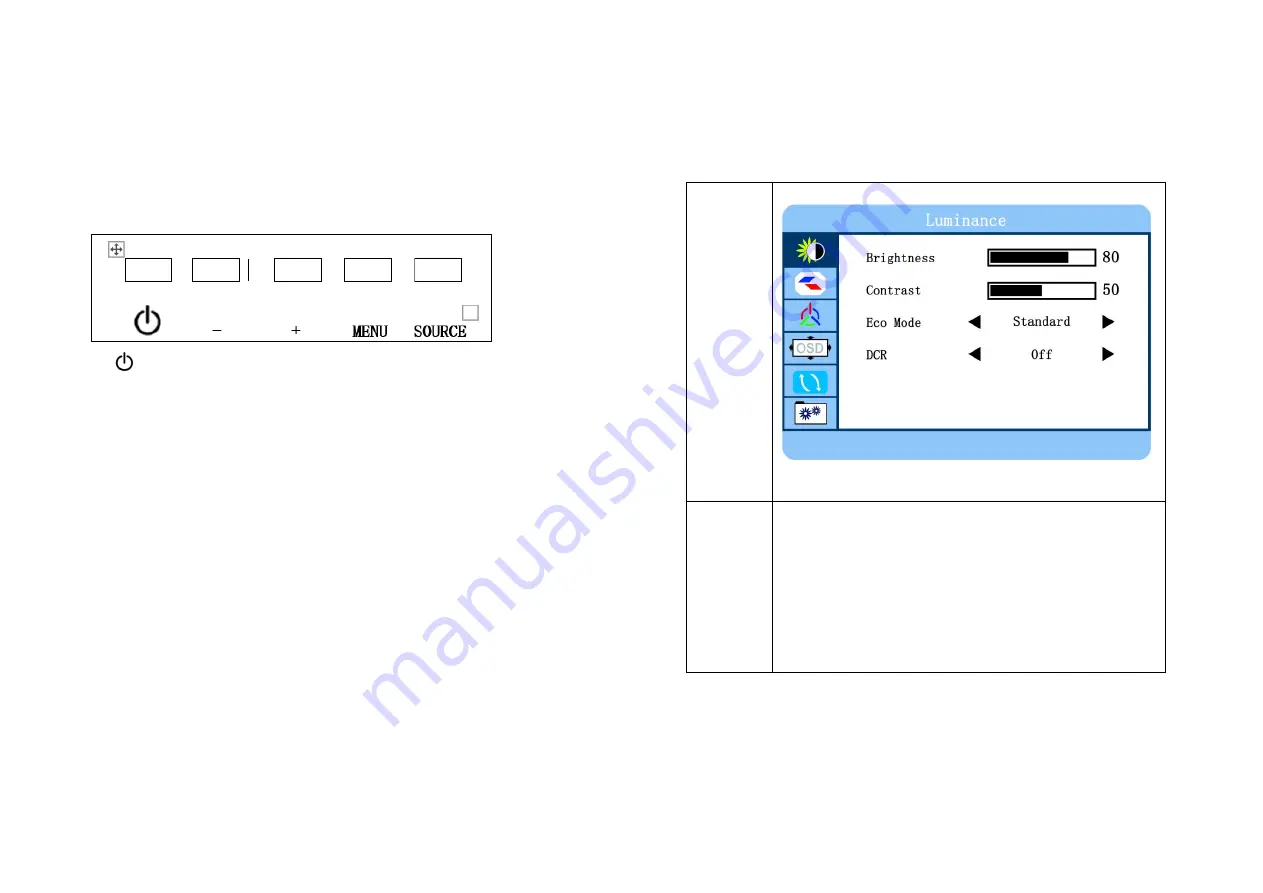


Menu 


Remark 


Luminance 

Brightness: Set the image brightness (0-100) 
Contrast: Set the image contrast (0-100) 
Eco Mode: Set Eco Mode 
(Standard/Internet/Game/Movie) 
DCR: Set the dynamic contrast ratio (On / Off) 


Содержание GD-ML-CC2430HD

Страница 1: ...V1 EN Abetechs GmbH Content___________________________________________ 1 Important Safety Instructions 2 2 Installation Instructions 3 3 Package Content 5 4 Connections 5 5 Controls Functions 6 6 OSD...

Страница 2: ...s that are not recommended by GRUNDIG Do not modify the product in any way If the product starts to smell or smoke comes out of the device immediately stop using the product and disconnect it from the...

Страница 3: ...tor first before attempting cleaning with a damp cloth To clean the plastic case a mild detergent may be used to clean the surface But please do not use too much detergent or water as this could leak...

Страница 4: ...buttons on the right side control panel to adjust the OSD 1 To access the OSD Menu press MENU 2 Use the MENU buttons to select the required menu item then press the or button to select the Sub menu 3...

Страница 5: ...ce 0 100 VGA only Phase Fine turning the image performance 0 100 VGA only Image Ratio The image ratio set Wide 4 3 Menu Remark Color Setup Color Temp Set the color temperature Normal warm cool user Wh...

Страница 6: ...Position Change OSD horizontal position adjustment 0 100 V Position Change OSD vertical position adjustment 0 100 Timeout OSD display dwell time selection 0 120 seconds Transparency OSD transparency a...

Страница 7: ...power supply No image on the screen Ensure that the HDMI DB 15 CVBS signal cable is properly connected to the display card computer Check the HDMI DB 15 CVBS signal cable connector on both ends for b...

Страница 8: ...cable should be connected to the line out on the audio card and the line in on the monitor Ensure that the audio cable is properly connected Inspect the audio cable for any apparent damage Double che...

Отзывы: