


9
3.
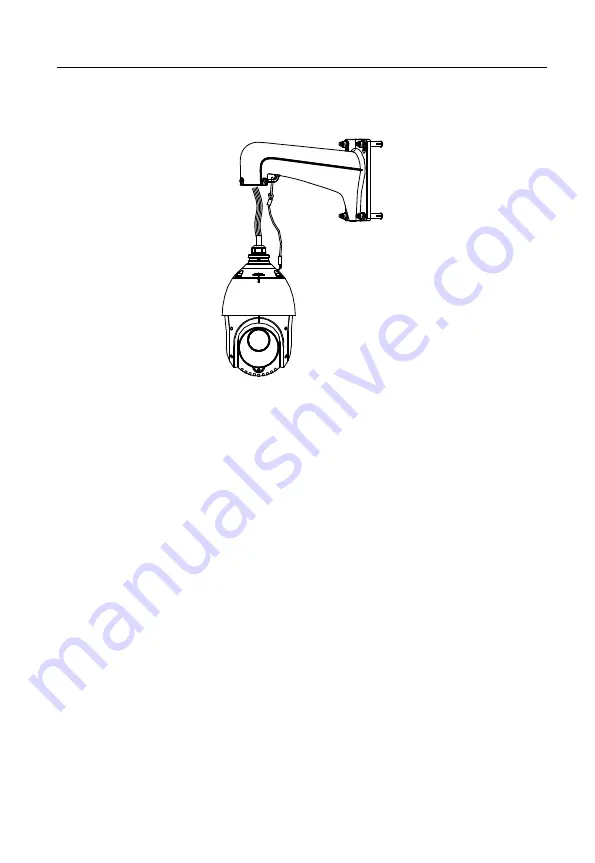
Install the speed dome to the bracket.
1)
Hook the end of the safety rope to the speed dome back box and the bracket
respectively as shown in Figure 2-5.
Figure 2-5
Safety Rope
2)
Route the cables through the bracket and connect the corresponding cables.
3)
Loosen the two lock screws on the bracket.
4)
Align the speed dome with bracket and rotate it to the bracket tightly.
5)
Tighten the two lock screws with the wrench to secure the speed dome and the
bracket.
2.1.2
Ceiling Mounting
Notes:
The thickness of the ceiling must range from 5 mm to 40 mm.
The ceiling must be strong enough to withstand more than four times the weight of
the speed dome and the accessories.
If the speed dome is installed with the ceiling bracket to the wooden ceiling, use the
self-tapping screws to secure the mounting base.
If the speed dome is installed to the cement ceiling with the ceiling bracket, drill
screw holes onto the ceiling according to the position of the holes of the ceiling
bracket and secure the mounting base to the ceiling with expansion screws then.
Содержание GD-CI-AP4746P
Страница 1: ......