


10. Streaming Settings
10.1. Video Format
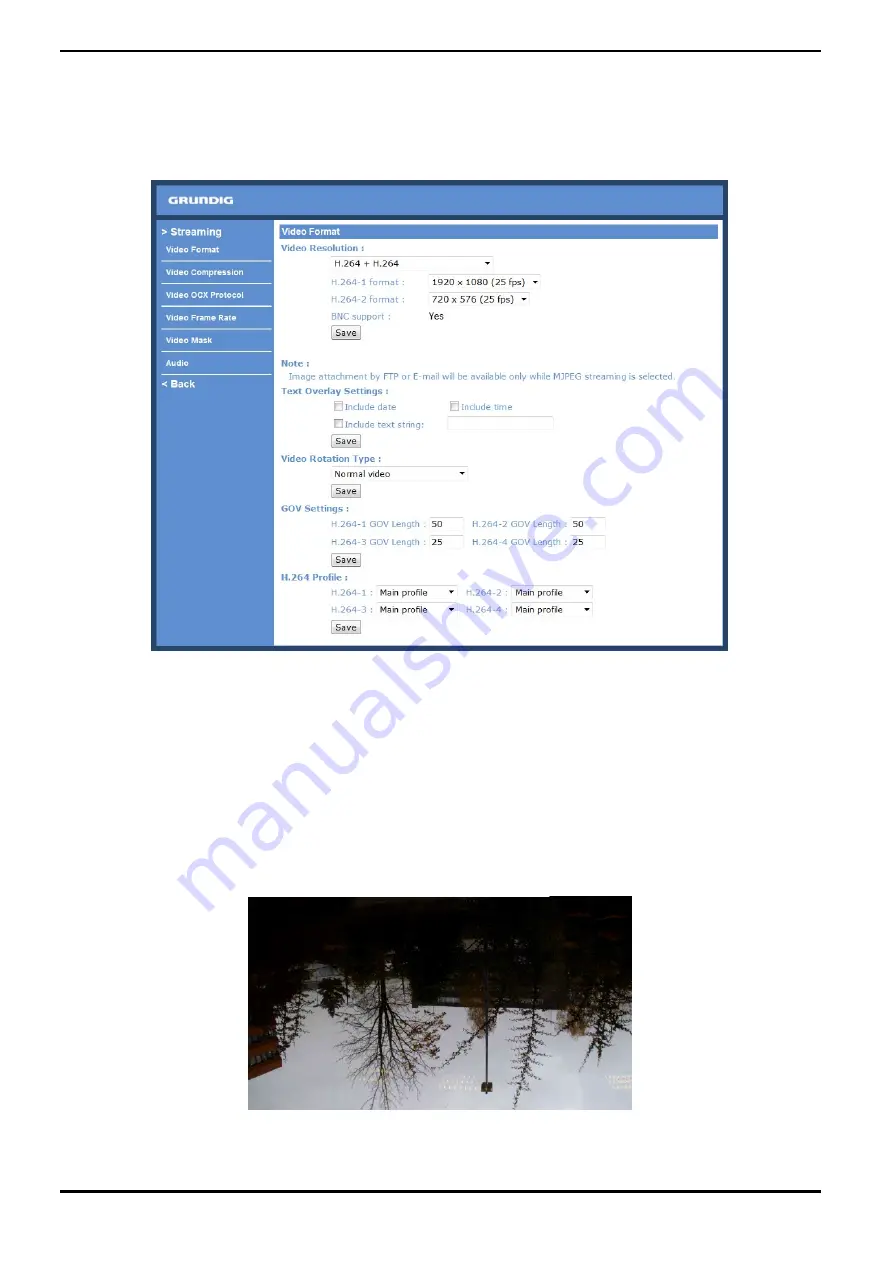
Video Resolution :
Under the Video Resolution section, the available video resolution formats include MJPEG and H.264. Please refer
to Chapter 6. Video Resolution Setup for combination details.
Click on “Save” to confirm the setting.
Text Overlay Settings :
Users can select these items to display data (date/time/text) on the live video pane. The maximum length of the
string is 18 alphanumeric characters.
Click “Save” to confirm the Text Overlay setting.
Video Rotation Type :
Users can change the video display type if necessary. The selectable video rotation types include Normal video,
Flip video, Mirror video, 90 degree counter-/clockwise and 180 degree rotation. Differences between these types
are illustrated below.
Suppose the displayed image of IP Camera is shown as the figure below.
61
English