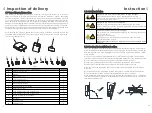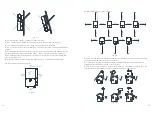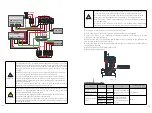
Please make sure the inverter is installed at the Proper location. The inverter can`t
install close to trunk.
Fig 5.5
Fig 5.6
Fig 5.7
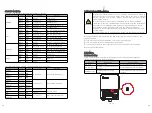
5.3 Opening conduit drill guides
5.4 Mounting the inverter
5.4.1 Preparatory work
5.4.2 Fixed the Inverter on wall
This step may be performed before or after mounting the
inverter
General tools
Cordless drill or screwdriver and bits suitable for the surface on which
the inverter will be installed and for opening the Safety Switch drill
guides.
Ensure no live voltages are present on PV input and AC output circuits,
and verify that the DC disconnect, AC disconnect, and dedicated AC
branch circuit breaker are in the “OFF” position, before inverter
installation.
If no PV string is connected to a DC input terminal of the inverter, do not
open the conduit drill guide.
WARNING
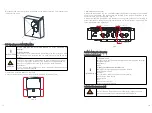
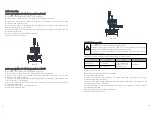
1.Ensure the inverter ON/OFF switch is OFF.
2.Loosen the screws on the front cover of the wiring box, as shown below:
1.RemoveRemove the cover.
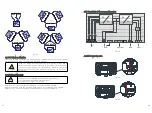
2.Open the required AC ,AC, DC and COM conduit drill guides according to the conduits
used in the installation: The drill guides are located at the bottom and sides of the
enclosure, each with two sizes:3/4'' and 1''.
3.Open the required drill guides, the number of the opened guides hole according to
actual requirement, taking care not to interface with any of the internal components. It is
recommended to use a Unibit drill.
Loosen these screw
General tools
Personal safety equipment such as gloves, helmet, goggles, ear plugs,
safety harness etc.
Step ladders.
Knife.
Tools for mechanical installation
Equipment for transporting and lifting the inverter
Electric(hammer) drill
Hammer
Set of drill bits, wrenches, sockets and screw bits
Socket driver, screw driver
Tape measure
Level
Pencil or other marker
Fastening screws, plugs, etc.
INFORMATION
INFORMATION
In order to avoid electrical shock or other injury, inspect existing
electronic or plumbing installations before drilling holes.
DANGER
17
18
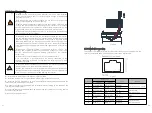
22.2mm(0.87inch)
27.80mm(1.09inch)
27.80mm(1.09inch)


