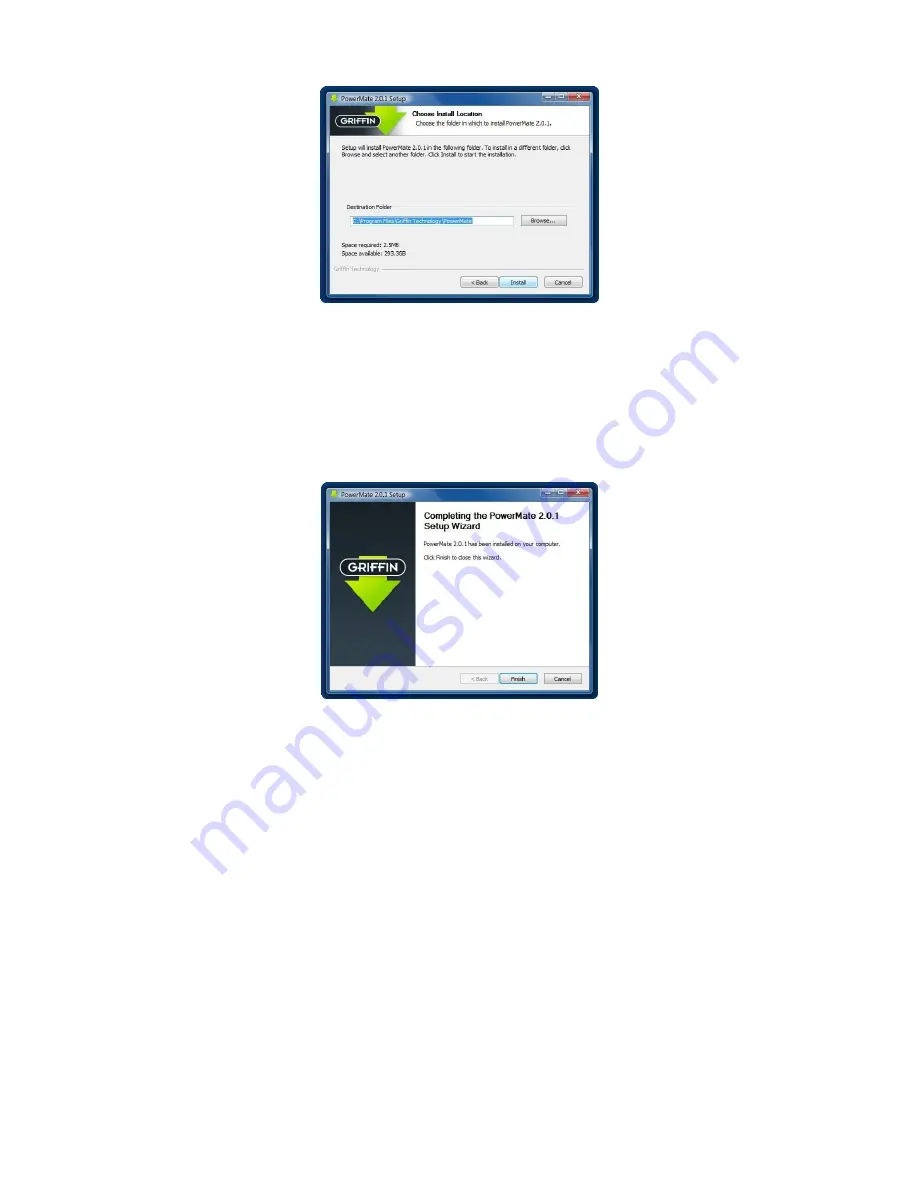
The next dialog window will then appear:
Figure 3
– Install Location Dialog
Select the directory where the driver will be installed and click on
“Install”. There is no reason to
select a location other than the default directory unless you really want to. We recommend that you
use the default folder for troubleshooting purposes.
When installation is complete, the following dialog will be displayed. Click on
“Finish” to close the
installation wizard.
Figure 4
– Installation Complete Dialog
Plug your PowerMate into an available USB port.
Verify Functionality
Now that the software is installed, give the knob a turn. The default operation is to change the
main volume. Double click on the speaker icon in the lower right corner of your desktop to bring
up the audio mixer. Rotate the knob and note whether the main volume is modified. If not, skip
to the troubleshooting section below.
Setup PowerMate for PowerSDR
Open the PowerSDR console so it will show up in the running programs list. Open the PowerMate
control panel by double-clicking on the PowerMate icon on the system tray. The system tray is the
row of icons at the right end of the toolbar at the bottom of the screen. If there is no PowerMate icon
in the system tray, start the driver from the Start Menu by clicking on
“All Programs > Griffin
Technology > PowerMate > PowerMate
”.


