4
Setting up
1.
Insert your micro SD card into the port on the recorder
marked “SD card”
, with the metal
connectors facing down.
2.
Refer to the wiring diagram above and either
a.
Connect an RCA cable from your TV to the port marked
‘
AV out
’
. Ensure that you
connect the white cable to the white port, and the yellow cable to the yellow port.
In AV output mode, the recorder will only display in standard definition (SD). This
does not affect the quality that videos are recorded at.
b.
Connect the HDMI cable from your TV to the port marked
‘
HDMI out
’.
HDMI output mode must be used to view the live feed in high definition (HD). This
does not affect the quality that videos are recorded at.
3.
Connect your camera to the ports marked
‘
AV in
’
. If your Green
Feathers camera/extension cable has a different connector, use the
adaptor included in the box. If you are not using a Green Feathers
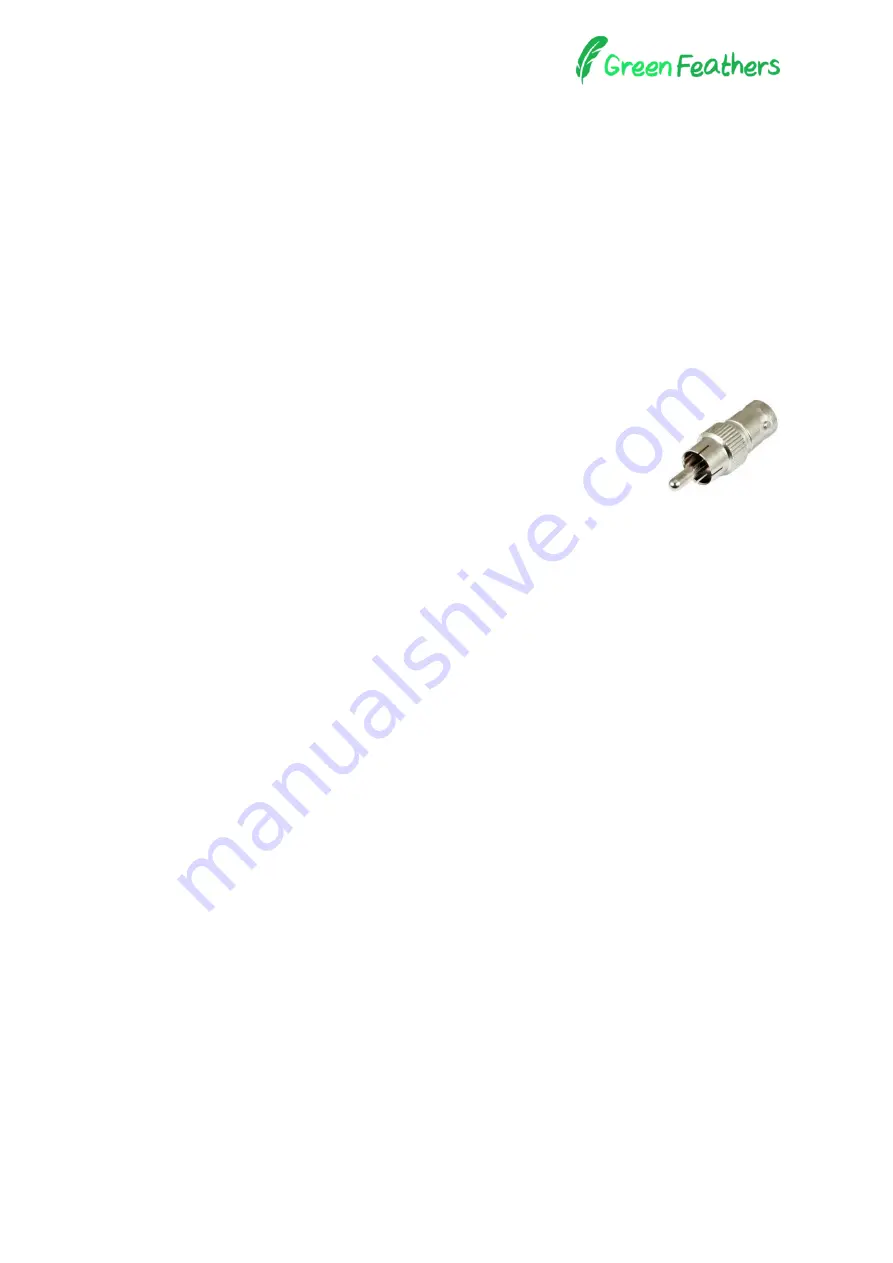
camera, you may need to purchase the adaptor shown on the right
(BNC female to RCA male).
4.
Plug in the power supply and connect it to the recorder where it says
‘
12V DC in
’
.
5.
Position the recorder so the side
marked “Remote sensor” is facing away from the TV, in line
of sight with the remote control if possible.
When the “Remote sensor” indicator is blue, it is in HDMI output mode. When the indicator is
red, it is in RCA output mode. When the indicator is flashing, this means the device is
recording.
6.
Once the recorder is turned on it will show a message prompting you to format the SD card.
If this is the first time this SD card has been used in the recorder, select
‘Format SD card’.
This will erase all the data on the card and prepare it to be used as storage for the recorder.
If there is no
output from the screen, press ‘Playback/ESC’ then press ‘Output’ again.
7.
The recorder is set to motion detection by default, so it will begin automatically recording
when motion is detected.
Содержание Mini HD Recorder
Страница 3: ...3 Wiring diagram...


