Note: The Scan Mark setting allows you to specify areas that the plotter will not sense by specifying the
distance between the registration marks. Once the plotter locates the first registration mark, it will
automatically move the specified distance and begin scanning for the next mark. You can also use this
function to reduce mark-sensing time, though before you begin, you must know the distance between
registration marks. If you wish to have the plotter scan the full length and width of the media, simply set
the X and Y values to 0. This will increase the time it takes to scan for the registration marks, but does
not require you to know the exact length and width of your cut job. Consult the plotter's documentation
for further information on this feature.
9. Next (to accept the current setting) or Enter (to adjust the Scan Mark setting)
Set For Manual control
1. Menu Button
2. Next
3. Next
4. Next
5. F2 (Background Setting)
6. Next
7. Next
8. F3 Manual
9. Enter
10. Menu
Set Command Mode
1. Menu Button
2. Next
3. Next
4. F1 (Interface)
5. F4 (Command)
6. F4 (HP-GL) for Photoprint, Flexi or Wasatch----(GPGL for Cutting Master)
7. Enter
8. Menu
RESET THE CONDITIONS AND TOOL PROPERTIES.
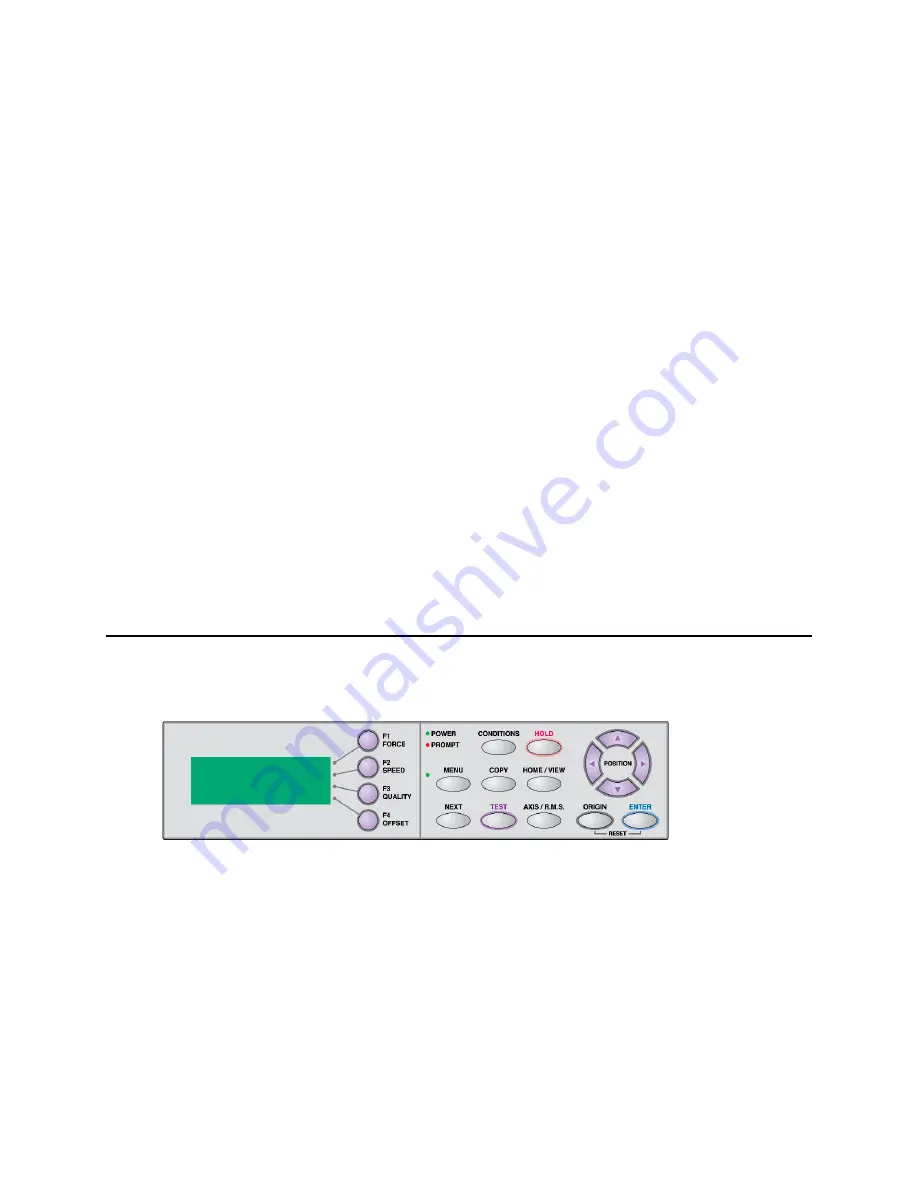
CONTROL PANEL
(Reminder: While moving the carriage with the POSITION keys, hit the NEXT button for Fast speed)
To change the setting of a CONDITION, such as the Force:
•
Press the “F” button to switch to the condition you want to modify, for example press the F1
button once to modify CONDITION 1, press it again to toggle to CONDITION 5; press F2 for
CONDITION 2 and 6, and so on.
•
Press the CONDITIONS button.
•
The cursor blinks next to the Force setting (If you want to change another value press the button
corresponding to that value, example F2 to move the cursor to the SPEED variable).
•
Toggle the value up or down with the directional keys. Press the ENTER button to save the value.


