background image

Installation 

6

3A8109A

Installation

Grounding


Pump:

 grounded through 

Motor Electrical Connec-

tions

 on page 9.

Fluid lines:

 use only electrically conductive lines.

Fluid supply container:

 follow local codes and regula-

tions.

Accessories

Install the following required accessories in the order 
shown in 

Typical Installation

, page 7, using adapters 

as necessary. These required accessories must be sup-
plied and installed by the customer before use.

Fluid Filter (Y-Strainer) (included in K):

 with a 60 

mesh (250 micron) stainless steel element to filter 
particles from the fluid before it reaches the pump. 

Fluid Shutoff Valves (L):

 shuts off fluid flow.

Pressure Relief Valve (D):

 overpressure protec-

tion.

Flush Before Using Equipment

The equipment was tested with lightweight oil, which is 
left in the fluid passages to protect parts. To avoid con-
taminating your fluid with oil, flush the equipment with a 
compatible solvent before using the equipment. See 

Flush the Equipment

, page 10.

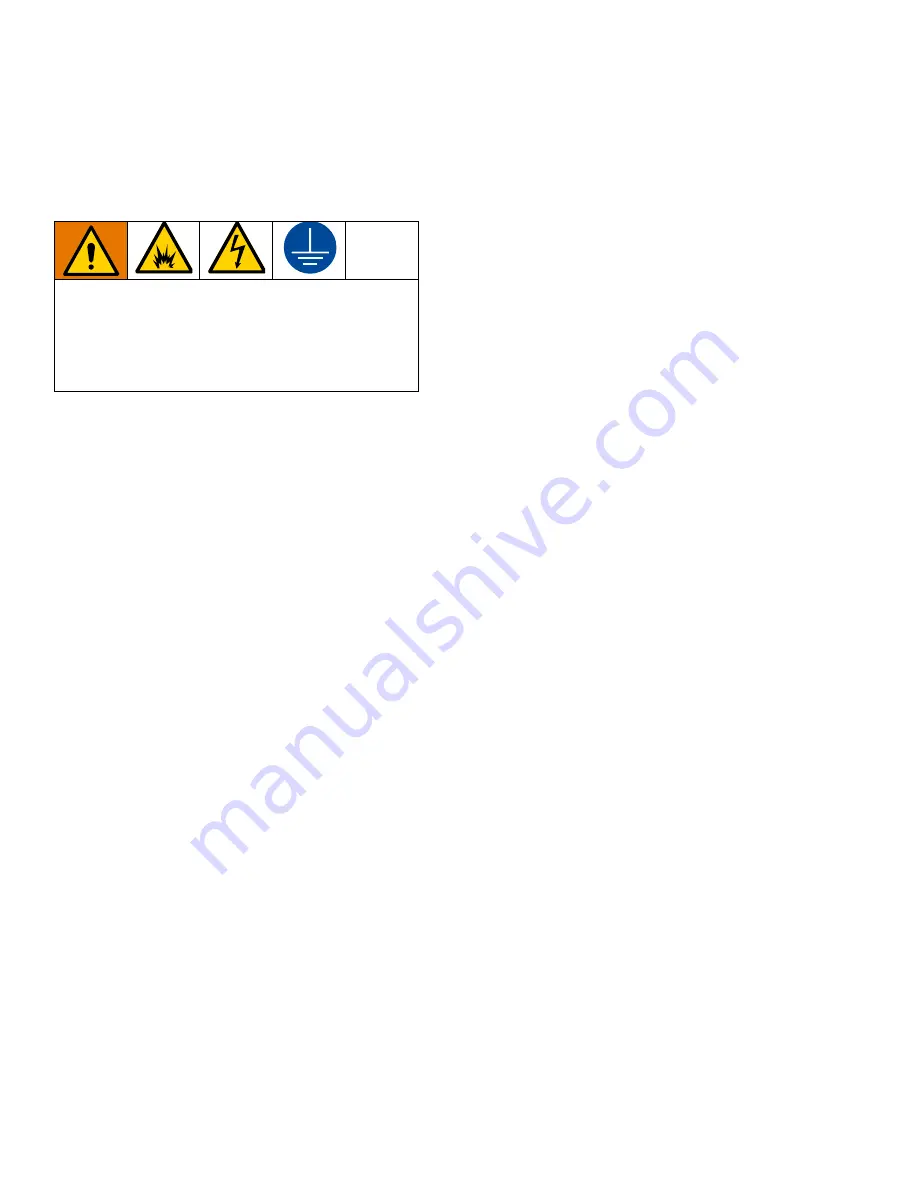
The equipment must be grounded to reduce the risk 
of static sparking and electric shock. Electric or static 
sparking can cause fumes to ignite or explode. 
Improper grounding can cause electric shock. 
Grounding provides an escape wire for the electric 
current.

Содержание 25T650

Страница 1: ...n explosive atmospheres or hazardous classified locations Not recommended for use with chemicals outside of the pH range of 4 9 See page 2 for model information including maximum working pressure Impo...

Страница 2: ...t 10 Prime the Pump 11 Calibrate Chemical Dosage 11 Troubleshooting 12 Repair 13 Remove G JR Pump 13 Replace Fluid Module 14 Replace Gear Assembly 15 Replace Motor 15 Reinstall G JR Pump 15 Parts 16 G...

Страница 3: ...grounded hoses Stop operation immediately if static sparking occurs or you feel a shock Do not use equipment until you identify and correct the problem Keep a working fire extinguisher in the work ar...

Страница 4: ...death or serious injury Do not operate the unit when fatigued or under the influence of drugs or alcohol Do not exceed the maximum working pressure or temperature rating of the lowest rated system co...

Страница 5: ...ents inside the enclosure 1 by removing the lid 7 and pump cover 4 to FIG 1 G JR Pump Components 1 Enclosure 2 G JR Pump Module 3 Harrier EZ JR Controller 4 Pump Cover 6 Base 7 Lid included with Enclo...

Страница 6: ...less steel element to filter particles from the fluid before it reaches the pump Fluid Shutoff Valves L shuts off fluid flow Pressure Relief Valve D overpressure protec tion Flush Before Using Equipme...

Страница 7: ...nly component in FIG 3 supplied by Graco All other com ponents are supplied by customer Key A G JR pump B Power Source C Tank D Pressure Relief Valve Required E Inlet Line F Outlet Line G Pressure Rel...

Страница 8: ...tlet J See FIG 1 on page 5 2 Connect a 1 4 npt f fluid line from the fluid source to the Pump Inlet H 3 Install a Pressure Relief Valve D on the outlet side of the pump See FIG 3 on page 7 NOTE A Pres...

Страница 9: ...DC models 25T650 connect red wire on the controller 15 to the red wire on the power supply 13 and the black wire on the pump 2 to the black wire of the power supply 13 To reduce the risk of electrical...

Страница 10: ...luid being dispensed and the equipment s wetted parts 1 Perform the Pressure Relief Procedure 2 Connect the Pump Inlet H to the flushing fluid sup ply source See FIG 1 on page 5 3 Connect the Pump Out...

Страница 11: ...ntroller in conjunction with baseline chemical dosage settings in Table 1 Baseline Chemical Dosage Settings page 12 2 Adjust the cycle rate on time on your Harrier control ler accordingly after the ca...

Страница 12: ...OFF sec ON sec OFF sec ON sec OFF sec ON sec OFF sec ON sec OFF sec ON sec OFF sec 0 0 3 300 0 5 239 0 7 239 0 2 60 0 5 59 0 7 59 500 0 4 300 0 5 179 0 7 179 0 3 60 0 6 59 1 0 59 1000 0 4 240 0 6 179...

Страница 13: ...line is loose Tighten Fluid leaking Loose fittings Tighten fittings Worn or damaged seals and or packing Replace Fluid Module page 15 Motor running but no fluid moving Pump stalled Check pump for con...

Страница 14: ...ws 5 and lock nuts 20 to remove the Harrier controller bracket 25 4 Remove the four screws 5 and lock nuts 20 to remove the G JR pump 2 and mounting plate from the enclosure 1 5 Unplug the two motor w...

Страница 15: ...ile pulling the fluid module and gear assembly apart 8 Discard the fluid module and install the new fluid module 9 Insert the bearing tab into the pocket on the plunger of the new fluid module and roc...

Страница 16: ...the new motor shroud to the motor with the top and bottom tabs 4 Reinstall the gear cover 3 5 Reinstall the gear assembly per step 3 of Replace Gear Assembly page 16 Reinstall G JR Pump 1 Reconnect t...

Страница 17: ...Parts 3A8109A 17 Parts G JR Chemical Injection Pump 1 2 3 4 5 20 12 17 7 6 21 10 11 18 20 15 19 25 12 14 13 20 5 12 Models 25T650 12 VDC and 25T651 115 VAC...

Страница 18: ...9 Screw machine phillips pan head 10 24 UNC SST included in ref 25 2 20 Nut lock with nylon insert included in ref 2 and 25 10 21 15G303 Label warning electrical model 25T651 only 1 25 25T828 Bracket...

Страница 19: ...See Motor Electrical Connections on page 9 Environmental temperature range ordinary location 40 120 F 18 50 C Noise dBa Maximum sound pressure 70 dBa Inlet Outlet Sizes Fluid inlet size 1 4 in npt f F...

Страница 20: ...material or workmanship repairs will be made at a reasonable charge which charges may include the costs of parts labor and transportation THIS WARRANTY IS EXCLUSIVE AND IS IN LIEU OF ANY OTHER WARRAN...

Отзывы: