background image

Operation

311200D

7

Operation

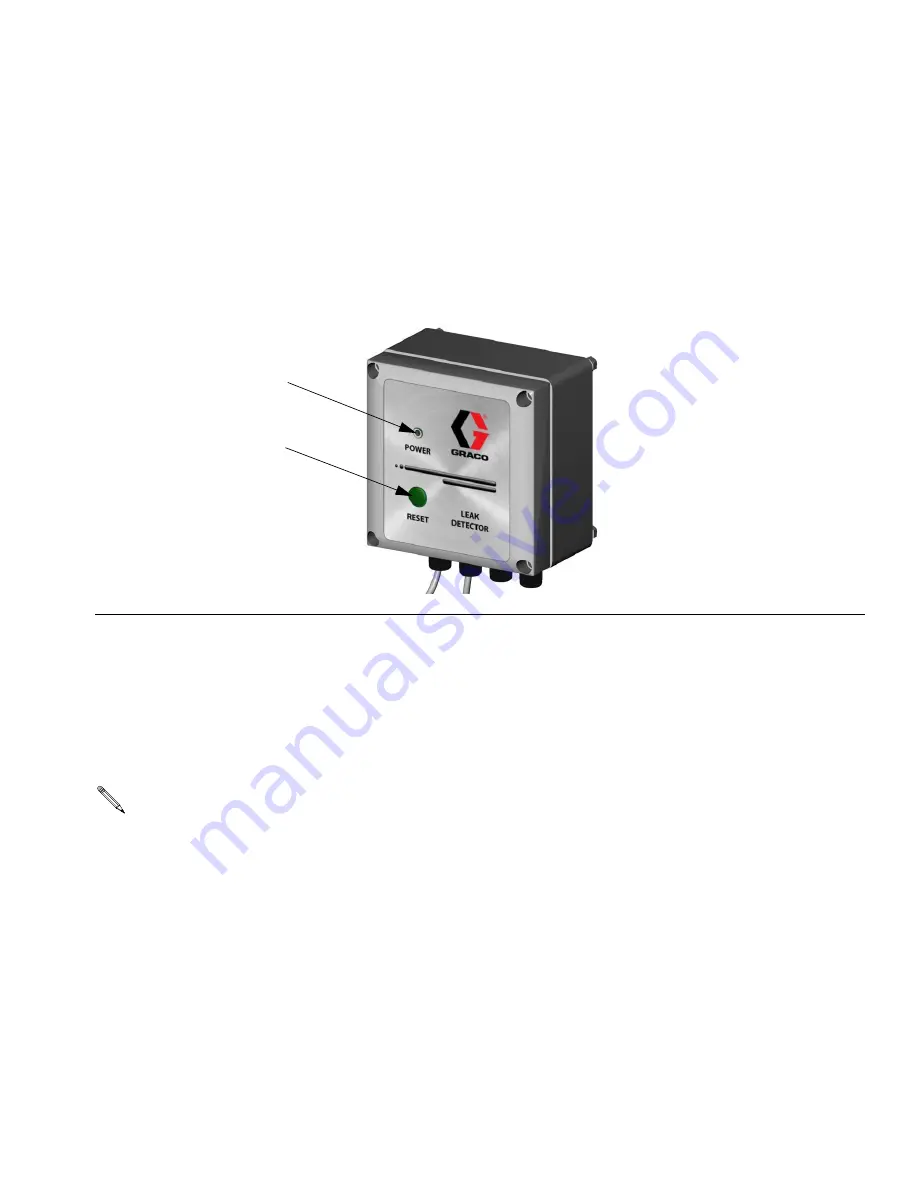
Leak Detector Operation

During normal operation, the LED on the leak detector 
control box and the sensors will flash once per second.

If an error or a diaphragm rupture occurs, the LED and 
sensors will flash three times per second and the alarm 
will sound. The relay will trip and change state. To stop 
the alarm, press the reset button or remove power for 30 
seconds. See F

IG

. 6.

Maintenance

Clean Sensors

Clean the sensors whenever the pump is disassembled 
for cleaning or inspection.

Test to ensure proper operation

1. Verify non-fault condition. With power to the control 

box, verify that:

the LED indicator on the control box flashes 
once per second.

both the yellow and blue LED indicators on 
each sensor flash once per second.

2. Verify operation of the Optical sensor. Submerge 

each sensor separately in a non-transparent fluid 
such as milk.  Verify that: 

the alarm sounds.

the yellow LED on this sensor stops flashing.

the LED on the control box blinks three times 
per second.

the relay is set and performs the intended oper-
ation (i.e. shuts down the pump).

3. Verify operation of the Conductive sensor. Sub-

merge each sensor separately in a conductive fluid 
such as water.  Verify that:

the alarm sounds.

the blue LED on this sensor stops flashing.

the LED on the control box blinks three times 
per second.

the relay is set and performs the intended oper-
ation  (i.e. shuts down the pump).

4. Verify loss-of-power condition:  Disconnect the 

power supply from the control box.  Verify that:

the relay is set and performs the intended oper-
ation (i.e. shuts down the pump) 

F

IG

. 6. LED and Reset Button

TI6850A

Always disconnect the power supply from the con-
trol box prior to cleaning the pump.

LED

Reset Button

Содержание 234576

Страница 1: ... use in explosive atmospheres Part No 234576 Leak Detection System 120 psi 0 8 MPa 8 bar Maximum Air Input Pressure Part No 24B290 Leak Detector Sensor Replacement Kit Important Safety Instructions Read all warnings and instructions in this manual Save these instructions See page 2 for Table of Contents TI6850A ...

Страница 2: ...hnical Data in all equipment manuals For complete information about your material request MSDS from distributor or retailer Use fluids and solvents that are compatible with equipment wetted parts See Technical Data in all equipment manuals Read fluid and solvent manufacturer s warnings Check equipment daily Repair or replace worn or damaged parts immediately with genuine Graco replacement parts on...

Страница 3: ...flashing When the sensor is immersed in a liquid compatible with the optical sensor the yellow LED will stop flashing Control Box The control box powers and monitors the sensors and sound the alarm when a leak is detected The control box powers and reads the sensors every second If the sensors detect liquid the control box will alarm and set it s fault relay Relay The relay has two sets of contact...

Страница 4: ...Screw the sensors B into the pump Use thread sealant as needed See FIG 3 FIG 1 Leak Detection System TI6850A Control Box Sensors To replace a sensor order Part No 24B290 Leak Detector Sensor Replacement Kit The kit includes one sensor To install the kit first shut off power to the control box Follow steps 2 7 below and step 10 on page 6 FIG 2 Sensor and Cap B A FIG 3 Typical Installation TI6851A C...

Страница 5: ...wires to the sensor terminals as shown in FIG 4 7 Plug the sensor terminals to the respective connec tors on the circuit board located on the inside of the cover See FIG 5 If installing Part No 24B290 Leak Detector Sensor Replacement Kit shut off power to the control box before opening the cover FIG 4 Sensor Wire Connections in Control Box TI13328A TI13329A TI13329A Black Red White Green Black Red...

Страница 6: ... etc to the internal relay CRS if desired using J4 See FIG 5 C Common R is Reset which is connected to Common during normal operation NO S is Set which is connected to Common when an error is detected NC 10 Reinstall the cover D using the four screws C Grounding 1 Follow the instructions in your pump manual to ground the Graco diaphragm pump system and check its electrical grounding continuity 2 W...

Страница 7: ...2 Verify operation of the Optical sensor Submerge each sensor separately in a non transparent fluid such as milk Verify that the alarm sounds the yellow LED on this sensor stops flashing the LED on the control box blinks three times per second the relay is set and performs the intended oper ation i e shuts down the pump 3 Verify operation of the Conductive sensor Sub merge each sensor separately i...

Страница 8: ...trol box Inspect the sensor connection for proper contacts and connections If the problem persists replace the sensor s as required Light flashes 3 sec and alarm sounds 8 sec The reset button is stuck in the down position Remove any obstruction possibly depressing the reset button If no obstruction exists remove the cover and inspect the reset button for anything holding it in the down position Re...

Страница 9: ...VAC 50 60 Hz Maximum power consumption 3 W Relay contact rating 230 VAC 60 W 62 5 VA Maximum sensor pressure 200 psi 1 4 MPa 14 bar Operating temperature range 0 104 F 18 40 C Maximum sensor line length 2 ft 6 m Type of liquids that can be detected water oil or any liquid compatible with polysulphone ...

Страница 10: ...close any defect in material or workmanship repairs will be made at a reasonable charge which charges may include the costs of parts labor and transportation THIS WARRANTY IS EXCLUSIVE AND IS IN LIEU OF ANY OTHER WARRANTIES EXPRESS OR IMPLIED INCLUDING BUT NOT LIMITED TO WARRANTY OF MERCHANTABILITY OR WARRANTY OF FITNESS FOR A PARTICULAR PURPOSE Graco s sole obligation and buyer s sole remedy for ...

Отзывы: