Playing Audio
Playing a Cassette
1. Adjust the Tape/Radio switch to Tape.
2. Open the Cassette Door and insert a cassette tape.
3. Close the Cassette Door.
4. Use the cassette player’s controls to play, pause, rewind, and fast forward
audio from the cassette.
5. Turn the Volume dial to turn on the radio and adjust to the desired volume.
Power
Overview
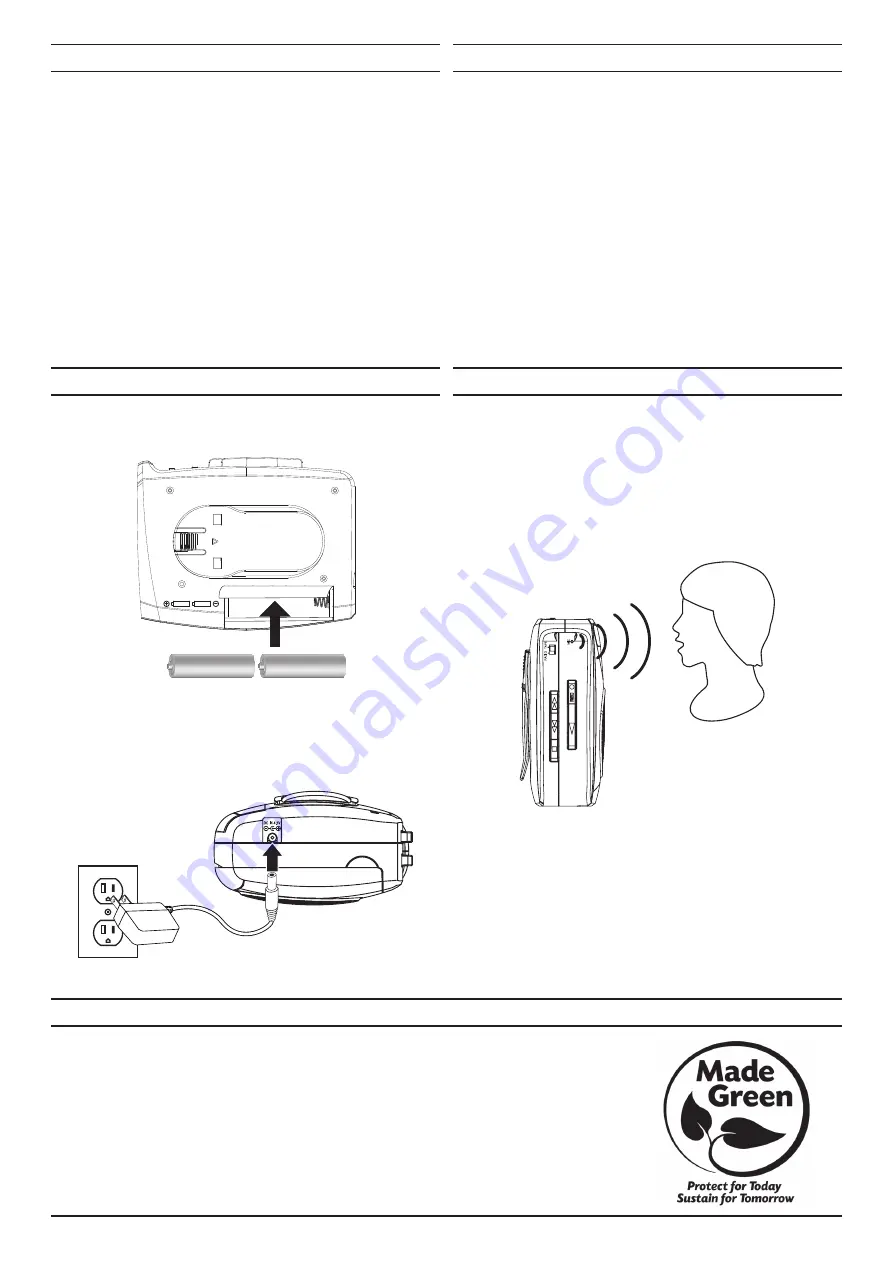
Battery Power
For battery power, this unit requires 2 AA sized batteries (not included).
DC Power Input (rated 4.5V)
Using an AC/DC Power Adapter (not included), plug the adapter into a standard
power outlet, and the power cord into the DC Power Input on the unit.
To download this User’s Guide in English, Spanish, or French, or to get answers to frequently asked questions, visit the
support section at: www.gpx.com
Para descargar este Manual del Usuario en inglés, español y francés, o para obtener respuestas a preguntas frecuentes,
visite la sección de apoyo en: www.gpx.com
Pour télécharger ce guide de l’utilisateur en anglais, espagnol ou français, ou pour obtenir des réponses à des questions
fréquemment posées, consultez la rubrique d’assistance sur: www.gpx.com
For Warranty Information and the most up-to-date version of this User’s Guide, go to www.gpx.com
Customer Service:
1-888-999-4215
| Email Support:
| Email Parts:
Copyright © 2017 Digital Products International (DPI, Inc.) All other trademarks appearing herein are the property of their
respective owners. Specifications are subject to change without notice.
International Support
Playing the AM/FM Radio
AM and FM antennas are built into the unit, and FM reception is further improved
with the included earbuds. To improve AM reception, adjust the position of the
unit. To Improve FM reception, insert the earbuds and adjust the wire.
1. Adjust the Tape/Radio switch to Radio.
2. Adjust the AM/FM switch to the desired frequency band.
3. Turn the Volume dial to turn on the radio and adjust to the desired volume.
4. Adjust the Tuning dial to tune the radio.
Features
• Auto-stop at tape end
• Built-in microphone for recording
• Built-in AM/FM radio antenna (direct tuning)
• Built-in speaker with analog volume control
• 3.5mm headphone jack
• DC battery power:
requires 2 AA batteries (not included)
Includes
• One set of stereo earbuds
• Detachable belt clip
CASSETTE TAPE USE:
Larger tapes with at least 45 minutes of playing time (C120) per side are not
recommended. Longer duration tapes pose a greater risk of defect for both the
cassette and the cassette player. Use only high quality tapes with a duration less
than 45 minutes.
Recording
Note: The recorder only records in Mono, Stereo is not available. The recorder
will automatically set the recording level, the Volume dial does not control the
recording level.
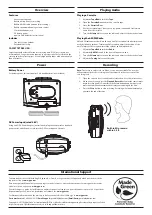
1. Open the cassette door, load a blank cassette, then close the cassette door.
2. When you are ready, press the Play and Record buttons at the same time to
begin recording audio.
Do not force the Record button down if a tape’s erase
protection tabs have been removed, this may cause damage to the unit.
3. Press the Stop button to stop recording.
Recording will stop automatically if
you reach the end of the tape.
Built-in Mic: remain
within 2.5 ft.
DC 1.5V x 2 PCS
(UM-3, “ AA” SIZE, HP-7,


