Installation
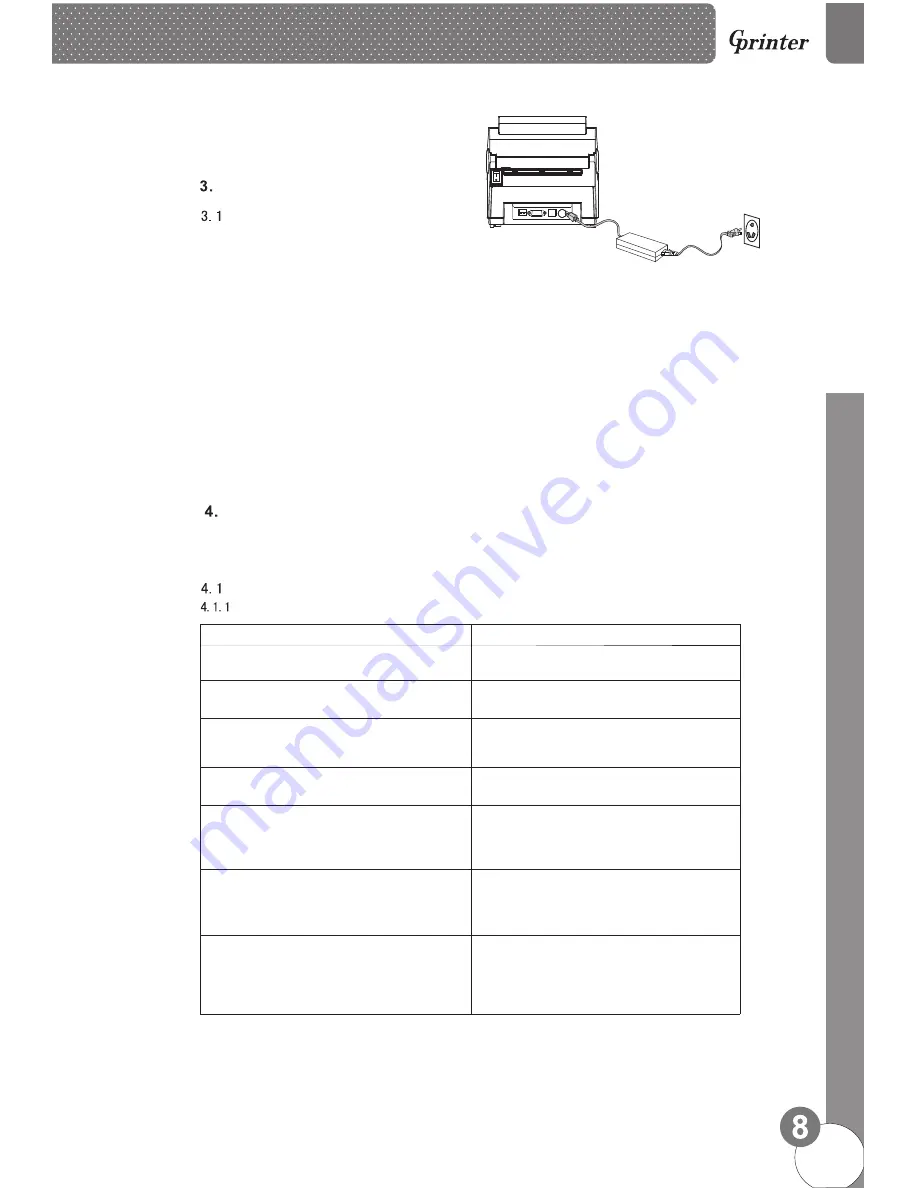
Install the printer
1. Please put the printer on the stable surface.
2. Make sure printer power is turned off, please do not plug
the power cable when the printer power is turned on.
3. Connect serial or USB or Parallel or Ethernet cable to
printer and PC.
4. Connect power plug to power supply socket.
Be careful:
※
Please turn off the power switch the printer in the power socket,
※
Transmission interface in the picture will vary depending on your printer
purchased aircraft type, the actual transmission interface, please refer to
the corresponding product specifications
power line is inserted into the printer.
<Picture 5>
LED Indicator and Function
There’re two buttons and three LED indicators, many functions can be realized through using
different button, indicator and power on/off switch.
LED indicator
Direct thermal printing method
LED Indicator
status Descriptions
Power indicator is on,Error indicator is off Printer is powered on and in normal
printing status
Power indicator flashes every 640ms,
Error indicator is off
Printer is paused
Power indicator is off, Error indicator goes
for 80ms, then goes off for 160ms, printer
start beeping.
※
on
Printer cover is opened
Power indicator is off
for 500ms, then goes off for 6s
, Error indicator goes on
Label gap detection error
Power indicator is off Error indicator flashes
every 160ms, after two times flashing, Error
indicator goes off for 320ms, printer start
beeping.
※
,
Paper out
Power indicator is off Error indicator flashes
every 160ms,after three times flashing,Error
indicator goes off for 320ms, printer start
beeping.
※
,
Black mark detection error
Error indicator flashes every160ms.
Printer overheated protection mode is act-
ivated. After 1 minute, the printer CPU will
check print head temperature again. When
temperature return normal, printer will work
normally.
D
ir
e
c
t T
h
e
rm
a
l L
a
b
e
l P
ri
n
te
r


