13
12
STEP BY STEP INSTR
UCTIONS
STEP BY STEP INSTRUCTIONS
The Cut + Dry Dehydrator offers a choice of options for preferred drying results. You
may select one of the two following options for dehydrating foods. Follow the steps
below to prep your drying process, then choose your method:
I. Auto Drying Time & Temperature
II. Manual Drying Time & Temperature
1.
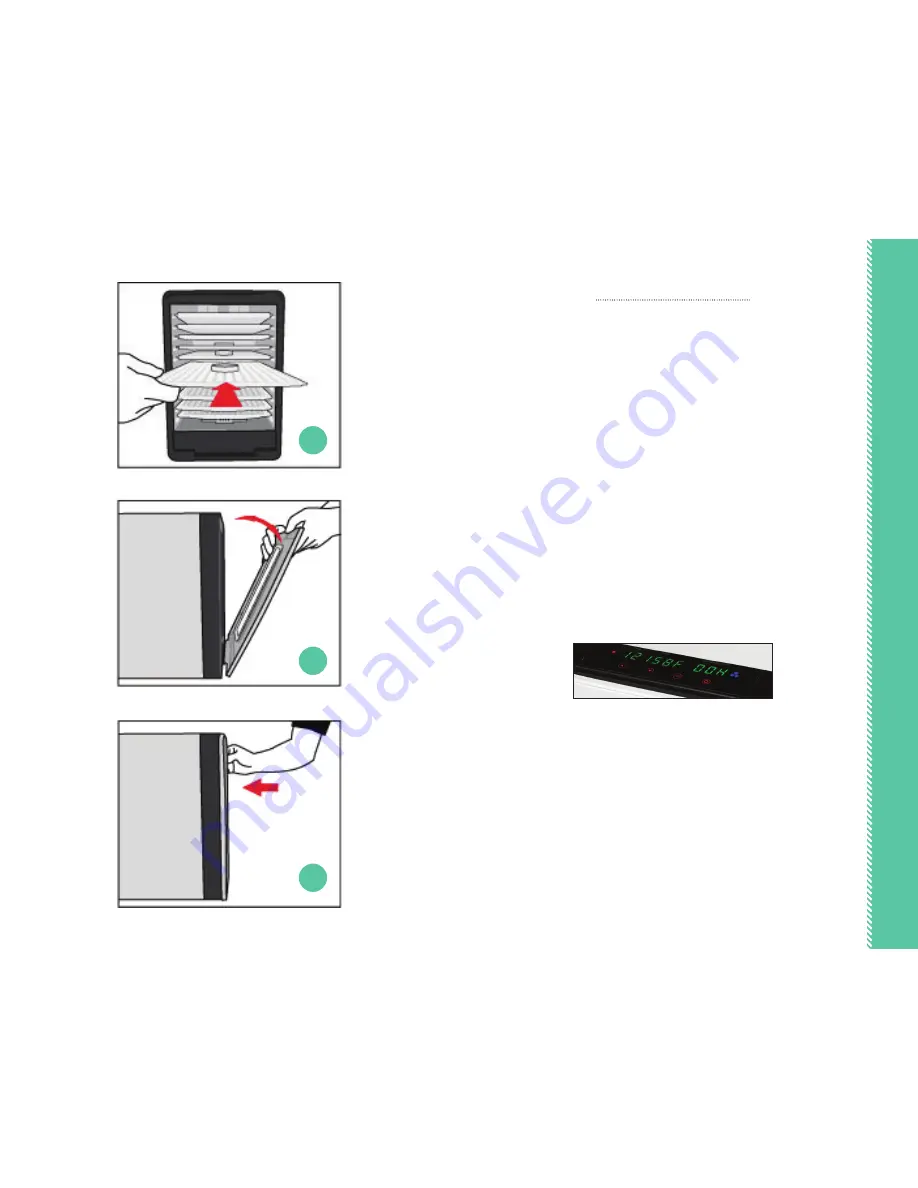
Place prepared food onto the Drying Trays (see p. xx for food prep
instructions). Do not overload the Drying Trays with food.
2.
Food should be placed on Drying Trays in single layers ONLY, not touching
or overlapping in any way.
3.
Attach the EasyVue Door by positioning the bottom of the Door with the
tabs into the slot provided on the bottom of the Housing. Move the top
of the Door toward the Housing until the Door seats into position and is
secured to the Housing by the magnets are the top of the Door. (fig 1-3)
4.
Plug the dehydrator into the outlet. The LCD Display on the Control Panel
will flash once. Select the drying mode of your choice:
I. Auto Drying Time & Temperature
1.
Press the Power Button once. The default time of 12 hours will be set.
2.
The default temperature of 150°F will be set.
3.
The Dehydrator will automatically start with these settings and the Timer
will begin to countdown the remaining time until the time is complete.
4.
When done, the Dehydrator will automatically turn off and the Fan will
stop within 10 seconds.
NOTE: If needed, press the Power Button at any time while drying to turn
the dehydrator off.
fig. 1
fig. 2
fig. 3
Содержание GFD1750
Страница 1: ...CUT DRY DEHYDRATOR MODEL GFD1750 GFD1850 ...
Страница 14: ...www gourmia com ...


