


13
14
All the specifications are subject to minor change without prior notice.
Specifications
X2
135.1*118.1*49.4 (mm)
5" TFT LCD monitor
LCD
Image Zoom
Dimensions(W*D*H)
15~85%RH
0
℃
~40
℃
Operation temperature
Operating humidity
Number of pixels
1280*720
Power supply
-20
℃
~60
℃
Storage temperature
1/4",CMOS
0
℃
~40
℃
3m
Image sensor
Video resolution
Rotation angle
Dimensions(W*D*H)
Operation temperature
108.5*75.5*75.5(mm)
1280*720
Pan: 345° Tilt:92°
Night visual range
Operation humidity
15~85%RH
-20
℃
~60
℃
Storage temperature
Power supply
Camera
Receiver
Viewing Angle
60±5°
YES
NO
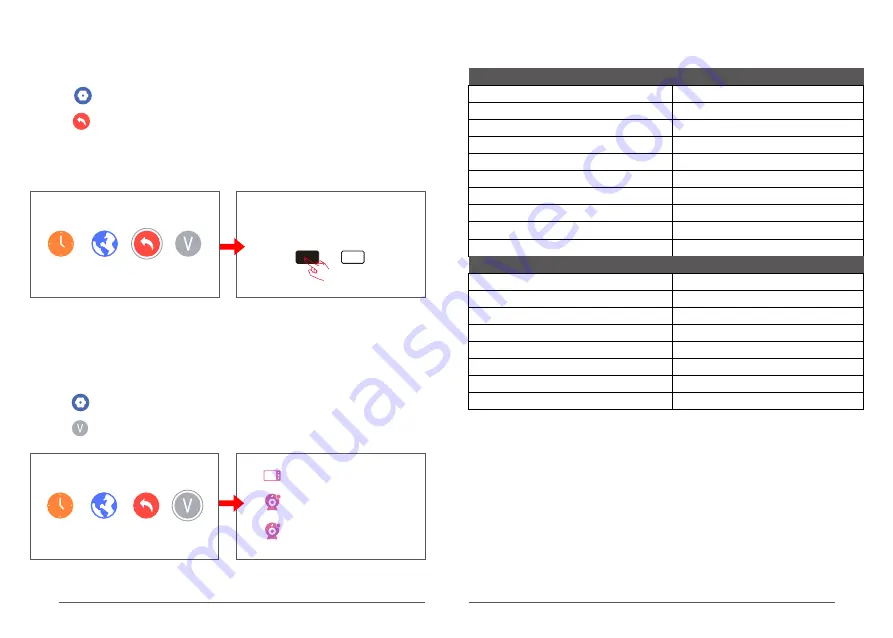
Restore to default settings?
Restore to default settings
Restore the receiver to default settings.
1.
Select Settings, and press OK to enter the settings page.
2. Select Restore to Default Settings, and press OK to enter the settings page.
3. The device will prompt
“
Restore to default settings?
”
. Select YES and press OK to
confirm. The device begins to execute a factory reset.
Tip: After restoring to default settings, all individualized settings on the receiver will not
exist. So, please be cautious.
Rx:
Rx Date:
Tx
:
Tx Date
:
Tx
:
Tx Date
:
View version information
View version information of the receiver and camera.
1.
Select Settings, and press OK to enter the settings page.
2. Select Version Information, and press OK to enter the version information view page.
1
2
USB5V/1A
DC 5V/1A
Содержание 8217KP
Страница 1: ...Model No 8217KP ...