


07
08
Manual Recording:
1. In the real-time monitoring status, press the and buttons
to select the camera for video recording as the current camera.
2. Press the recording/stopping button on the device.
The recording icon is displayed on the screen, indicating that
recording starts.
3. Press the button on the device again to stop recording.
Timer Recording:
Set the recording start/stop time through the “Timer
Recording”
menu. The device automatically records according to the set
start/stop time. After recording, it automatically saves the video.
Specific steps are as follows:
1. Press
the
MENU button to enter setting interface;
2. Press
the
or
button
to
select “Record”
and
press the OK
button to enter;
3. Press
the
or
button
to
select “Timer
Recording”
and
press
the
OK button to enter;
4. Press
the
or
button
to
select “New
Schedule”
and
press
the
OK button to enter:
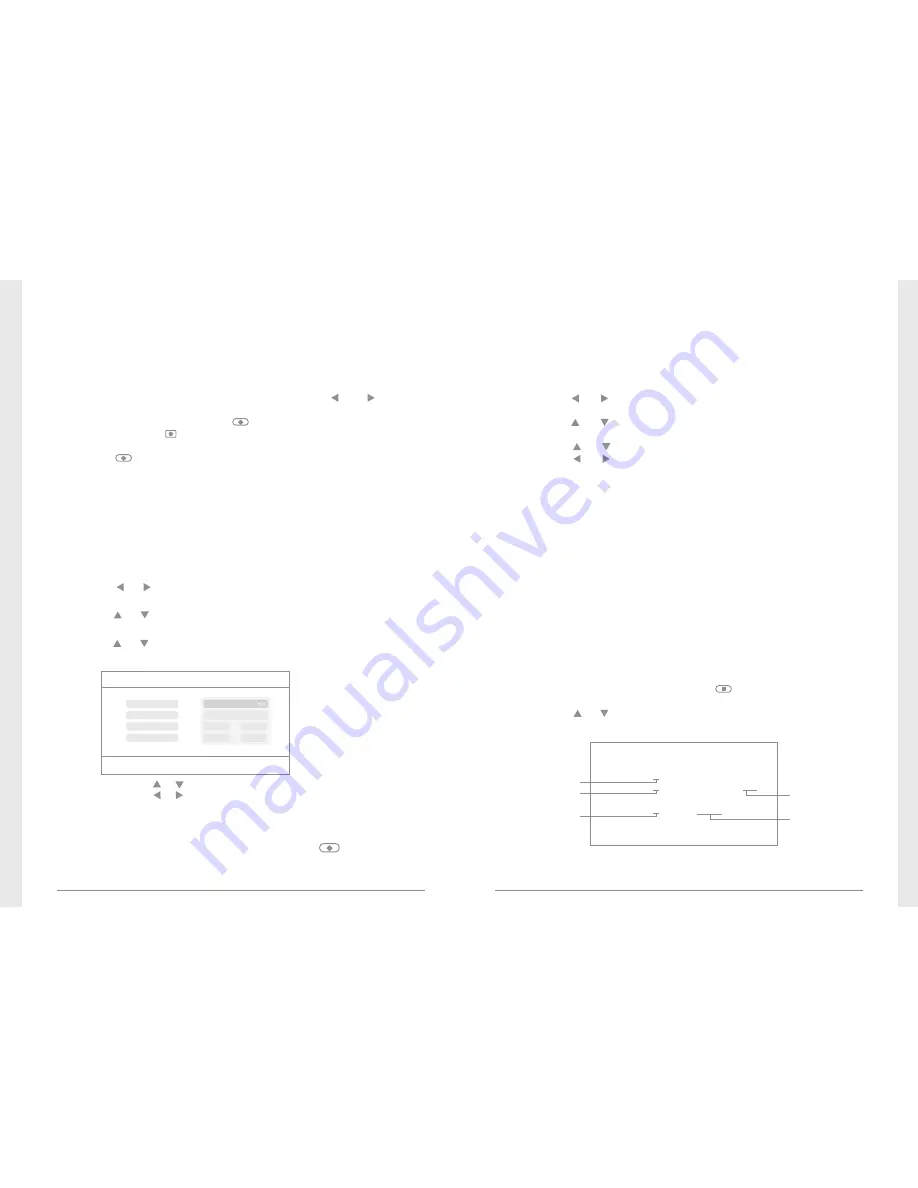
●
Video recording
1. In
the
real
-
time
status, press the button to enter playback
interface;
2. Press
the
or
button
to
select
the
folder;
3. Press
the
OK button confirm and enter:
●
Playback
/
m
nt
/
usb
/
rec/20121107
2
/
5
.. (
up
) <
DIR
>
065304-1.avi
5MB
065320-2.avi
7MB
new
065354-2.avi
5MB
new
065417-4.avi
10MB
new
'
Enter
':
Play
'
Del
':
Delete
Timer
Recording
OK
:
Options
MENU
:
Quit
Press
the
or
button
to
select;
Press
the
or
button
to
adjust;
Press
the
OK button to confirm and exit;
Camera
End Time
Date
Start Time
All
Cameras
11/6/2012
Tue
:
00
:
00
00
00
5. After setting, the device automatically records according to the
set start/stop time.
6. If you press the recording/stopping button on the device
during the recording process, recording stops.
Remarks:
1. If the video recording time is longer than 5 minutes, a video file
will be automatically saved every 5 minutes.
2. Multiple channels (four channels at most) of recording are
supported at the same time. The recorded video of each channel
is saved in an independent video file.
Not browsed
File size
Camera
1
Camera
2
Camera
4
PIR Recording:
If
there
is
human
motion
detected
by
any
accessed
camera
,
recording
can be triggered. The specific steps are as follows:
1. Press
the
MENU button to enter the setting interface;
2. Press
the
or
button
to
select “Record”,
press the OK button
to enter;
3. Press
the
or
button
to
select “PIR
Recording”,
press the OK
button to enter;
4. Press
the
or
button
to
select the camera;
5. Press
the
or
button
to
select “On”;
6. Press
the
OK button to confirm and exit.
* When “Off” is set, motion detection function is turned off.
* The infrared sensing distance of PIR is 5 m. If the distance exceeds
5m, sensing may fail.
Содержание 8104JM
Страница 1: ......


