


CANVAS2
This radio display has a backlight with adjustable timeout (this
is the time delay, in seconds, after which the display switches off).
1. Press and hold the INFO/MENU button to enter the menu.
Press CHANNEL button to choose System Settings and press
SELECT button to confirm.
2. Press CHANNEL button to choose Backlight and press SELECT
button to confirm.
3. Now you can see a list of selection, press CHANNEL button
to choose and press SELECT button to enter the change of
particular option:
4.15
Set Backlight
3. Now you can see a list of selection, press CHANNEL button
to choose and press SELECT button to enter the change of
particular option:
3.1 Set time/date
3.1.1. Press SELECT button and the Day part will flash.
Press CHANNEL button to set the day for alarm,
press SELECT to confirm.
3.1.2. The Month part will flash. Press CHANNEL button
to set the month for alarm, press SELECT to confirm
3.1.3. The Year part will flash. Press CHANNEL button
to set the year for alarm, press SELECT to confirm
3.1.4. The Hour part will flash. Press CHANNEL button
to set the hour for alarm, press SELECT to confirm
3.1.5. The Minute part will flash. Press CHANNEL button
to set the minute for alarm, press SELECT to confirm
3.2 Auto Update
Press the CHANNEL button to choose the time update
source <from any> / <from Digital Radio> / <from FM>
/ <No update >, and press SELECT button to confirm.
3.3 Set 12 / 24 Hour
Press CHANNEL button to choose <12 Hour> / <24 Hour>
for time display, and press SELECT button to confirm.
3.4 Set date format
Press CHANNEL button to select <DD-MMYYYY> /
<MM-DD-YYYY> for date display format, and press
SELECT button to confirm.
3.1 Timeout options:
On / 10 / 20 / 30 / 45 / 60 / 90 / 120 / 180 seconds
In Backlight menu press CHANNEL button to select a
particular options and press SELECT button to confirm.
Auto Update
16:02
from Any
from Digital Radio
from FM
No Update
Set 12/24 hour
16:02
12 hour
24 hour
Set Date Format
16:02
DD-MM-YYYY
MM-DD-YYYY
Time/Date
Set Time/Date
Auto Update
Set 12/24 hour
Set Date Format
16:02
>
>
>
>
Set Time/Date
16:02
24 - 10 - 2016
16 : 02
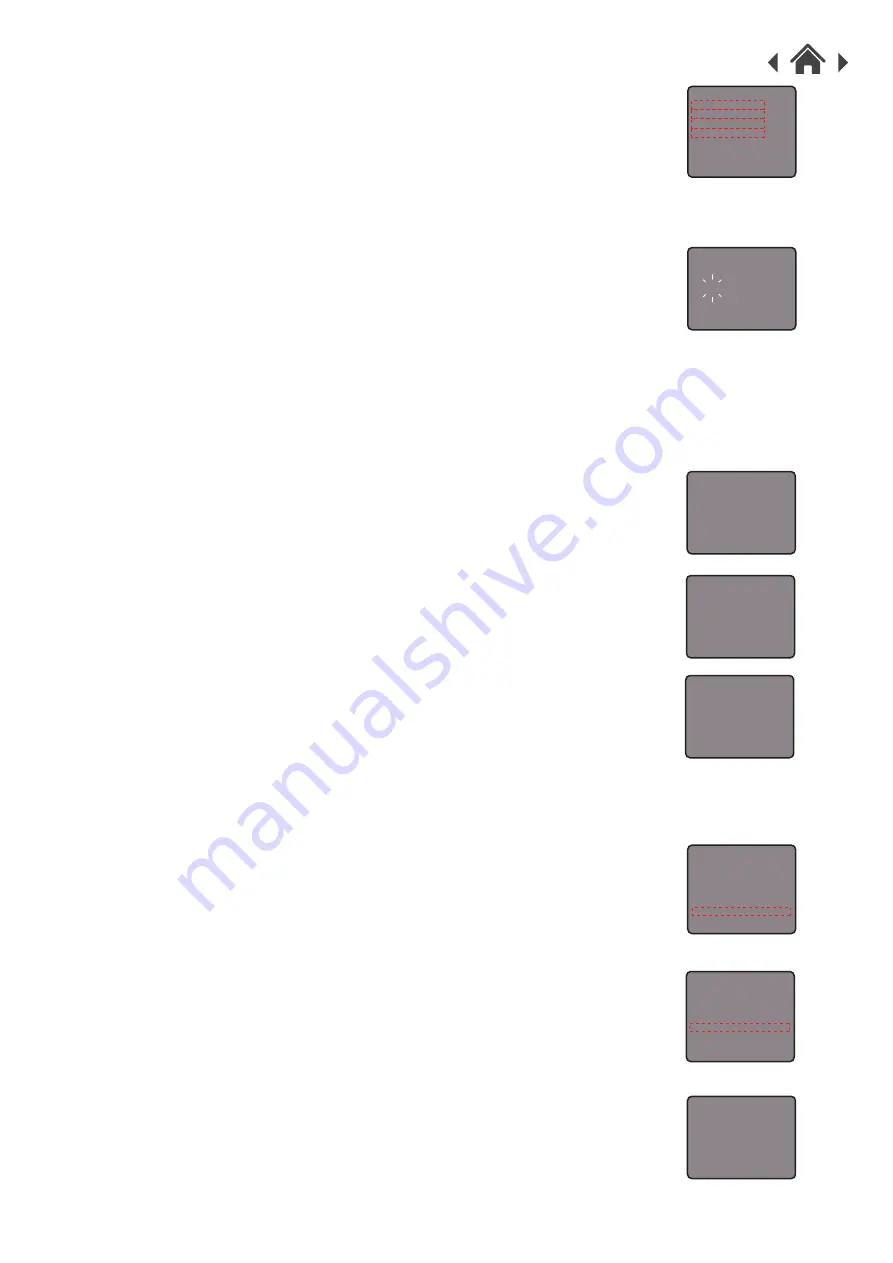
Timeout
16:02
On
10 sec
20 sec
30 sec
45 sec
60 sec
90 sec
System Settings
Egg timer
Sleep
Alarm
Time/Date
Backlight
Language
Factory Reset
Software Version
>
>
>
>
>
>
>
>
Digital Radio
>
Station List
Full Scan
Manual Tune
Prune Invalid
System Settings
16:02
>
>
>
>
>
Содержание CANVAS2 CANVASCOP
Страница 1: ...USER MANUAL MODEL CANVASSTE CANVASCOP CANVASSLT Digital Radio with FM and Colour Screen CANVAS2...
Страница 15: ......
Страница 16: ......


