


ADL160 User and Installation Manual
3 / 9
Version 1.00 - 17.01.2022
PLEASE NOTE: The ADL160 will show satellite signal even without an active satellite
service plan and will even be able to transmit data. But this data will not be processed
and the device will receive no data.
8
General Operation
The ADL160 is designed to be as simple as possible. Place the device on the glare
shield with the rounded side facing up. This is important as the internal antenna will not
work when upside down. Then power the device by connecting a Micro USB cable.
Note there are no switches or similar on the ADL160. Once it receives USB power, it
starts until power is cut.
9
USB Power Supply Details
The quality of the USB power supply is crucial. USB is specified at 5V but there will be
loss in cables etc. When operating the ADL160 you can check on the Config page of
the ADLConnect app the actual voltage measured by the device. That should not be
below 4.7V to 4.8V or there could be outages when the ADL160 is communicating with
the satellite. Also the voltage should be as stable as possible when the ADL160
transmits and uses more power. Some low quality USB outlets might not keep up with
that. Also using low quality or long USB cables can cause issues. On average the
ADL160 will consume approximately 500mA at 5V.
10 Interconnect Options
The ADL160 supports all WiFi GDL90 interconnect options available on nearly all ADL
devices. This means you can interface to ForeFlight, SkyDemon and other WiFI GDL90
compatible apps. But the ADL160 does not provide any wired RS232 interface options.
If you require such advanced features, please select another ADL device like the
ADL150B/190/200.
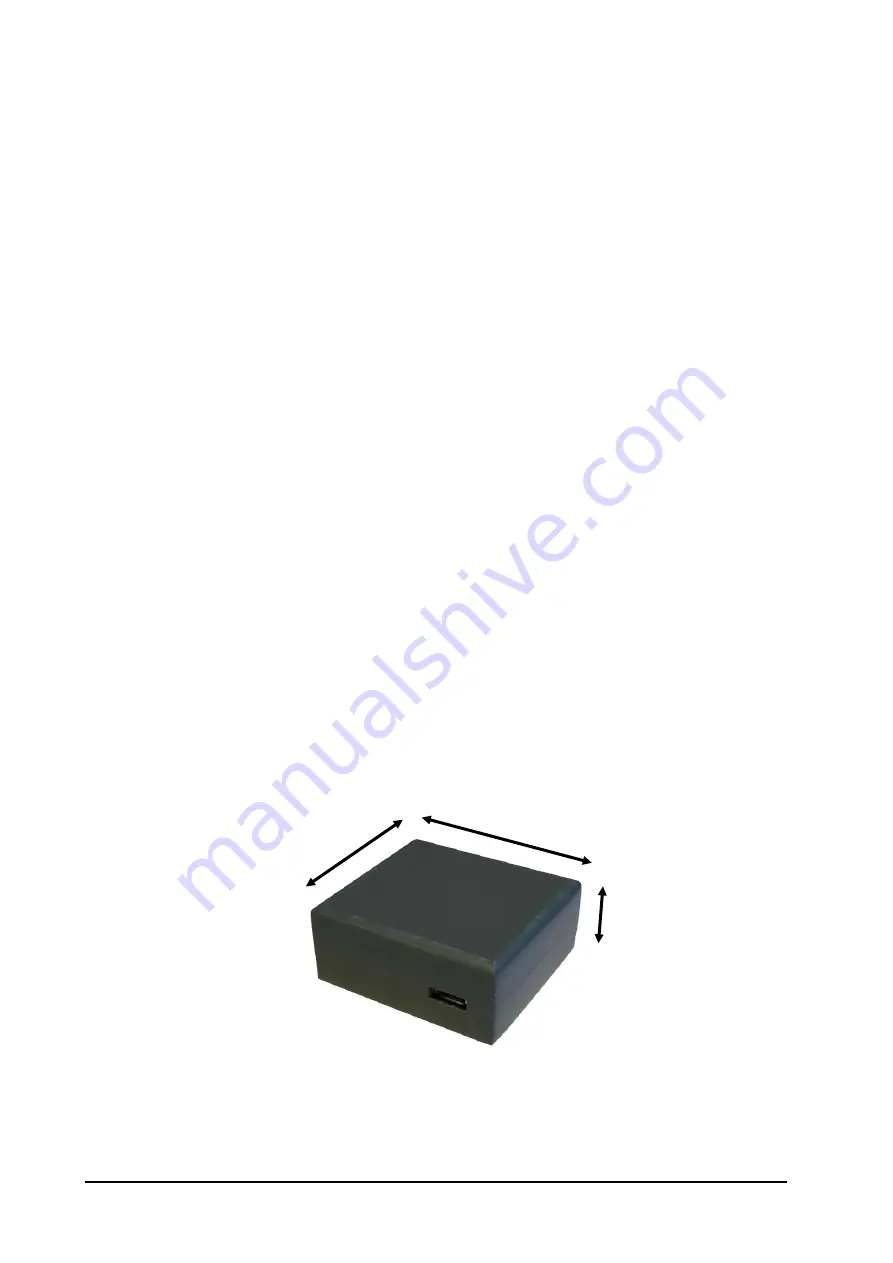
11 Dimensions
Figure 1
ADL160 dimensions excluding USB cable (in millimeters)
50mm
20mm
47mm


